How to Disassemble a GE Refrigerator#
Getting into a GE refrigerator is a nut-driver job: the attested tool list is a 5/16" hex nut driver, a 1/4" hex nut driver, a Phillips #2 screwdriver and a pair of pliers, and nothing else. Cut the power at the breaker before anything comes off, then open the route that reaches the component you want — the rear panel, the interior evaporator cover, the top panel, a service access panel, the toe grille and the control panel are six separate ways in, and the right one is decided by the part, not by a running order. Allow half an hour to just under an hour, and stop when you reach the sealed refrigerant circuit.
Before You Start#
Tools needed:
- 5/16" hex nut driver
- 1/4" hex nut driver
- Phillips #2 screwdriver
- Pliers
Isolate first — every time:
- Cut power at the breaker or unplug the unit
Time required: 30-55 minutes Difficulty: Intermediate
Safety warning: The sealed refrigerant system is under pressure and is not a DIY boundary — opening a line vents refrigerant and needs EPA 608 certification. Condenser fan blades and sharp evaporator fins sit directly behind the panels being removed.
Do You Have the Right Tools?
Refrigerant gauges ($200+), vacuum pump ($250), leak detector ($150), and EPA-certified recovery equipment. Our technician arrives with $3,000+ in professional tools — your diagnostic is free.
Licensed & Insured · 90-Day Warranty · Same-Day Service
Ways Into a GE Refrigerator#
Which panel you take off depends on the component you are after. These are the access points a refrigerator repair reaches for, most-used first:
- Remove the rear panel
- Remove the interior cover (evaporator / liner panel)
- Lift the top panel
- Open the service access panel
- Drop the toe grille / kick plate
- Free the control panel
Where this procedure stops: Stop at the sealed system: compressor, condenser, evaporator coil and any brazed line are certification territory, not access work.
What Makes a GE Teardown Different#
GE has the leanest attested tool list of the refrigerator brands covered here — four items — and it is lean in a specific direction. There is no Torx driver anywhere on it. The fasteners are hex-headed, they are driven from outside by gripping the flats, and the tool for that is a nut driver, not a screwdriver. That distinction is easy to wave away and expensive to get wrong: a screwdriver applied to a hex head either slips off it entirely or bites just enough to round the corners, after which the correct driver no longer grips either.
Practically, this means a drawer full of screwdrivers does not start this job. You need drivers in both listed sizes, because the list carries two and not one, and a hex head that a 1/4 inch driver spins loosely inside is a 5/16 inch head you are about to damage. The check takes a second: seat the driver, feel whether it engages the flats without play, and step up a size if it wobbles.
What is missing from the list is as informative as what is on it. There is no flat blade, so the attested GE set names no dedicated pry tool — if you meet a clip or a trim piece, the set gives you no sanctioned way to release it, and forcing it with a driver is how a panel cracks. And there is no meter. Everything attested here is mechanical: getting a panel off and out of the way. Electrical testing is a different job with an instrument this guide does not put in your hand and therefore does not pretend to describe.
GE also has the thinnest neighbouring coverage of the four brands in this batch. One other GE teardown is published here — the dryer — where the Bosch line has three. That is worth stating plainly rather than dressing up: it means the cross-checks available to you on a GE cabinet are fewer, and the case for going slowly on an unfamiliar panel is correspondingly stronger.
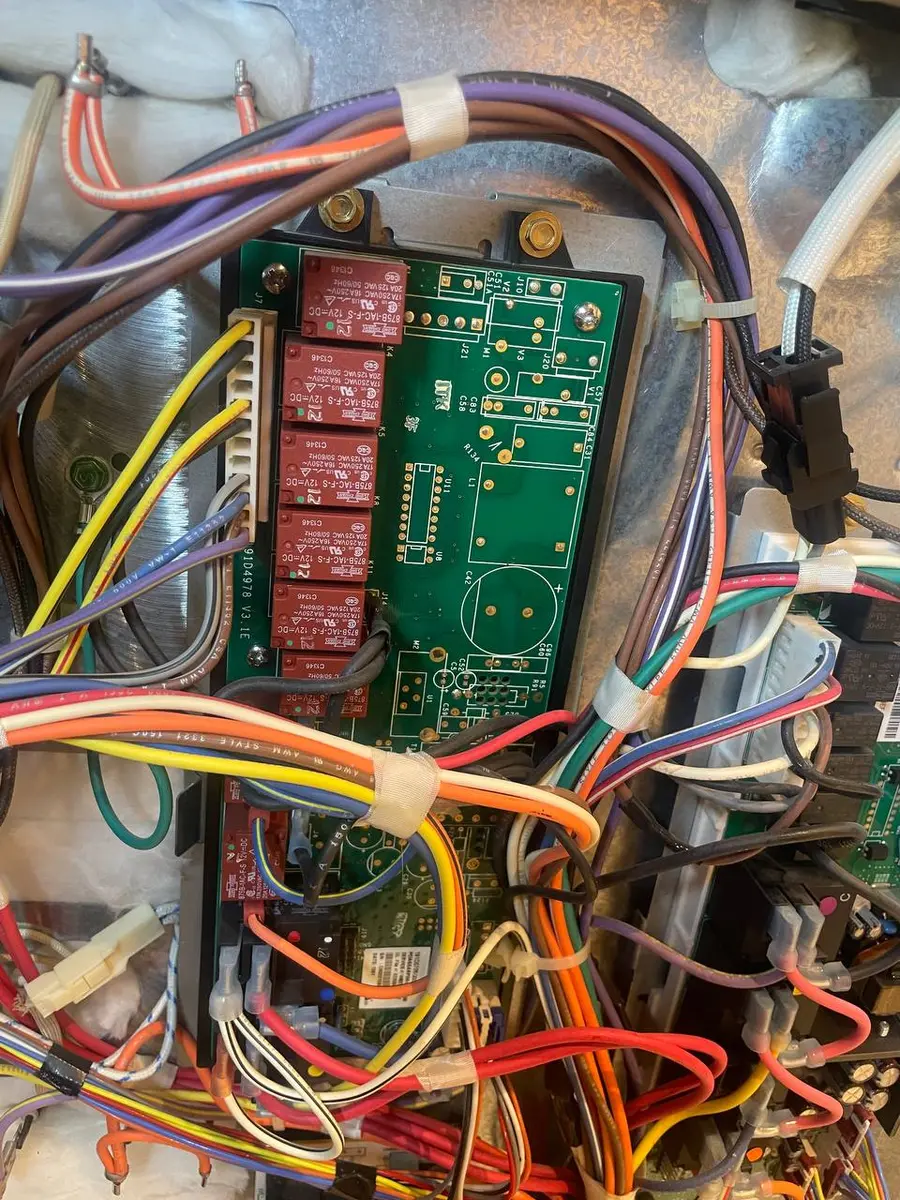
Know what the rear panel opens onto before you take it off. That is the compressor compartment, and the compressor carries a start relay and a run capacitor. A capacitor can hold charge long after the cord is out of the wall, so an unplugged refrigerator is not an inert one in that compartment. The condenser fan turns in the same space on sharp blades, and the evaporator fins behind the interior cover will cut a hand that goes in without looking.
Safety First — Know the Risks
Refrigerant (R-134a/R-600a) requires EPA certification to handle. Improper discharge is a federal violation and health hazard. Our techs are licensed and insured — let them handle the risk.
Licensed & Insured · 90-Day Warranty · Same-Day Service
Reassembly Notes#
Hex fasteners in sheet metal are the specific hazard on the way back together, because a nut driver gives you far more torque than the thread can take and almost no feel for when to stop. The fastener seats, then keeps turning, and the thread pulls out of the panel. Bring each one to snug and leave it there. A panel that spins forever under the driver has already stripped, and no amount of further turning fixes it.
Keep the sizes separated. Both listed drivers fit heads that look similar at a glance, and a fastener returned to the wrong hole is the commonest way a straightforward reassembly turns into a repair of its own. Sorting hardware by the panel it came from as you work costs nothing and removes the decision entirely.
The interior cover has to go back flat and fully fastened — it is a surface the cold air moves along, so a cover left standing proud changes the way the compartment behaves once the unit runs again. The toe grille is the same kind of part: it sits in front of the condenser and directs air to it, so leaving it off or half-secured is a functional omission and not a cosmetic one.
Where the door carries a display or a through-the-door dispenser, a wiring harness runs through its hinge. Re-seat the connector fully, and satisfy yourself the harness is clear of the hinge before the door swings on it. If the refrigerator is plumbed for ice or water, the supply line behind it stays where it is when you push the cabinet back — watch it go in rather than discovering later that a fitting was strained.
Power goes back on last, after every panel is secured and both doors seal against the cabinet.
When to Stop and Call a Technician#
Stop at the sealed system: compressor, condenser, evaporator coil and any brazed line are certification territory, not access work. The sealed refrigerant system is under pressure and is not a DIY boundary — opening a line vents refrigerant and needs EPA 608 certification. Condenser fan blades and sharp evaporator fins sit directly behind the panels being removed, so the hazard and the work occupy the same space.
The compressor's start relay and run capacitor belong on the same side of the line. They are inside the compartment the rear panel opens, and a charged capacitor discharges without warning.
Taking a panel off a GE cabinet is well within a careful owner's reach. What that panel exposes often is not, and the boundary is not a suggestion — it is where a repair stops being mechanical and starts being certified work. EasyBear provides same-day appliance repair across Sacramento and the Bay Area, and our technicians hold the certification the sealed system requires.
EasyBear is an independent appliance repair company. We are not affiliated with or authorized by GE.
The Real Cost of DIY
Average DIY attempt: $150-400 in tools you may use once, plus the risk of further damage. Our diagnostic visit costs $0 — we find the problem and give you an honest quote.
Licensed & Insured · 90-Day Warranty · Same-Day Service
FAQ#
What tools do I need to take apart a GE refrigerator?#
A 5/16" hex nut driver, a 1/4" hex nut driver, a Phillips #2 screwdriver and pliers. That is the whole attested list, and it is the shortest of the four refrigerator brands covered here. The absence of a Torx driver is the useful detail — this is a hex cabinet, and the drivers that open it are nut drivers.
What size hex driver does a GE refrigerator use?#
Both listed sizes: 5/16 inch and 1/4 inch. Those numbers describe the distance across the flats of the hex head, not the length of the fastener or the size of its thread — the usual confusion for anyone buying a nut driver for the first time. Since the attested list carries both, own both before you start; a head that a smaller driver rattles inside is one you will round if you keep turning.
Which panel do I take off to reach the part I need?#
The one the component sits behind. The routes above are ranked by how often refrigerator repairs use each, not arranged into a procedure, so there is no first step to obey. The rear panel opens the compressor compartment; the interior cover reaches the evaporator side; the toe grille reaches the base of the cabinet and the condenser area; the control panel reaches the electronics; the top and service access panels reach what is behind them. Work out the target, then pick the route.
How do I know the power is really off before I start?#
Do not take silence as evidence. A refrigerator between cooling cycles is quiet and its compressor is still, so "it is not running" tells you nothing at all about whether the circuit is live. Isolate physically: unplug the unit if the cord is reachable, or throw the breaker and keep the panel under your control if it is not. Note that the attested GE tool list contains no meter, so this guide gives you no means of confirming the circuit electrically — that requires an instrument outside the list.
How long does it take to open up a GE refrigerator?#
Half an hour to just under an hour is the working figure. Its provenance matters: it is the average of the bands declared by the disassembly guides already published here, none of which is a refrigerator, so it is an estimate for planning rather than a measured refrigerator time. Removing the panel is generally the fast part — clearing access around the unit and reassembling it properly is where the time actually goes.
What should I stop and call a technician for?#
Anything involving the sealed system: the compressor, the condenser, the evaporator coil, or the brazed lines running between them. Opening any of those vents refrigerant, and doing it legally requires EPA 608 certification. The compressor's start relay and run capacitor are on the same list — both can hold charge after the unit is unplugged.
Do most GE repairs start at the rear panel?#
The rear panel is the most-used access point across refrigerator repairs generally, which is why it heads the ranked list — but that is a statement about many jobs in aggregate, not about yours. Removing it because it appears first is simply removing a panel you did not need to remove.
Senior Gas Appliance Specialist · 18 years experience
AGA-certified gas appliance specialist with 18 years of experience in residential and commercial oven, range, and cooktop repairs.