GE Refrigerator Control Board Replacement — Diagnosing Electronic Failures
GE refrigerators contain multiple electronic boards, and knowing which one has failed determines whether you spend $30 or $280. The main control board manages the defrost cycle, compressor activation, fan speeds, and temperature regulation. The user interface (UI) board handles the display and button inputs. On inverter-equipped models, a separate inverter board controls compressor speed. Each produces distinct symptoms when it fails.
Which Board Is Which
Main control board — located at the rear of the refrigerator, usually behind a cover panel on the back wall. This is the "brain" that makes all operational decisions: when to run the compressor, when to defrost, how long to run fans.
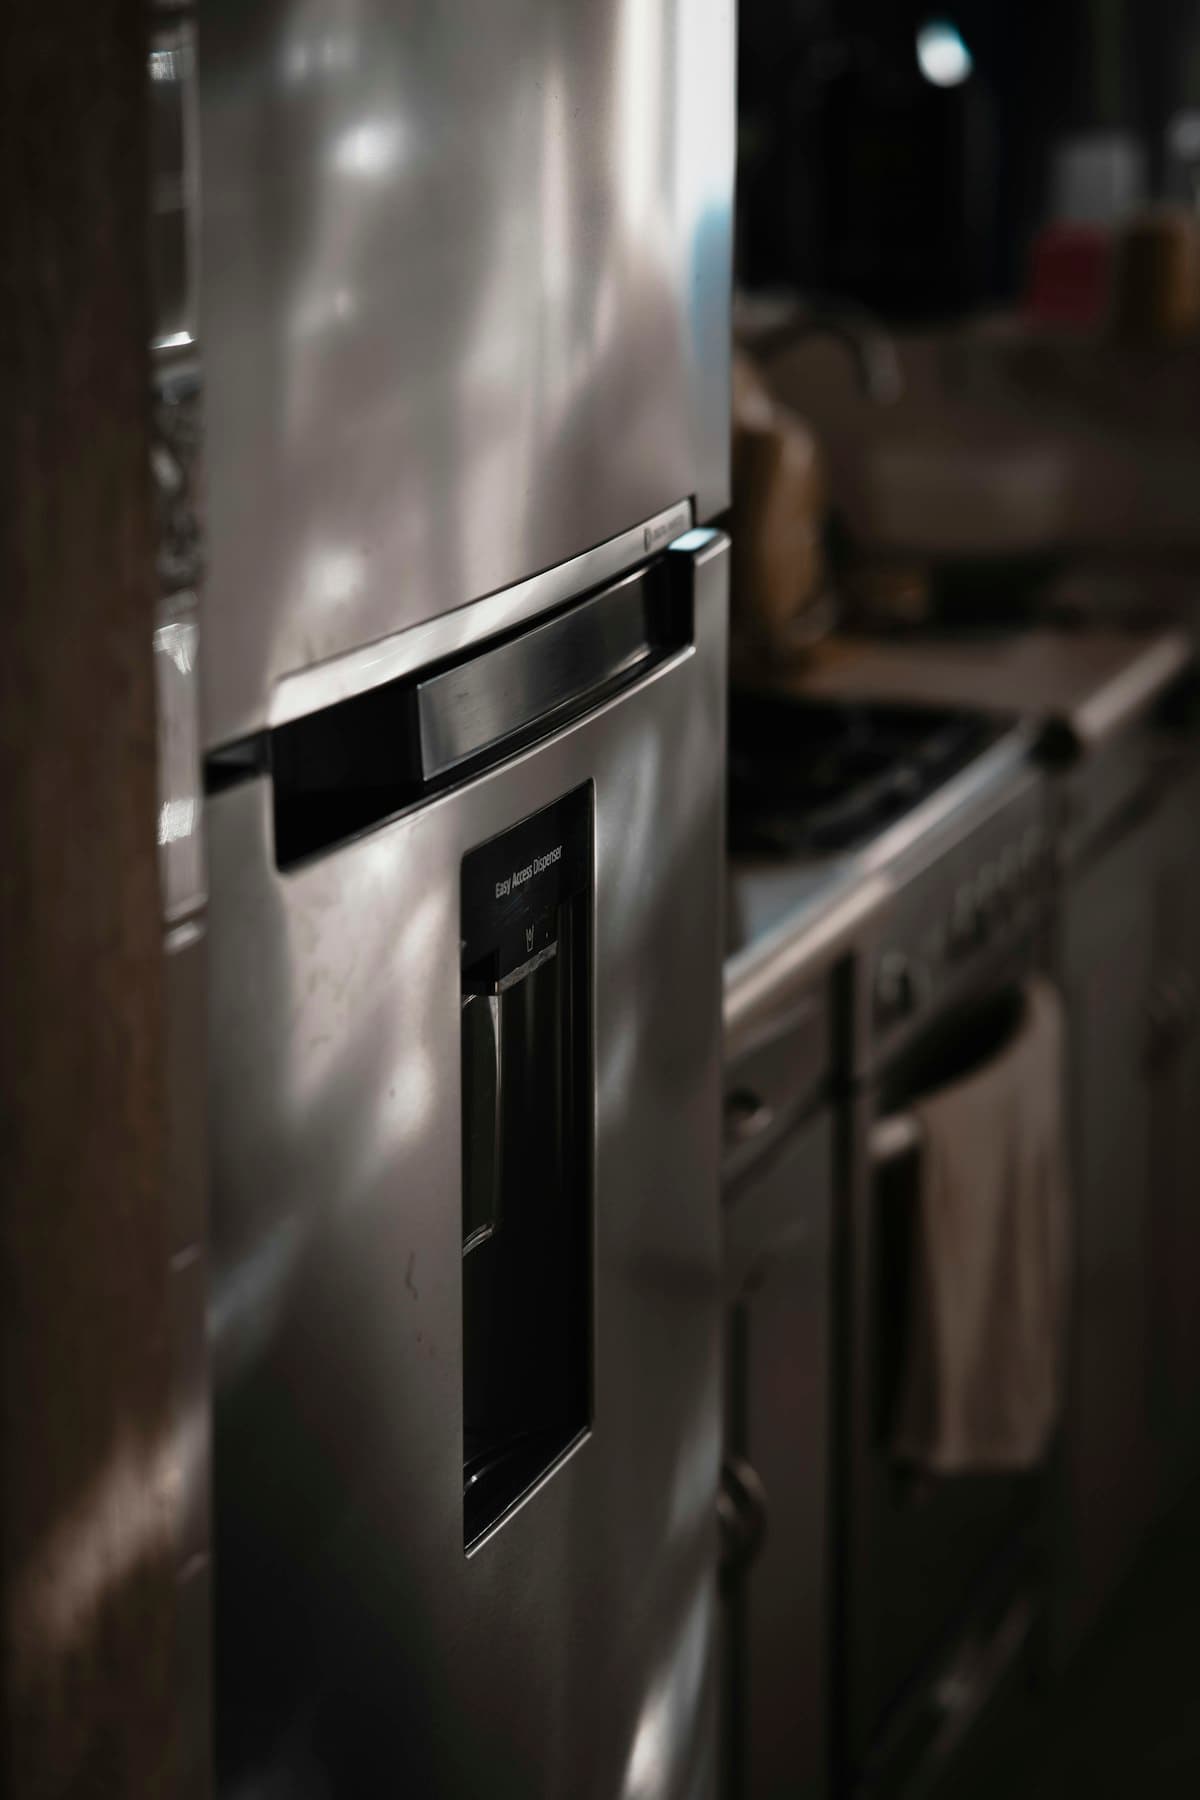
User interface (UI/dispenser) board — behind the front display panel (on models with water/ice dispensers). This board controls the display, temperature settings, and dispenser functions. A failed UI board shows a blank display or unresponsive buttons but does not affect cooling.
Inverter board (Profile, Cafe, Monogram with variable-speed compressors) — mounted near the compressor at the bottom rear. Controls the compressor speed. Failure produces no-cooling or intermittent cooling with error codes.
Do You Have the Right Tools?
Multimeter ($85), vacuum pump ($250), diagnostic software, and specialized hand tools. Our technician arrives with $15K+ in professional tools — your diagnostic is free.
Licensed & Insured · 90-Day Warranty · Same-Day Service
Symptoms by Board Type
| Symptom | Board |
|---|---|
| No cooling, no defrost, fans not running correctly | Main control board |
| Blank display but refrigerator cools normally | UI board |
| Buttons unresponsive but display shows data | UI board |
| Compressor not starting on inverter models, error code on display | Inverter board |
| Erratic temperatures, food freezing in fridge or warming in freezer | Main control board |
| Defrost not cycling — ice buildup on back wall of freezer | Main control board |
GE SmartHQ Diagnostic Codes
WiFi-connected GE refrigerators (2017+) report error codes through the SmartHQ app. Common board-related codes:
- FF — freezer fan failure (may be fan motor or main board relay)
- CC — condenser fan failure (fan motor or main board)
- dE — defrost error (defrost heater, thermostat, or main board timer)
- OP — over-pressure (compressor or inverter board)
The diagnostic mode is accessed by pressing and holding the Freezer and Fridge temperature buttons simultaneously for 8 seconds. This enters forced test mode (Test 1 through Test 6) which cycles individual components to isolate failures.
Safety First — Know the Risks
Appliances involve high voltage (120-240V), pressurized water, gas lines, and chemical refrigerants. Over 400 DIY repair injuries are reported yearly. Our techs are licensed and insured — let them handle the risk.
Licensed & Insured · 90-Day Warranty · Same-Day Service
Part Numbers and Pricing
| Component | Part Number | Cost |
|---|---|---|
| OEM main control board | WR55X31017 | $120-$280 |
| OEM main board (older) | WR55X10942 | $90-$200 |
| UI/dispenser board | WR55X26145 | $30-$100 |
| Inverter board | WR55X30490 | $100-$250 |
| Aftermarket main board | Varies | $55-$140 |
| Professional installation | — | $150-$280 |
Tools Required
Phillips #2 screwdriver, 1/4-inch nut driver, Torx T15 (some models), multimeter, smartphone for connector photos.
The Real Cost of DIY
Average DIY attempt: $150-400 in tools you may use once, plus the risk of further damage. Our diagnostic visit costs $0 — we find the problem and give you an honest quote.
Licensed & Insured · 90-Day Warranty · Same-Day Service
Main Control Board Replacement
Accessing the Board
Unplug the refrigerator. The main board is at the rear — remove the cover panel (usually 4-6 screws). The board is in a protective housing with multiple wire harness connectors.
Replacement Procedure
Photograph all connectors. GE main boards typically have 6-10 harness connectors of varying sizes. Disconnect each one by pressing the locking tab. Remove the board mounting screws (2-4). Slide the old board out. Mount the new board, reconnect all harnesses matching your photos, and replace the cover panel.
Post-Installation
Plug in the refrigerator. The board performs a self-test on power-up. Allow 24 hours for the refrigerator to stabilize at operating temperature before adjusting settings. If you have a WiFi-connected model, re-pair it with SmartHQ — the new board has a different MAC address.
Same-Day Appliance Repair
Fixed or It's Free
$89 → $0 Service Call & Diagnosis — offer ends May 25
RPWFE Filter Lockout Issue
GE refrigerators with RPWFE water filters use an RFID chip in the filter to verify authenticity. When you replace the main control board, the RFID pairing data is lost. You will need to remove and reinstall the water filter after the board swap — the new board will read the RFID chip and establish a new pairing. If the filter lockout persists, hold the Reset Filter button for 3 seconds.
Don't Void Your Warranty
Opening your appliance yourself may void the manufacturer warranty. Our repair comes with a 90-day guarantee, and we document everything for warranty compliance.
Licensed & Insured · 90-Day Warranty · Same-Day Service
Haier-Era Board Changes
Post-2016 GE refrigerators (after the Haier acquisition) use updated connector standards on the main board. Boards are not cross-compatible between pre-2016 and post-2016 models even within the same model series. Always verify the part number against your specific serial number, not just the model number.
When to Replace
A main control board replacement makes financial sense on units under 10 years old. For older units, especially if the compressor is also showing signs of wear, the $120-$280 board cost plus labor may represent poor value relative to a new refrigerator.
Multiple boards mean multiple possible failure points. Our technicians use GE diagnostic modes to pinpoint the exact board before ordering parts. Schedule a diagnostic