
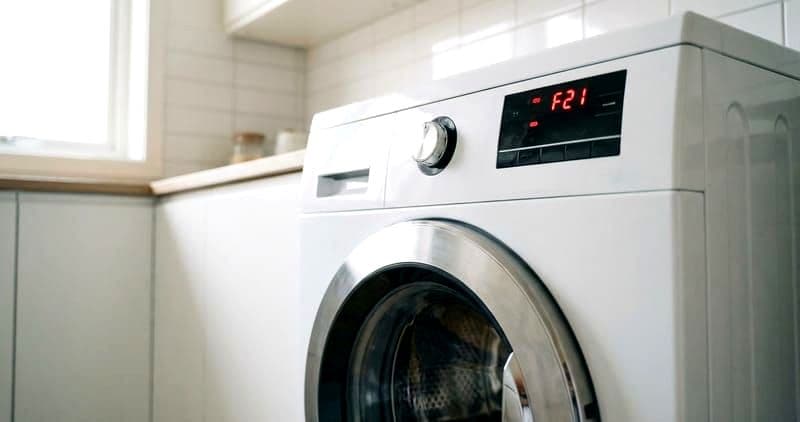
Whirlpool Front-Load Washer: Replace Door Lock
When a Whirlpool front-loader throws F5 E2 or refuses to start because the door will not lock, the door lock assembly is almost always the cause. Swapping it, part W10838613, is a beginner-to-intermediate job of about 20 to 30 minutes.
Why the lock fails#
The door lock is both a safety interlock and a switch: the machine will not fill or spin until it confirms the door is latched. When the lock's solenoid or its internal switch fails, the control board cannot verify a closed door and posts F5 E2, the single most common Whirlpool washer fault. A lock that clicks mechanically but still throws the code has a failed switch, not a failed latch, and the whole assembly is replaced as a unit.
Before you start#
| Category | What you need |
|---|---|
| Tools | Torx T20, needle-nose pliers (for the bellow band spring), Phillips #2 |
| Part | Door lock assembly W10838613 (verify against your tech sheet) |
| Time and level | 20 to 30 minutes, Beginner to Intermediate |
Safety warning: Unplug the washing machine and turn off the water supply valves before beginning any repair. Have towels ready for residual water.
Do You Have the Right Tools?
Bearing puller set ($120), drum spider wrench ($85), multimeter ($85), and diagnostic software. Our technician arrives with $3,000+ in professional tools — your diagnostic is free.
Licensed & Insured · 90-Day Warranty · Same-Day Service
Step-by-step#
1 - Confirm the code. Enter diagnostic mode by holding the delay button for 3 seconds, then pressing power, and read the stored fault. F5 E2 points at the door lock; F9 E1 (drain) or F0 E5 (suds) do not, so cross-check against the tech sheet before you order a lock. A lock that never clicks at all when you close the door supports the diagnosis.
2 - Free the bellow. The lock sits at the front of the tub behind the door bellow. Peel back the bellow's outer retaining band by unhooking its spring clip with needle-nose pliers, then fold the rubber bellow inward to expose the lock body, which is mounted to the front panel just inside the door opening.
3 - Photograph and disconnect. Take a phone photo of the lock's wiring, since Whirlpool's connectors are color-coded but repeat colors across harnesses. Press each locking tab and pull the connectors off by the body, never the wires.
4 - Remove the old lock. Back out the two Torx T20 screws holding the lock to the front panel. On many models the lock also has a rear release accessed through the front panel opening; support it and draw it out through the bellow opening.
5 - Fit the replacement. Seat the new lock in the same orientation, drive the two Torx T20 screws, and push each wiring connector on until the tab clicks. A partly seated connector is the top cause of an immediate repeat fault.
6 - Verify before you close up. With the machine still open, plug in and run the diagnostic lock test so you can confirm the new lock engages and reports closed without running a full cycle, then unplug.
7 - Reseat the bellow and test. Fold the bellow back into place with its drain holes at the 6 o'clock position and re-hook the outer band fully. Restore water and power, then run a short Normal cycle and confirm the door locks, the machine fills and spins, and F5 E2 does not return.
Whirlpool-specific notes#
- WFW front-loaders are the models that carry this door-lock design; WTW top-loaders use a lid switch instead.
- A repeat F5 E2 right after the swap almost always means a connector is loose, not a second bad lock.
- If the bellow was disturbed, confirm the outer band is fully engaged so the front does not leak on the next wash.
Safety First — Know the Risks
High-voltage components and pressurized water lines create flood and shock risk. A single loose fitting can cause thousands in water damage. Our techs are licensed and insured — let them handle the risk.
Licensed & Insured · 90-Day Warranty · Same-Day Service
Troubleshooting after the swap#
- F5 E2 returns: re-check every connector you touched and confirm the lock is fully seated to the panel.
- Front leak: the bellow band is not fully engaged or the drain holes are not at the bottom.
- Door still will not lock: confirm the strike on the door aligns with the lock; a sagging door hinge can miss the latch.
Appliance Repair Technician & Diagnostics Specialist · 10 years experience
Electronics and diagnostics specialist with 10 years of experience in modern smart appliance repair, specializing in LG and Samsung.


