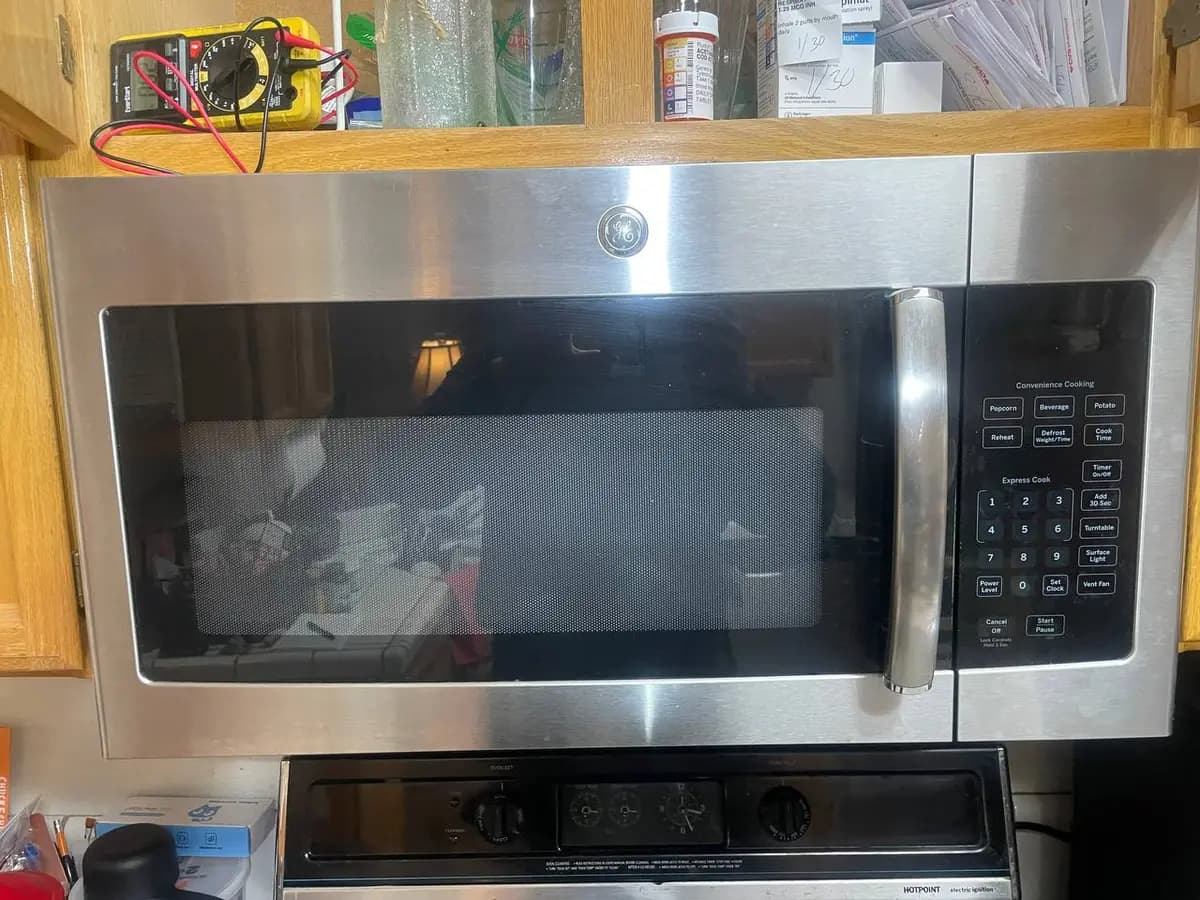
How to Replace a GE Microwave Main Line Fuse
A GE microwave that is completely dead — no display, no light, no fan — has usually blown its ceramic line fuse. Replacing it is a 20 to 35 minute intermediate job, but the fuse rarely dies alone, so the real work is finding what blew it before you fit a new one.
Why the fuse blows#
The main line fuse is a ceramic cartridge near the power-cord entry, and GE microwaves drop it when a door switch fails or a surge hits. Because a blown fuse is the symptom of a fault upstream, simply swapping fuses without finding the cause just blows the next one. The most common culprits are a shorted or misadjusted door interlock switch and, less often, a shorted capacitor or magnetron.
Safety warning: Unplug the microwave. CRITICAL: The high-voltage capacitor inside can hold a LETHAL charge. Discharge it and confirm zero volts on a meter before any tool goes near the internal components, and never bridge the capacitor terminals with your hands.
What you need#
| Category | Detail |
|---|---|
| Tools | Phillips #2 and Torx T20 drivers, multimeter, insulated discharge tool, insulated pliers |
| Part | The matching ceramic line fuse for your model — commonly a 20-amp cartridge; replace like-for-like on rating |
| Time and level | 20 to 35 minutes, Intermediate (lethal capacitor inside) |
Do You Have the Right Tools?
High-voltage capacitor discharge tool ($90), magnetron tester ($200), microwave leakage detector ($150). Our technician arrives with $3,000+ in professional tools — your diagnostic is free.
Licensed & Insured · 90-Day Warranty · Same-Day Service
Step by step#
1 - Confirm it is truly dead, then the fuse. Check the outlet and house breaker first so you are not chasing a good microwave. A unit with no display, light or fan at all fits a blown line fuse.
2 - Unplug and open the cabinet. Pull the plug, remove the rear screws — GE uses Phillips or Torx T20 — and slide the outer wrap off to reach the interior.
3 - Discharge the capacitor. Before touching anything inside, bridge the high-voltage capacitor terminals with an insulated discharge tool, then confirm zero on a meter set to DC volts. This is the step that keeps the job safe.
4 - Find and test the line fuse. Locate the ceramic cartridge in its holder near the power-cord entry. Pull it and read it on the continuity range: no continuity means it is blown.
5 - Find why it blew. Before fitting a new fuse, test the door interlock switches for correct open-and-closed action, since a shorted or misaligned switch is the usual cause. Check the capacitor and magnetron for a short if the switches look fine — a fresh fuse blowing instantly points straight at one of these.
6 - Fit the matching fuse. Seat a new ceramic fuse of the same rating firmly in the holder. Never substitute a higher rating or a glass automotive fuse, which will not protect the circuit.
7 - Reassemble and test. Refit the wrap and screws, plug in, and confirm the display lights. Heat a cup of water for a short run to verify normal operation, watching that the fuse holds.
If the new fuse blows again#
- Blows the instant you plug in: a hard short — most often a failed door switch, or a shorted capacitor or magnetron.
- Blows only when you press start: suspect the interlock switch timing or a shorted high-voltage component under load.
- Display lights but no heat: the fuse is fine; the fault is in the high-voltage circuit, not the line fuse.
Safety First — Know the Risks
Microwave capacitors store lethal voltage (4,000V+) even when unplugged. This is the single most dangerous DIY appliance repair. Our techs are licensed and insured — let them handle the risk.
Licensed & Insured · 90-Day Warranty · Same-Day Service
When to call a professional#
Hand it over if a new fuse keeps blowing and you cannot isolate the short, if the capacitor will not read zero after discharging, if the board or wiring shows burn marks, or if you are not comfortable working near a capacitor that holds a lethal charge.
Appliance Repair Technician & Diagnostics Specialist · 10 years experience
Electronics and diagnostics specialist with 10 years of experience in modern smart appliance repair, specializing in LG and Samsung.