
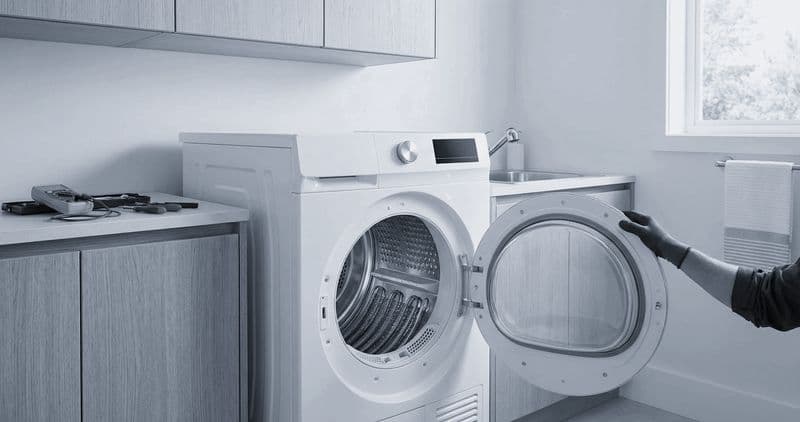
Whirlpool Dryer Won't Spin: Causes & Fix
If a Whirlpool dryer suddenly stopped and will not restart, check the belt before suspecting the motor. The idler pulley is spring-loaded against the belt, and when the belt breaks the idler drops onto a switch that cuts power to the motor. That is a designed safety feature, and it means one cheap failure convincingly…
Budget 20-40 minutes with a Phillips #2, a 5/16" nut driver, a putty knife and a multimeter. Unplug the dryer; on gas models shut the supply valve at the wall, and allow 30 minutes of cool-down if it has been running.
First, find your tech sheet — folded into every dryer, usually taped inside the console behind the control panel or inside the rear panel, carrying your model's wiring diagram, component locations, belt routing and diagnostic procedures.
Read the code first, if you have a display#
| Code | Meaning |
|---|---|
| F1 E1 | Main control board EEPROM communication failure |
| F2 E1 | Keypad stuck button |
| F3 E1 | Exhaust thermistor open or shorted |
| F4 E1 | Airflow restriction detected |
| AF | Airflow restriction warning — clean the vent now |
Without a display, symptoms sort it: no heat is the thermal fuse or element, no tumble is belt or motor, noise is rollers or the rear bearing, long cycles the sensor or vent.
Do You Have the Right Tools?
Gas leak detector ($130), thermal fuse tester ($95), belt tension gauge, and vent inspection camera ($180). Our technician arrives with $3,000+ in professional tools — your diagnostic is free.
Licensed & Insured · 90-Day Warranty · Same-Day Service
Getting in#
Top panel. On newer machines, slide a putty knife into the seam at the front corners, roughly 2 inches in from each edge, to release the spring clips, then lift. Older models use 2 Phillips screws at the rear edge and slide back.
Front panel. Take out the 2 screws at the top, support the panel, disconnect the door switch harness, then remove the 2 screws at the bottom or release the lower clips and lift it off its hooks.
Drum. Reach underneath, push the idler pulley toward the motor to release tension, slip the belt off the motor shaft, and lift the drum up and forward.
Rear panel. 6-8 perimeter screws for the element, thermal fuse and thermostats.
Belt routing, which is the part that catches people#
The belt is a narrow flat multi-rib type: around the drum with the ribbed side against the drum surface for grip, down to the idler pulley, a 180-degree wrap around the idler wheel, then on to the motor shaft.
Reassembly is the awkward moment — you push the spring-loaded idler toward the motor with one hand while threading the belt around the motor shaft with the other. The idler's spring holds tension afterwards. Fit the belt backwards and it squeals, so flip it so the ribs face the drum.
Safety First — Know the Risks
Gas dryers carry carbon monoxide and explosion risk. Even electric dryers involve 240V circuits that can deliver a fatal shock. Our techs are licensed and insured — let them handle the risk.
Licensed & Insured · 90-Day Warranty · Same-Day Service
Where everything lives#
Rear panel: heating element in its metal housing on the back wall, thermal fuse on the exhaust housing at the blower outlet, thermal cutoff and high-limit thermostat on the element housing, cycling thermostat on the exhaust housing. Front, after the drum is out: idler pulley below the drum, motor beneath it, drum rollers (2 at the rear, some models add 2 at the front). Door switch behind the front panel at the door frame, control board inside the console, AccuDry sensor bars inside the drum below the door opening.
Pull spade terminals straight off rather than twisting, and press the locking tab on board connectors. A loose spade heats at the contact point, melts, and becomes the next fault.
Four things specific to these machines#
AccuDry sensor bars. Two metal bars in the drum detecting moisture. Dryer sheet residue coats them and ends cycles early, so clean with fine sandpaper and alcohol every 2-3 months.
4-Way venting. Exhaust can leave in any of 4 directions and only one should be open, with plastic caps in the other 3. Check after rear panel work.
Thermal fuse. Always on the exhaust path, and when it blows the cause is nearly always a restricted vent. Clean the vent first or you will fit two.
EcoBoost heat pump models. No external vent and a different heating system, so standard element and thermal repairs do not apply.
The Real Cost of DIY
Average DIY attempt: $150-400 in tools you may use once, plus the risk of further damage. Our diagnostic visit costs $0 — we find the problem and give you an honest quote.
Licensed & Insured · 90-Day Warranty · Same-Day Service
Proving the repair#
Run a short timed cycle with a damp towel: the drum should turn smoothly, heat arrive within 1-2 minutes, nothing rattle, and AccuDry end the cycle when the towel is dry.
A drum that will not turn afterwards means the belt slipped off the motor shaft while you refitted the front panel. A thump after roller replacement settles within 1-2 cycles unless a roller is loose.
Gas smell near the burner, a seized motor shaft, or an EcoBoost refrigerant issue — those are ours. Book a free diagnostic.
Lead Appliance Repair Technician · 12 years experience
Experienced technician with 12 years specializing in washing machine and dryer repairs across all major brands.


