
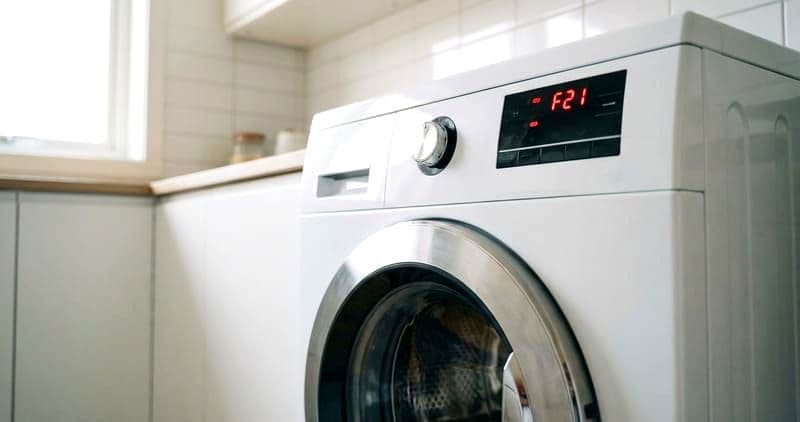
How to Replace a Whirlpool Washer Shift Actuator
On a Whirlpool WTW top-loader, an F7 E1 code is almost always the shift actuator — the part that moves the drive between agitate and spin — not the motor. Pop the console, release the cabinet clips, unplug and unbolt the actuator on the transmission, fit the new one, then run a diagnostic test before you close the…
The single most useful thing I can tell you: do not order a drive motor for an F7 E1. The actuator controls the agitate-to-spin transition — exactly the function that stops working when it dies.
Read the code first#
Enter diagnostic mode using the sequence on your tech sheet — usually a three-button press inside four seconds. The tech sheet is folded inside the console or under the top panel on WTW top-loaders, and inside the lower toe panel or taped to the rear on WFW front-loaders.
| Code | Points at | Do this before ordering |
|---|---|---|
| F7 E1 | Shift actuator / motor sensing | Test the actuator; do not condemn the motor |
| F5 E1 | Lid switch | Check the strike and the switch harness |
| F8 E1 | Water flow | Inspect valves and inlet screens |
| F0 E2 | Oversudsing | Reduce detergent, run a clean cycle |
A code can also be a wiring fault rather than a dead component, so inspect the harness before you spend money.
Do You Have the Right Tools?
Bearing puller set ($120), drum spider wrench ($85), multimeter ($85), and diagnostic software. Our technician arrives with $3,000+ in professional tools — your diagnostic is free.
Licensed & Insured · 90-Day Warranty · Same-Day Service
Tools and parts#
- Phillips #2 screwdriver and a Torx T20 driver — Whirlpool uses T20 extensively inside, so if a screw will not turn with the Phillips, switch drivers rather than forcing it
- Putty knife for the cabinet spring clips
- 1/4-inch nut driver
- Multimeter
- Shift actuator matched to your model number from the tech sheet, not by appearance
Unplug the washer and shut both water valves first. Keep towels nearby for residual water.
Opening the cabinet#
Take out the two Phillips screws at the ends of the console and flip it back. Slide the putty knife into the seam about 2.5 inches in from each front corner and press to release each spring clip — there are three. The top panel then lifts on its rear hinges. For full access to the transmission, remove the two lower rear screws and lift the cabinet straight up off the base frame.
Photograph every harness before you unplug it. Connectors are color-coded, but colors repeat between harnesses — one phone photo saves a long guessing game.
Safety First — Know the Risks
High-voltage components and pressurized water lines create flood and shock risk. A single loose fitting can cause thousands in water damage. Our techs are licensed and insured — let them handle the risk.
Licensed & Insured · 90-Day Warranty · Same-Day Service
Swapping the actuator#
Press the locking tab and pull each connector straight back — never pull on the wires. Note the position of every mounting screw or clip as it comes out. Fit the new actuator in the exact orientation of the old one, secure the hardware first, then push each connector home until the tab clicks. A partially seated connector is the most common cause of an immediate post-repair failure, and it can take a control board with it.
With the machine still open, plug it in and use diagnostic mode to drive the actuator on its own — you learn whether it responds before rebuilding the cabinet. Unplug again, then reassemble: align the rear hooks first and push forward until the spring clips snap.
Test cycle and the usual post-repair traps#
Run a Normal cycle on warm with a small load and watch it end to end for leaks, noises and codes.
- Code returns immediately: a harness you touched is not fully seated
- Vibration worse than before: the cabinet did not reseat on its clips, or a counterweight bolt was loosened on a front-loader
- Fills then drains straight away: the drain hose slid too far into the standpipe — reseat it to 6-8 inches of insertion
- Leak at the front of a WFW: the bellow is not seated, its retaining band is not fully engaged, or its drain holes are not at the bottom
Two quirks worth knowing: Deep Water Wash on WTW machines overrides the auto-fill sensor, so try it before diagnosing a fill fault, and Adaptive Wash on WFW machines needs two or three cycles to relearn load sensing after a sensor or board change.
The Real Cost of DIY
Average DIY attempt: $150-400 in tools you may use once, plus the risk of further damage. Our diagnostic visit costs $0 — we find the problem and give you an honest quote.
Licensed & Insured · 90-Day Warranty · Same-Day Service
When it is not the actuator#
If a new actuator does not clear the symptom, either the diagnosis was off or the control board has a voltage problem behind it. A deep rumble that rises with drum speed is a bearing — splitting the tub with specialized tools, a different job.
Rather not pull the cabinet yourself? Book a repair and we will confirm the fault before any parts go in.
Appliance Repair Technician & Diagnostics Specialist · 10 years experience
Electronics and diagnostics specialist with 10 years of experience in modern smart appliance repair, specializing in LG and Samsung.


