
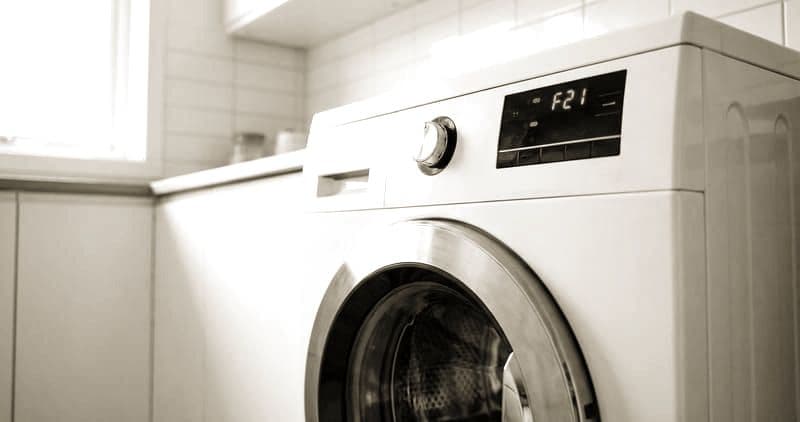
How to Replace a Whirlpool Washing Machine Drive
Before replacing a Whirlpool washer's drive components, read the fault. Enter diagnostic mode (hold Delay 3 seconds, then press Power) and match the F#E# code to the part — F2 E1/E3 is the motor/MCU, but F7 E1 on top-loaders is almost always the shift actuator, not the motor. Then find your tech sheet inside the…
Whirlpool designs its washers for technician serviceability, and most replacements are within reach of a careful homeowner with basic tools — the key is knowing the Whirlpool-specific access methods and using the right drivers for their fasteners (mostly Phillips and Torx T20). Before any repair, find your tech sheet: Whirlpool tucks a folded technical document inside the machine — inside the console on top-loaders, or in the lower toe panel or taped to the rear panel on front-loaders — carrying your model's wiring diagram, diagnostic entry, and component locations.
Tools, Parts, and Safety First#
- Tools needed: Socket set (10mm, 13mm), Phillips #2, Torx T20, putty knife
- Parts needed: Drive motor (W-series part, varies by model-specific)
- Time required: 60-90 minutes
- Difficulty: Advanced
- Safety warning: Unplug the washing machine and turn off water supply valves before beginning any repair. Have towels ready for residual water.
Do You Have the Right Tools?
Bearing puller set ($120), drum spider wrench ($85), multimeter ($85), and diagnostic software. Our technician arrives with $3,000+ in professional tools — your diagnostic is free.
Licensed & Insured · 90-Day Warranty · Same-Day Service
Step-by-Step Instructions#
Step 1 — Diagnose the problem#
Confirm your diagnosis before replacing anything. The relevant codes are F5 E2 (door lock, the most common), F9 E1 (drain timeout), F0 E5 (suds lock), F3 E1/E2 (pressure sensor), and F2 E1/E3 (motor/MCU). Enter diagnostic mode by holding the Delay button 3 seconds then pressing Power, and cross-reference any code against the tech sheet before replacing parts — many codes point to wiring or sensors rather than a major component.
Step 2 — Access the machine#
Remove the top panel (3 Phillips screws at the rear, slide back and lift). For front components, remove the front lower panel (1 Phillips each side), which exposes the drain pump and lower parts. For full drum access, remove the door bellow's outer band with needle-nose pliers on the spring clip, then take off the front panel (4-6 Torx T20 screws). Before disconnecting any harness, photograph each connection — Whirlpool color-codes its connectors, but overlapping colors between harnesses cause reassembly confusion, and one photo saves real troubleshooting time.
Step 3 — Identify the target component#
With the machine open, locate the part for your repair. Common ones are the door bellow (W10340443), drain pump (WPW10730972), MCU (W10756692), shock absorbers (WPW10739670), and door lock (W10838613) — always verify the exact number for your model on the tech sheet. Inspect the part visually first for burn marks, corrosion, mechanical damage, or loose connections, since sometimes the real issue is a disconnected harness rather than a failed part.
Step 4 — Remove the faulty component#
Disconnect harnesses by pressing the locking tab and pulling straight back, never by the wires, and remove the mounting screws or clips, noting their positions. For parts with fluid connections (pumps, valves), keep towels and a shallow pan ready for residual water. Most internal screws are Phillips #2 or Torx T20 — if a Phillips will not turn, try Torx T20 before forcing it.
Step 5 — Install the replacement#
Set the new part in the exact orientation of the original, secure the mounting hardware first, then reconnect the harnesses, pushing each until the locking tab clicks. A partially seated connector is the most common cause of immediate post-repair failures and can even damage control boards.
Step 6 — Verify before closing#
With the machine still open, plug it in briefly and run a diagnostic test — Whirlpool's diagnostic mode lets you exercise individual components without a full cycle — and confirm the replaced part responds correctly. Then unplug again and reassemble.
Step 7 — Reassemble and full test#
Reinstall all panels in reverse. For a top-load cabinet, align the rear hooks first, then push forward until the spring clips snap; for front-load panels, make sure the door bellow drain holes sit at the 6 o'clock position. Run a complete cycle (Normal, warm, small load) and watch for the original symptom, checking for leaks, odd noises, and error codes throughout.
Whirlpool-Specific Technical Notes#
- Adaptive Wash (WFW): after replacing any sensor or board, the system may need 2-3 cycles to recalibrate its load-sensing.
- Deep Water Wash (WTW): this overrides the auto-fill sensor to add water, so if your complaint was too little water, try it before diagnosing a fill problem.
- FreshHold (WFW): the post-cycle fan-and-tumble feature; if it quits after a repair, verify the fan motor connector is seated, since it is easily bumped during front-panel work.
- Shift actuator (WTW): the F7 E1 code is almost always the shift actuator, not the motor, so test the actuator before replacing the motor.
- Load & Go: the bulk dispenser valve is electrical, so if it stops dispensing after a repair, check its connector during control-board work.
Safety First — Know the Risks
High-voltage components and pressurized water lines create flood and shock risk. A single loose fitting can cause thousands in water damage. Our techs are licensed and insured — let them handle the risk.
Licensed & Insured · 90-Day Warranty · Same-Day Service
Troubleshooting Post-Repair Issues#
- Code appears right after reassembly: a harness is not fully seated — open the machine and recheck every connector you touched.
- Vibration worse than before: a counterweight bolt loosened during access (WFW) or the cabinet did not reseat on its spring clips (WTW) — verify all mounting points.
- Leak from the front (WFW): the door bellow was not seated properly — confirm the outer retaining band is fully engaged and the drain holes are at the bottom.
- Fills then immediately drains: the drain hose fell or was pushed deeper into the standpipe during the repair — reseat it to a 6-8 inch insertion depth.
When Should You Call a Professional?#
EasyBear technicians serving Sacramento and the Bay Area carry Whirlpool-specific diagnostic tools and replacement parts on every service call. Call one if the replacement part does not resolve the original symptom (a likely misdiagnosis), if you find multiple failed components pointing to a control-board voltage issue, if the machine has a bearing rumble (which requires splitting the tub with specialized tools), or if you are not comfortable with multimeter testing.
The Real Cost of DIY
Average DIY attempt: $150-400 in tools you may use once, plus the risk of further damage. Our diagnostic visit costs $0 — we find the problem and give you an honest quote.
Licensed & Insured · 90-Day Warranty · Same-Day Service
Need Professional Help?#
Need help with this repair? Schedule a free diagnostic — same-day Whirlpool washer repair across the Bay Area.
Appliance Repair Technician · 11 years experience
Experienced technician with 11 years specializing in Frigidaire and Electrolux refrigerator and dryer repair with a focus on safety.


