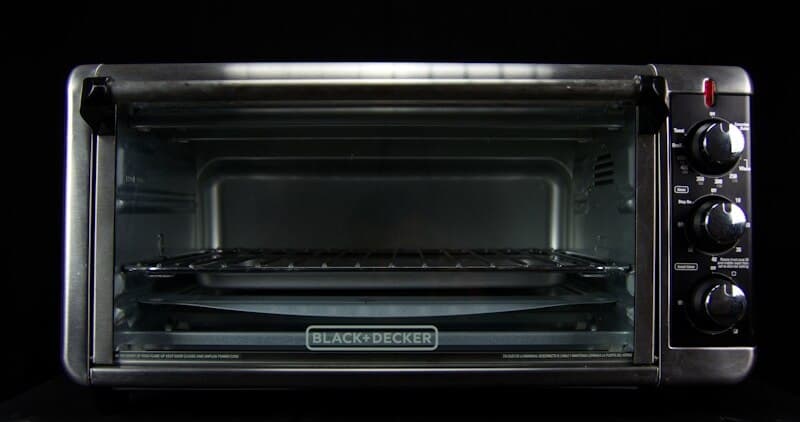
LG Oven Temperature Sensor Replacement — Fixing Temperature Accuracy
The temperature sensor in an LG oven is a resistance temperature detector (RTD) — a metal probe inserted into the oven cavity through the rear wall that measures temperature by changing its electrical resistance. The control board reads this resistance and adjusts the heating elements to maintain the set temperature. When the sensor fails, the oven either overheats, underheats, or displays an F3 error.
How the RTD Sensor Works
The sensor is a thin metal probe about 6-8 inches long that protrudes into the upper rear of the oven cavity. It contains a platinum or nickel wire that changes resistance predictably with temperature. At room temperature (72F), the sensor reads approximately 1,080-1,100 ohms. At 350F, it reads approximately 1,500-1,600 ohms. The control board uses these known resistance-temperature values to regulate the heating elements.
Do You Have the Right Tools?
Multimeter ($85), vacuum pump ($250), diagnostic software, and specialized hand tools. Our technician arrives with $15K+ in professional tools — your diagnostic is free.
Licensed & Insured · 90-Day Warranty · Same-Day Service
Symptoms of Sensor Failure
- F3 error code — the board detects the sensor resistance is outside the expected range (open circuit, shorted, or dramatically out of spec)
- Oven overheats — the sensor reads low, so the board thinks the oven is cooler than it actually is and keeps the element running
- Oven will not reach set temperature — the sensor reads high, so the board thinks the oven is hotter than it actually is and shuts the element off early
- Temperature swings wildly — intermittent sensor connection causes erratic resistance readings
- Self-clean cycle does not reach full temperature — a failed sensor prevents the board from driving the cavity to 900F+
Testing the Sensor
Disconnect power. Access the sensor connector on the back of the oven. Disconnect the 2-wire connector. Set your multimeter to resistance.
| Temperature | Expected Resistance |
|---|---|
| Room temp (72F) | 1,080-1,100 ohms |
| 250F | ~1,300 ohms |
| 350F | ~1,500 ohms |
| 450F | ~1,700 ohms |
At room temperature, the reading should be approximately 1,080-1,100 ohms. Significantly higher (>1,200 at room temp), lower (<900), or infinite (open) means the sensor has failed.
Safety First — Know the Risks
Appliances involve high voltage (120-240V), pressurized water, gas lines, and chemical refrigerants. Over 400 DIY repair injuries are reported yearly. Our techs are licensed and insured — let them handle the risk.
Licensed & Insured · 90-Day Warranty · Same-Day Service
Part Numbers and Pricing
| Part | LG Number | Price |
|---|---|---|
| Temperature sensor (RTD) | EBG61285804 | $15-$45 |
| Aftermarket sensor | Various | $8-$25 |
| Professional replacement | — | $80-$140 |
This is one of the cheapest and simplest oven repairs.
Tools Required
- Phillips #2 — for the sensor mounting screw inside the cavity
- Multimeter — for resistance testing
- 1/4 inch nut driver — for the rear panel if accessing the connector from outside
Same-Day Appliance Repair
Fixed or It's Free
$89 → $0 Service Call & Diagnosis — offer ends May 25
The Real Cost of DIY
Average DIY attempt: $150-400 in tools you may use once, plus the risk of further damage. Our diagnostic visit costs $0 — we find the problem and give you an honest quote.
Licensed & Insured · 90-Day Warranty · Same-Day Service
Replacement Steps
Disconnect power. Inside the oven cavity, locate the sensor — a thin metal probe in the upper rear corner, held by a single mounting screw. Remove the screw, gently pull the probe out (the wire feeds through the rear wall). Disconnect the 2-pin connector on the back of the oven.
Feed the new sensor wire through the rear wall hole, secure the probe with the mounting screw, and connect the wire to the 2-pin connector. The entire swap takes 10-15 minutes.
After replacement, verify temperature accuracy with an oven thermometer at the center rack. If the oven reads more than 15-20 degrees off, use the temperature calibration offset in the settings menu (most LG ovens allow +/- 35F adjustment).
Common Misdiagnosis
The F3 error does not always mean the sensor is bad. A broken wire between the sensor connector and the control board produces the same error. Before replacing the sensor, check the wire harness for damage — rodent chew and heat damage at the point where the wire enters the rear wall are common.
Don't Void Your Warranty
Opening your appliance yourself may void the manufacturer warranty. Our repair comes with a 90-day guarantee, and we document everything for warranty compliance.
Licensed & Insured · 90-Day Warranty · Same-Day Service
Frequently Asked Questions
My LG oven shows F3 error. Is the sensor bad?
Probably, but test it first. Measure resistance at room temperature — should be approximately 1,080-1,100 ohms. If the reading is correct, check the wiring between the sensor and the board.
My LG oven burns food on one side. Is that the sensor?
No — the sensor measures overall cavity temperature, not localized heat. Uneven cooking is a convection fan, element, or gasket issue, not a sensor issue.
How long does an LG oven temperature sensor last?
Typically 10-15 years. Self-clean cycles accelerate sensor degradation because the extreme temperatures stress the platinum wire. Frequent self-clean users may see sensor failure after 6-8 years.
LG oven F3 error or temperature problems? Our technicians test the sensor on-site and replace it in minutes. Book a technician →