
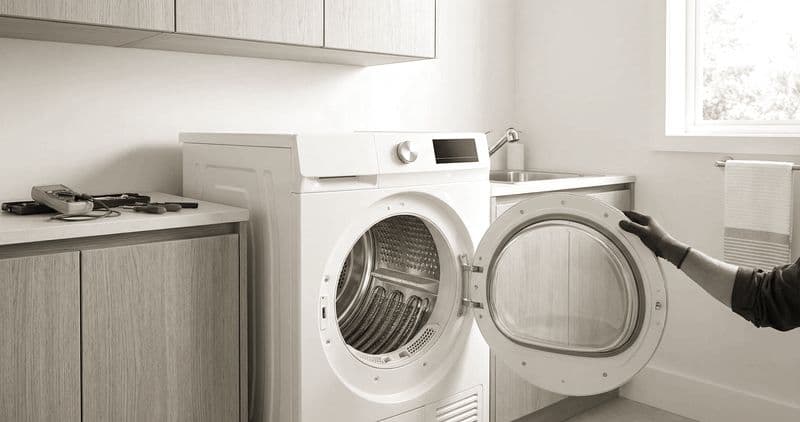
How to Replace a Whirlpool Dryer Control Board
A Whirlpool dryer showing F1 E1, a dead panel, or buttons that do nothing usually has a failed main control board. The good news: the board lives in the console, so you do not touch the drum or belt. Unplug the dryer, flip the console back, photograph every ribbon and harness connector, release them, unscrew the…
How you approach a Whirlpool dryer depends on the model, and Whirlpool builds them with good service access. Before you start, find your tech sheet — Whirlpool tapes a folded technical document inside every dryer, usually inside the console behind the control panel or on the inside of the rear panel, and it carries your model's wiring diagram, component locations, and diagnostic procedures, which matter most of all for a board swap.
Tools, Parts, and Safety First#
- Tools needed: Phillips #2, phone camera for wire reference, magnetic tray
- Parts needed: Main control board (varies by model-specific)
- Time required: 25-40 minutes
- Difficulty: Intermediate
- Safety warning: Unplug the dryer completely. For gas dryers, shut off the gas supply valve at the wall connection. Allow 30 minutes cool-down if the dryer was recently running.
Do You Have the Right Tools?
Gas leak detector ($130), thermal fuse tester ($95), belt tension gauge, and vent inspection camera ($180). Our technician arrives with $3,000+ in professional tools — your diagnostic is free.
Licensed & Insured · 90-Day Warranty · Same-Day Service
Step-by-Step Instructions#
Step 1 — Confirm the board is the fault#
A control board is expensive, so confirm it before you buy. Whirlpool dryers with electronic controls use the F#E# format. The codes that implicate the board are F1 E1 (main control board EEPROM communication failure) above all, and to a degree F2 E1 (a stuck keypad, which is the user-interface board rather than the main board). By contrast F3 E1 (exhaust thermistor open/short) and F4 E1 (airflow restriction) point at sensors and venting, not the board — replacing a board for those wastes money. A dead display, no response to any button, or a dryer that will not start with good power at the outlet all also point to the board. Rule out the door switch and thermal fuse first, since either can mimic a dead dryer: a dryer with a dark display and a stone-dead panel is far more often a blown thermal fuse or a failed door switch than a bad board, and both are a fraction of the cost. Confirm power is actually reaching the console (a tripped half of the double-pole circuit can leave the motor able to hum while the board sits unpowered), and only after those checks come back clean should you commit to a board. A board that logs F1 E1 repeatedly, resists a power-cycle reset (unplug for one minute), and returns the same fault on a known-good outlet is the genuine case for replacement.
Step 2 — Open the console#
The main board and the user-interface board live in the control console at the top of the dryer, and reaching them does NOT require pulling the top, front, or drum. Depending on the model, either remove the screws at the rear of the console and tilt it up and back, or release the end-cap clips and rotate the console forward. On rear-control models, remove the rear console cover to expose the board directly. Set the console so it rests without straining the wires still attached.
Step 3 — Photograph everything before you unplug it#
This is the step that saves the repair. Photograph every connector on the board — the ribbon cable to the display, the main wiring harness, and any individual leads — capturing their positions and orientations. Whirlpool boards carry many similarly-sized connectors, and a single swapped harness can throw a fault or damage the new board.
Step 4 — Release the connectors and remove the board#
Disconnect each harness by pressing its locking tab and pulling the connector body, never the wires; ribbon cables usually lift straight out of their socket. With every connection free, remove the board's mounting screws or release its plastic standoff clips (squeeze the tab and lift the board off the post). Set the old board in the magnetic tray's tray area and compare it side by side to the new one to confirm the part matches — same connector layout, same mounting pattern.
Step 5 — Fit the new board#
Seat the new board on its standoffs or screw it into place, then reconnect every harness in the exact positions from your photos, pushing each until it seats with a click and pressing ribbon cables fully home. Confirm nothing is left unplugged and no connector is offset by a pin.
Step 6 — Reassemble and verify#
Rotate the console back into place and reinstall its screws or clips, taking care that no wire is pinched between the console and the cabinet as it closes. Plug the dryer in and, using the tech sheet, enter diagnostic mode to clear stored codes and run a quick component test, or simply start a short timed-dry cycle with a damp towel. Verify the display lights and responds, the drum turns, heat comes up within 1-2 minutes, and no fault returns. Many Whirlpool boards need no calibration after a swap, but some models prompt a cycle-count or sensor-calibration step in diagnostic mode on first power-up — follow the tech sheet if it does, and do not panic if the first power-up shows a brief self-test sequence, which is normal.
Whirlpool Dryer-Specific Technical Notes#
- Two boards, not one: most Whirlpool dryers split the electronics into a main control board (relays, logic) and a user-interface board (buttons, display). A dead display with a working drum often means the UI board, not the main board — match the F#E# code and the symptom to the right one.
- AccuDry sensor: the two metal bars inside the drum read moisture; a board wrongly blamed for early shut-offs is often just dirty sensor bars — clean them with fine sandpaper and alcohol before condemning the board.
- Wrinkle Shield: the timer-controlled post-cycle tumble runs off the board, so if it quits after the swap, recheck the relevant connector.
- Static and boards: handle the new board by its edges; static discharge can damage the microcontroller before it ever runs.
- Thermal fuse first: a blown thermal fuse (from a restricted vent) kills the dryer just like a dead board — always verify it before spending on a board.
Safety First — Know the Risks
Gas dryers carry carbon monoxide and explosion risk. Even electric dryers involve 240V circuits that can deliver a fatal shock. Our techs are licensed and insured — let them handle the risk.
Licensed & Insured · 90-Day Warranty · Same-Day Service
Troubleshooting Post-Repair Issues#
- Same F1 E1 after the new board: a connector is not fully seated, or the harness between the board and the affected component is damaged — recheck every connection against your photos.
- Display dark but drum runs: you likely replaced the main board when the user-interface board was the fault, or the ribbon cable to the display is not fully seated.
- No heat after the swap: unrelated to the board — check the thermal fuse and element, and confirm the vent is clear.
- Buttons unresponsive on the new board: the UI ribbon cable is reversed or half-seated; reseat it squarely.
When Should You Call a Professional?#
EasyBear technicians serving Sacramento and the Bay Area carry Whirlpool-specific diagnostic tools and replacement parts on every service call. Call one if a gas model smells of gas after work near the burner, if several components failed at once (a power surge may have taken out the board and more), if the new board throws immediate faults you cannot trace with the tech sheet, or if the dryer needs deeper disassembly than the console to reach a related failed part.
The Real Cost of DIY
Average DIY attempt: $150-400 in tools you may use once, plus the risk of further damage. Our diagnostic visit costs $0 — we find the problem and give you an honest quote.
Licensed & Insured · 90-Day Warranty · Same-Day Service
Need Professional Help?#
Need help with this repair? Schedule a free diagnostic — same-day Whirlpool dryer repair across the Bay Area.
Appliance Repair Technician & Diagnostics Specialist · 10 years experience
Electronics and diagnostics specialist with 10 years of experience in modern smart appliance repair, specializing in LG and Samsung.


