
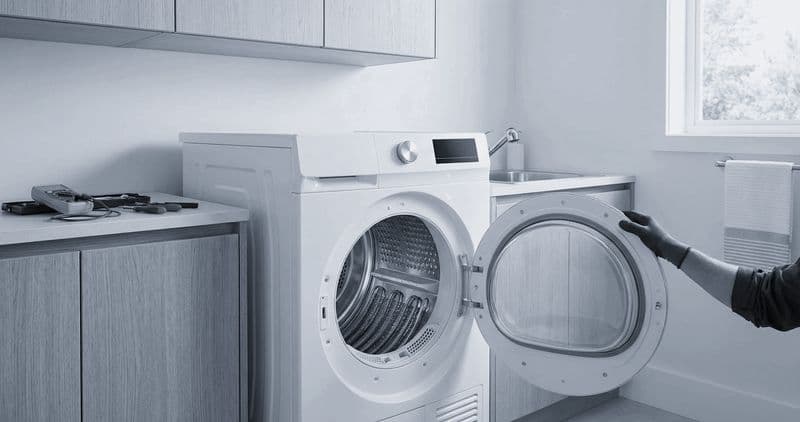
How to Replace a Whirlpool Dryer Idler Pulley
A worn idler pulley makes a Whirlpool dryer squeal and, once the belt lets go, it drops onto a safety switch that cuts the motor. Replacing the pulley is an intermediate, 25 to 35-minute job whose real skill is getting the belt routed back correctly.
The idler doubles as a safety switch#
On a Whirlpool dryer the spring-loaded idler both tensions the multi-rib belt and, when that belt breaks, falls and opens a switch that kills power to the motor. So a dryer that suddenly stops and will not restart is often a broken belt, not a dead motor. If your model has electronic controls, read the fault first: F1 E1 is a control-board fault, F3 E1 is an exhaust-thermistor fault, F4 E1 or AF is an airflow restriction. Your tech sheet, taped inside the console or the rear panel, carries the belt-routing diagram for your model.
Before you start#
| Category | What you need |
|---|---|
| Tools | Phillips #2, 5/16-inch nut driver, putty knife, needle-nose pliers |
| Part | Idler pulley assembly (verify by your model) |
| Time and level | 25 to 35 minutes, Intermediate |
Safety warning: Unplug the dryer completely. For gas dryers, shut off the gas supply valve at the wall connection. Allow 30 minutes cool-down if the dryer was recently running.
Do You Have the Right Tools?
Gas leak detector ($130), thermal fuse tester ($95), belt tension gauge, and vent inspection camera ($180). Our technician arrives with $3,000+ in professional tools — your diagnostic is free.
Licensed & Insured · 90-Day Warranty · Same-Day Service
Step-by-step#
1 - Open the cabinet. Free the top panel with a putty knife on the front-corner spring clips (or 2 rear screws on older models) and lift it. Remove the two top front-panel screws, unplug the door switch, release the lower clips, and lift the front panel off its hooks.
2 - Release the belt and pull the drum. Reach under the drum, push the idler toward the motor to slacken the belt, and slip the belt off the motor shaft, then lift the drum forward out of the cabinet.
3 - Replace the idler. Note how the spring loads the arm, unclip or unbolt the idler at its pivot, and fit the new assembly the same way so the spring pulls it to tension the belt. Spin the drum rollers while you are in there and replace any that feel rough.
4 - Route the belt (the tricky part). Lay the belt around the drum with the ribbed side against the drum, lower the drum in, then run the belt DOWN to the idler, wrap it 180 degrees around the idler wheel, and carry it to the motor shaft. Push the idler toward the motor with one hand while you slip the belt onto the shaft with the other, then release so the spring pulls it taut.
5 - Test and reassemble. Refit the panels, then run a short timed cycle with a damp towel and confirm the drum turns smoothly and quietly with heat within a minute or two. If it squeals, the belt is on backward, ribs facing out; flip it.
Whirlpool-specific notes#
- AccuDry sensor bars: the two metal strips inside the drum read moisture; wipe them with alcohol every couple of months, since dryer-sheet film on them ends cycles early.
- 4-Way Venting: only one of the four exhaust directions should be open, so after any rear work confirm the right one is uncapped.
- Thermal fuse: it sits on the exhaust path, and when it blows the real cause is almost always a clogged vent, so clear the vent before fitting a new fuse.
Safety First — Know the Risks
Gas dryers carry carbon monoxide and explosion risk. Even electric dryers involve 240V circuits that can deliver a fatal shock. Our techs are licensed and insured — let them handle the risk.
Licensed & Insured · 90-Day Warranty · Same-Day Service
Troubleshooting after the swap#
- Drum will not turn: the belt slipped off the motor shaft during front-panel reinstallation. Reopen and reroute it.
- Thumping after roller work: a new roller needs a cycle or two to bed in, or one is not fully seated.
- Squeal returns: the belt is on backward; the ribs must face the drum.
Appliance Repair Technician & Diagnostics Specialist · 10 years experience
Electronics and diagnostics specialist with 10 years of experience in modern smart appliance repair, specializing in LG and Samsung.


