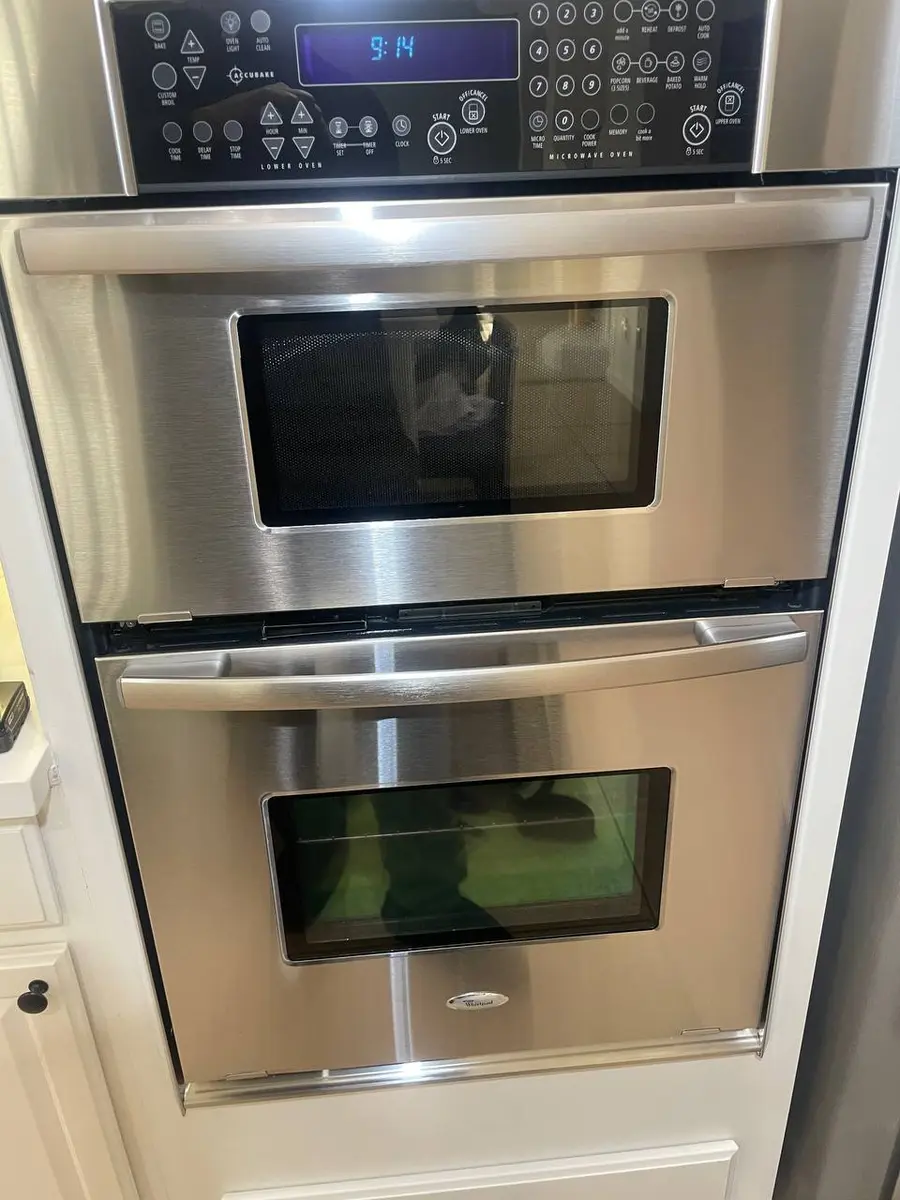
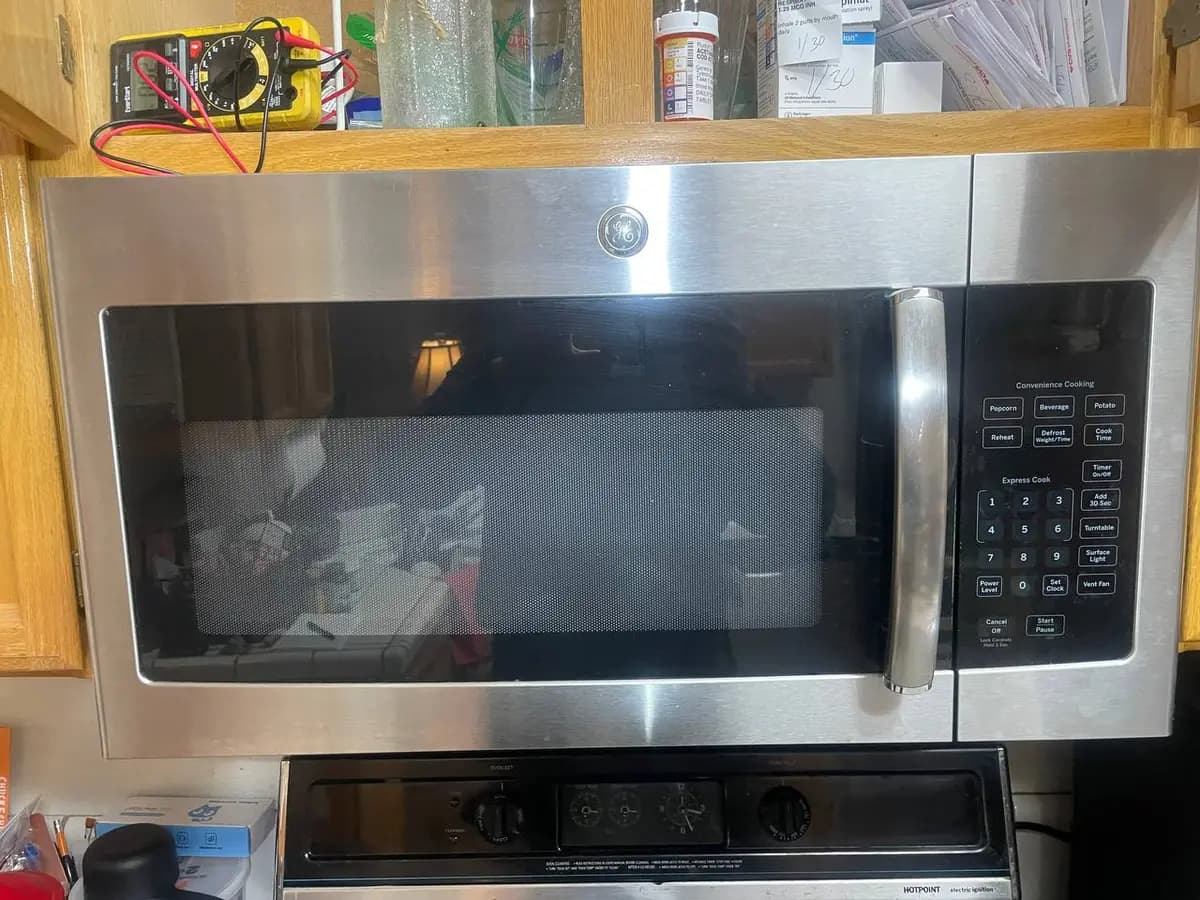
Frigidaire Microwave Won't Heat: How to Repair
A Frigidaire microwave that runs but will not heat has a failed high-voltage part — usually a door switch, the HV diode, the capacitor, the magnetron, or the transformer. Discharge the capacitor first, then test each in turn with a multimeter. Difficulty: intermediate to advanced; 60-90 minutes.
Frigidaire microwaves are built on the Electrolux platform, so parts cross-reference and are easy to find. The diagnosis below isolates which high-voltage component failed by resistance testing, so you never have to probe a live high-voltage circuit.
Tools & parts#
| Item | Detail |
|---|---|
| Phillips #2 / Torx T15 | cabinet and Gallery panels |
| Multimeter (resistance + capacitance) | component testing |
| Insulated screwdriver | discharging the capacitor |
| Needle-nose pliers, flashlight | connectors and access |
| Parts (by diagnosis) | door switch, HV diode, capacitor, or magnetron |
Do You Have the Right Tools?
High-voltage capacitor discharge tool ($90), magnetron tester ($200), microwave leakage detector ($150). Our technician arrives with $3,000+ in professional tools — your diagnostic is free.
Licensed & Insured · 90-Day Warranty · Same-Day Service
Safety first#
LETHAL VOLTAGES ARE PRESENT. The high-voltage capacitor stores 4000V+ and can kill even when the microwave is unplugged. You MUST discharge the capacitor before touching any internal component. To discharge: unplug the microwave, remove the outer cabinet, and use an insulated-handle screwdriver to bridge across the capacitor terminals. You should see/hear a spark. Verify discharge with your multimeter set to DC voltage across the capacitor terminals (should read 0V).
Step-by-step#
Step 1: Confirm it runs but does not heat#
Put 8 ounces of room-temperature water inside and run HIGH for 60 seconds. Stone-cold water means the heating circuit failed; lukewarm water means the magnetron is partly failing or, on Gallery models, the inverter is degrading.
Step 2: Test the door switches#
Frigidaire microwaves chain 3-4 interlock switches, and one failure can let the unit run without energizing the high-voltage side. With the cabinet off (Torx T15 on Gallery), meter each switch for continuity — primaries close when the door shuts and open when released, while the monitor switch works in reverse.
Step 3: Test the high-voltage diode#
The diode is the second most common no-heat cause. Disconnect one lead and use the meter's diode function in both directions: a good diode reads 50,000-200,000 ohms one way and infinite (OL) the other. Equal readings both ways — shorted or open — mean replace it with the exact Frigidaire part.
Step 4: Test the high-voltage capacitor#
With the capacitor confirmed discharged, disconnect both leads and meter on the highest resistance range (20 megohm). A good capacitor climbs from zero toward infinity as it charges off the meter; stuck at zero is a short and instant infinity is open — either means replacement. Frigidaire units typically use 0.95-1.05 uF capacitors rated at 2100 VAC, so match the spec exactly.
Step 5: Test the magnetron#
The magnetron converts the high-voltage DC into microwave energy. Disconnect both terminals and meter between them — a healthy filament reads under 1 ohm — then meter each terminal to the chassis, which should read infinite. An open filament or any continuity to the body means the magnetron is done.
Step 6: Inspect the high-voltage transformer#
If everything else tests good, check the transformer windings: the primary should read 1-3 ohms, the secondary high-voltage winding 50-150 ohms, and the filament winding a near-zero 0.1-0.5 ohms. Any open winding means a failed transformer, and shorted windings sometimes smell burnt.
Step 7: Reassemble and test#
With the failed part replaced and every connection secure, refit the cabinet, restore power, and run the same 8-ounce water test on HIGH for 60 seconds to confirm the water now heats.
Safety First — Know the Risks
Microwave capacitors store lethal voltage (4,000V+) even when unplugged. This is the single most dangerous DIY appliance repair. Our techs are licensed and insured — let them handle the risk.
Licensed & Insured · 90-Day Warranty · Same-Day Service
When to call a pro#
This repair sits at the edge of DIY. Call a technician if you are not fully confident discharging and verifying the capacitor at 0V, if multiple high-voltage parts test bad at once, or if you find scorching or a burnt smell around the transformer.
For a repair-versus-replace budget, see our microwave repair cost guide.
Appliance Repair Technician & Diagnostics Specialist · 10 years experience
Electronics and diagnostics specialist with 10 years of experience in modern smart appliance repair, specializing in LG and Samsung.