How to Replace the High-Voltage Diode in a Bosch Microwave
A failed high-voltage diode is one of the most common causes of a Bosch microwave that runs normally (turntable spins, light turns on, fan operates) but produces no heat. The diode is part of the voltage-doubler circuit that converts the transformer's output into the ~4,000V DC needed to drive the magnetron. When it fails, the magnetron receives insufficient voltage and cannot generate microwaves.
This repair applies to all Bosch microwave models with a standard magnetron circuit — including the BFL 500/600 series built-ins, HMT countertops, and BFR combination models. The diode is the same fundamental component across all models, though physical mounting varies.
Before You Start
- Tools needed: Torx T15 and T20 drivers, insulated screwdriver (for capacitor discharge), multimeter with diode test function, needle-nose pliers, 1/4" nut driver, safety gloves
- Parts needed: High-voltage microwave diode — BSH part number varies by model (common: BSH 00617748 or equivalent CL01-12 type). Typically rated 12kV 350mA. Cost: $8-$20
- Time required: 25-40 minutes
- Difficulty: Intermediate
- Safety warning: LETHAL VOLTAGE — The high-voltage capacitor stores enough energy to kill even when the microwave is unplugged. You MUST discharge the capacitor before touching any component in the high-voltage section. If you are not experienced with electronics, do not attempt this repair.
Do You Have the Right Tools?
High-voltage capacitor discharge tool ($90), magnetron tester ($200), microwave leakage detector ($150). Our technician arrives with $15K+ in professional tools — your diagnostic is free.
Licensed & Insured · 90-Day Warranty · Same-Day Service
Step-by-Step Instructions
Step 1: Confirm the Diode is the Problem
Before disassembly, verify symptoms match a diode failure:
- Microwave runs (fan, light, turntable all work)
- No heat produced at all (not weak heat — completely no heat)
- No unusual buzzing louder than normal from the transformer area
- No burning smell (if present, the magnetron or transformer may also be damaged)
If the microwave produces weak heat, the problem is more likely the magnetron itself. If there is a loud humming/buzzing that was not present before, the capacitor may have failed. The diode specifically causes a complete no-heat condition with otherwise normal operation.
Step 2: Unplug and Access Internal Components
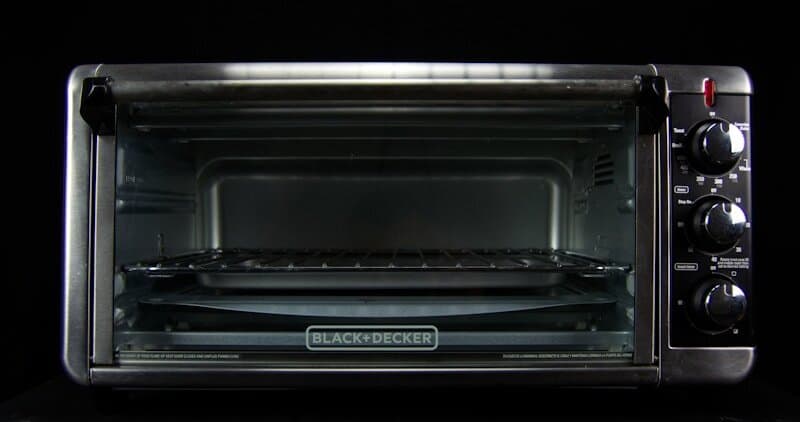
Disconnect the microwave from power completely — remove the plug from the wall outlet, do not rely on switches. For built-in Bosch models: remove the 4 mounting Torx T20 screws and slide the unit out of the cabinet. For countertop models: remove the outer shell (1 screw per side, 2-3 on rear, slide shell backward).
Step 3: Discharge the High-Voltage Capacitor
This is the most critical safety step. Locate the high-voltage capacitor — a metal cylinder approximately 3-4 inches long, mounted near the transformer and magnetron. It has two spade terminals on top.
Discharge procedure:
- Place one hand behind your back (prevents current path across chest)
- Using an insulated-handle screwdriver, touch the metal shaft to ONE capacitor terminal
- Slide the screwdriver shaft to bridge BOTH terminals simultaneously
- You may see a spark and hear a pop — this is the stored energy discharging safely through the screwdriver
- Hold for 3 seconds, then remove
- Verify with multimeter set to DC voltage across the terminals — should read 0V
Some Bosch models include a built-in bleeder resistor that slowly drains the capacitor after power-off. Never assume this has worked — always manually discharge.
Step 4: Locate and Remove the Failed Diode
The high-voltage diode in Bosch microwaves is typically mounted near the capacitor, connected between one capacitor terminal and the chassis ground. It is a small cylindrical component (about the size of a AA battery) with a wire lead on each end.
Identify the connections: one end connects to a capacitor terminal via a spade connector, and the other end is bolted to the chassis (ground) with a small screw or nut. Note the orientation — diodes are directional components. The cathode end (usually marked with a band or arrow) faces a specific direction in the circuit.
Disconnect the spade connector from the capacitor terminal using needle-nose pliers. Remove the ground mounting screw/nut with a 1/4" nut driver. The diode is now free.
Step 5: Test the Old Diode to Confirm Failure
Set your multimeter to the diode test function. A working HV microwave diode behaves differently from standard diodes due to its high voltage rating:
- Forward direction (red probe to anode, black to cathode): A standard meter may show OL (open) because the meter's test voltage is too low to overcome the diode's high-voltage series junctions. This is NORMAL for a good HV diode. Some meters with higher test voltages will show a reading of 100-200 in diode mode.
- Reverse direction (swap probes): Must show OL (open/infinite).
- Failed diode indicators: Shows low resistance in both directions (shorted), or shows continuity in reverse direction (breakdown). A completely open diode (OL in both directions) can also be failed if the meter cannot detect the forward drop.
The most reliable test: use an analog meter on the highest ohm range. Forward: meter should deflect slightly. Reverse: no deflection. If the meter deflects in both directions, the diode is shorted.
Step 6: Install the New Diode
The replacement diode must match specifications: rated for at least 12kV reverse voltage and 350mA forward current (standard for microwave HV diodes). BSH-specific part numbers can be found by E/Nr model number, but generic CL01-12 type diodes are electrically identical.
Install in the same orientation as the original:
- Bolt the ground end to the chassis using the original screw (ensure metal-to-metal contact for proper ground)
- Connect the other end to the capacitor terminal with the spade connector
- Ensure the wire leads are not touching any other components and have clearance from the chassis
Step 7: Verify the Repair
Before closing up:
- Visually inspect — no loose wires, no tools left inside, capacitor connections secure
- Reassemble the outer shell or slide unit back into cabinet
- Plug in and test with a cup of water (250ml): microwave for 1 minute on full power. The water should be noticeably warm (temperature rise of 15-25 degrees C indicates proper magnetron output)
- If no heat is produced, recheck: diode orientation, capacitor connections, and test the magnetron itself
Troubleshooting
- New diode installed but still no heat: The magnetron may have also failed (diode failure can be caused by magnetron arcing). Test magnetron: less than 1 ohm between terminals, open circuit to chassis.
- Microwave trips circuit breaker after diode replacement: Diode installed backward, or the capacitor has also shorted. Reverse diode orientation; if still trips, test capacitor.
- Buzzing/humming louder than normal after repair: Capacitor may be failing — it can degrade alongside the diode. Test capacitance if your meter supports it (should read 0.9-1.1 uF).
- Diode fails again within weeks: The magnetron is arcing internally, which sends voltage spikes through the HV circuit destroying diodes. The magnetron needs replacement.
Safety First — Know the Risks
Microwave capacitors store lethal voltage (4,000V+) even when unplugged. This is the single most dangerous DIY appliance repair. Our techs are licensed and insured — let them handle the risk.
Licensed & Insured · 90-Day Warranty · Same-Day Service
When to Call a Professional
- You are not comfortable working with potentially lethal high-voltage components
- Multiple components in the HV circuit have failed (magnetron + diode + capacitor = likely transformer damage upstream)
- The microwave is a built-in unit and you cannot safely extract it from cabinetry
- After replacing the diode, the magnetron tests shorted to ground — refrigerant system work is needed
Same-Day Appliance Repair
Fixed or It's Free
$89 → $0 Service Call & Diagnosis — offer ends May 25
Cost Comparison: DIY vs Professional
| DIY | Professional | |
|---|---|---|
| Parts (diode) | $8-$20 | $8-$20 + markup |
| Labor | $0 | $120-$200 |
| Time | 25-40 min | 15-25 min |
| Risk | HIGH (lethal voltage) | Warranty included |
The Real Cost of DIY
Average DIY attempt: $150-400 in tools you may use once, plus the risk of further damage. Our diagnostic visit costs $0 — we find the problem and give you an honest quote.
Licensed & Insured · 90-Day Warranty · Same-Day Service
Need Professional Help?
FAQ
Q: How do I know if my microwave diode is bad versus the magnetron? A: A failed diode produces zero heat with normal operation (fan, light work). A failed magnetron often produces zero heat as well, but may also cause a louder-than-normal buzzing from the transformer, or a burning smell. Test both — diode first since it is cheaper and easier to replace.
Q: Can I bypass the diode to test if it's the problem? A: Absolutely not. The diode is part of a voltage-doubling circuit. Bypassing it sends incorrect voltage to the magnetron, which can cause catastrophic failure of the magnetron, transformer, or capacitor. Always test by replacement or proper multimeter testing.
Q: Are microwave diodes universal or model-specific? A: Largely universal. Most residential microwaves use a CL01-12 type HV diode rated 12kV/350mA. The BSH part number is model-specific for warranty purposes, but electrically identical generic replacements work fine. Match the voltage and current rating.
Q: My Bosch microwave hums but does not heat — is that the diode? A: Humming without heat more commonly indicates a failed capacitor or shorted magnetron rather than the diode. A shorted diode typically causes the fuse to blow. A failed-open diode causes no heat with no additional symptoms.
Need a certified technician? Book same-day repair →

