Whirlpool Dryer Switch Replacement — Start Switch, Door Switch & Temperature Selector
Whirlpool dryers use three distinct switches, each producing different symptoms when they fail. The door switch ($8-15), push-to-start switch ($10-20), and temperature selector switch ($15-35) are all inexpensive parts, but replacing the wrong one wastes time and money.
Identifying Which Switch Failed
Push-to-Start Switch
Location: Behind the start button on the console panel How it works: A momentary contact switch — you push it, it sends a start signal to the motor relay. Once the motor is running, the motor's centrifugal switch takes over and the start switch is no longer in the circuit.
Symptoms of failure:
- Nothing happens when you push the Start button — no click, no hum, no motor attempt
- You have to push the button very hard or at a specific angle to start the dryer
- The dryer starts intermittently — sometimes the button works, sometimes it does not
Key difference from door switch: With a failed start switch, you hear absolutely nothing — no click, no hum. With a failed door switch, the motor may try to start briefly or you hear a click from the board.
Door Switch
Already covered in the door latch guide — the switch that prevents operation with the door open. Same symptoms as described there.
Temperature Selector Switch (Mechanical Models)
Location: Behind the temperature selection buttons or rotary knob on the console How it works: Routes power through different heater circuit paths — High heat connects both heating coils in parallel (full power), Medium connects them differently (reduced power), Low connects fewer coils, and Air Fluff bypasses the heater entirely.
Symptoms of failure:
- One or more temperature settings do not produce heat — for example, High works but Medium does not
- All heated settings fail but Air Fluff still tumbles — the switch is not routing power to the heater circuit at all
- Temperature selector clicks into position but nothing changes — the internal contacts are corroded or broken
Note: Electronic-control dryers (touchpad display) do not have a mechanical temperature switch — the board handles temperature selection electronically via the heater relay.
Do You Have the Right Tools?
Multimeter ($85), vacuum pump ($250), diagnostic software, and specialized hand tools. Our technician arrives with $15K+ in professional tools — your diagnostic is free.
Licensed & Insured · 90-Day Warranty · Same-Day Service
Testing Each Switch
All switch testing follows the same basic procedure:
- Unplug the dryer (240V — critical)
- Access the switch (console panel for start and temp switches, front panel for door switch)
- Disconnect the wire(s) from the switch terminals
- Set multimeter to continuity
- Actuate the switch and check for continuity change
Start switch: Should show continuity only while being pressed (momentary). Release = open. Door switch: Should show continuity when plunger is pressed (door closed position). Release = open. Temperature switch: Varies by position — consult the tech sheet wiring diagram. Each position should connect specific terminal pairs.
Part Numbers and Cost
| Switch | Part Numbers | Cost |
|---|---|---|
| Push-to-start switch | WP3395385, WP3977456 | $10–$20 OEM |
| Door switch | WP3406107 | $8–$15 OEM |
| Temperature selector switch | WP3399639 (model-specific) | $15–$35 OEM |
| Aftermarket | Various | $5–$15 each |
| Professional replacement | — | $80–$150 total |
Safety First — Know the Risks
Appliances involve high voltage (120-240V), pressurized water, gas lines, and chemical refrigerants. Over 400 DIY repair injuries are reported yearly. Our techs are licensed and insured — let them handle the risk.
Licensed & Insured · 90-Day Warranty · Same-Day Service
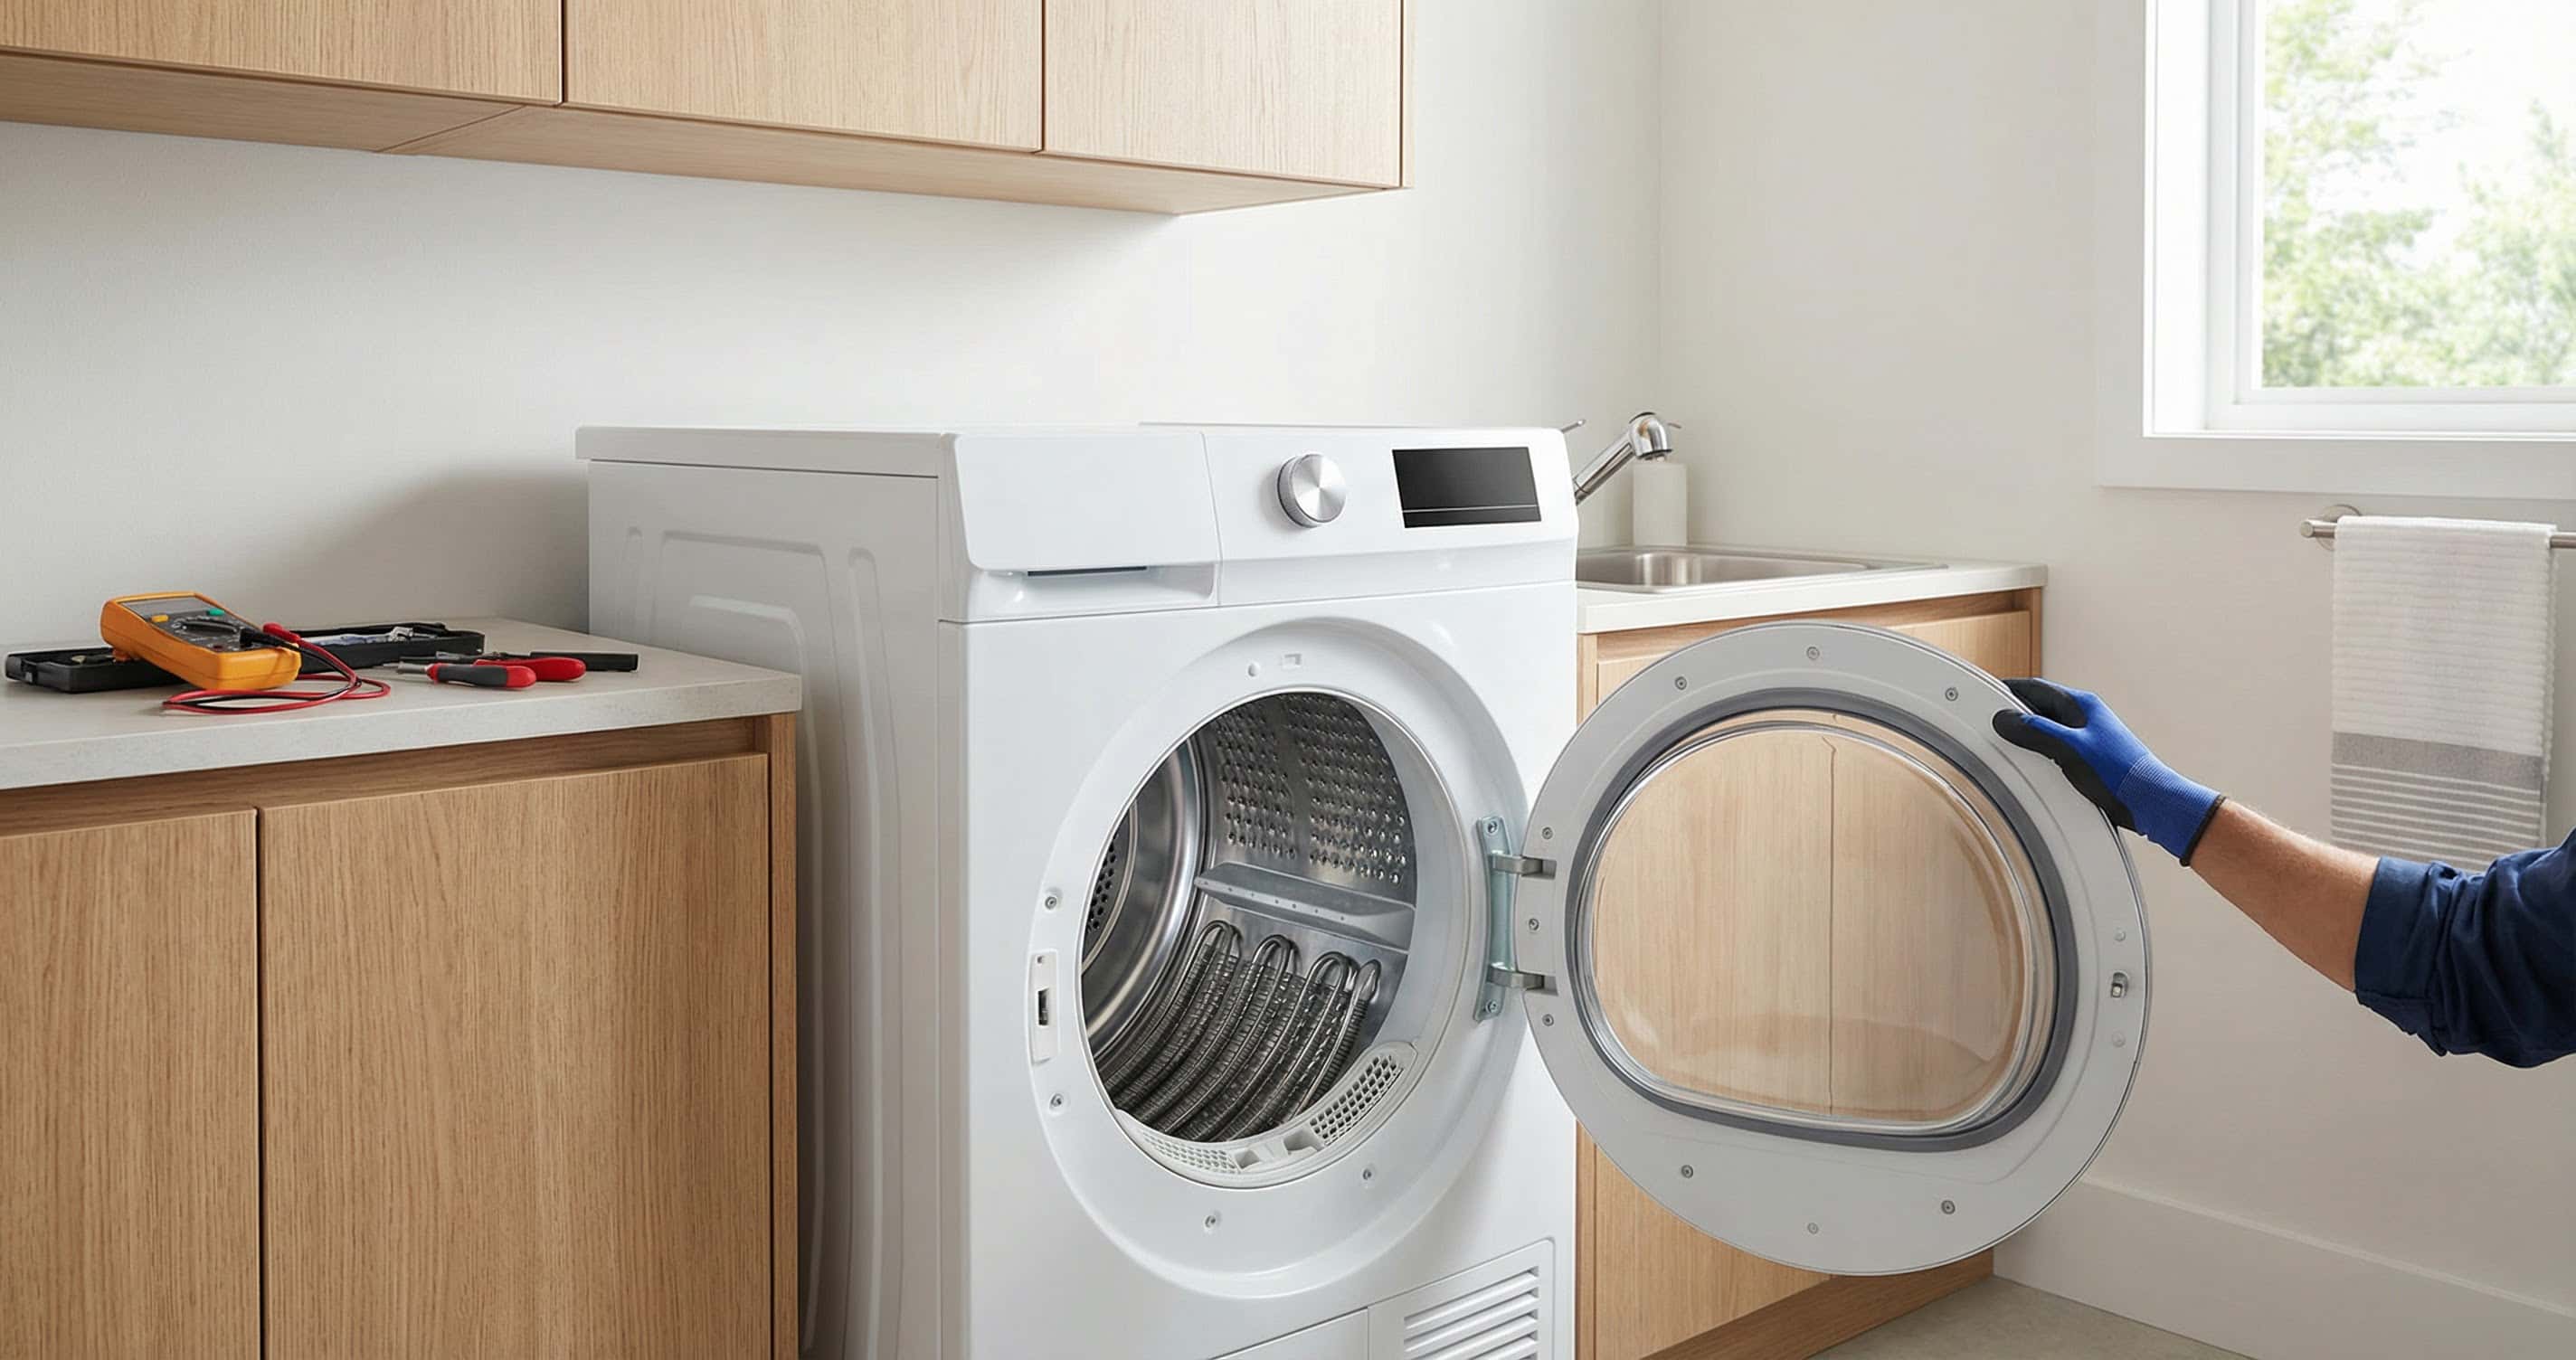
Replacing the Start Switch
- Unplug the dryer
- Remove the console panel screws (2-3 at rear) and tip or flip the console
- The start switch is directly behind the Start button — held by a bracket or clip
- Disconnect the 2 wire terminals (photograph first)
- Release the switch from its bracket
- Install the new switch in the bracket
- Reconnect wires to the same terminals
- Reassemble the console
Replacing the Temperature Switch
- Unplug the dryer
- Remove the console panel
- The temperature switch is behind the temperature buttons or knob
- The switch typically has 4-6 wire terminals — photograph all connections carefully
- Disconnect all wires one at a time, transferring each wire from the old switch to the same terminal on the new switch to avoid mixups
- Remove the old switch mounting (screws or clip) and install the new one
- Verify all wires are connected to the correct terminals
- Reassemble the console
Same-Day Appliance Repair
Fixed or It's Free
$89 → $0 Service Call & Diagnosis — offer ends May 25
The Real Cost of DIY
Average DIY attempt: $150-400 in tools you may use once, plus the risk of further damage. Our diagnostic visit costs $0 — we find the problem and give you an honest quote.
Licensed & Insured · 90-Day Warranty · Same-Day Service
Common Mistakes
- Confusing start switch and door switch symptoms — both produce a "dryer will not start" condition. The start switch produces zero response to the button press. The door switch may produce a click from the control board but the motor never engages.
- Not testing the motor centrifugal switch — this is a switch inside the motor housing that keeps the motor running after the start switch is released. If this internal switch fails, the dryer starts when you hold Start but stops as soon as you release. This is a motor problem, not a start switch problem.
- Replacing the temperature switch on an electronic dryer — electronic models do not have a mechanical temperature switch. If temperature selection fails on an electronic model, the control board or its relay is the cause.
Lifespan
Start switches last 10-20+ years. Door switches last 8-12 years. Temperature selector switches last 12-20 years. These are simple mechanical components with very few failure modes — mainly contact corrosion in the humid dryer environment.
Don't Void Your Warranty
Opening your appliance yourself may void the manufacturer warranty. Our repair comes with a 90-day guarantee, and we document everything for warranty compliance.
Licensed & Insured · 90-Day Warranty · Same-Day Service
FAQ
My dryer starts only when I hold the Start button and stops when I release — is that the start switch?
No. That is the motor centrifugal switch — an internal switch in the motor housing that keeps the motor running after the start button is released. The motor needs replacement or (rarely) the centrifugal switch can be serviced separately.
Can I bypass the start switch to test if that is the problem?
For a brief diagnostic test only. Touch the two start switch wires together momentarily. If the dryer starts, the switch was the problem. Never operate the dryer with a permanently bypassed start switch.
All temperature settings produce the same heat level — what is wrong?
The temperature selector switch contacts are likely stuck in one position internally, routing power through the same path regardless of the selected setting. On electronic models, the board's temperature relay may be welded shut, which is a control board issue.
Dryer not starting or running on wrong heat? Our technicians test all switches and circuits on-site. Book a technician →