The Component Behind KitchenAid Error F6E0 — and Why It Fails
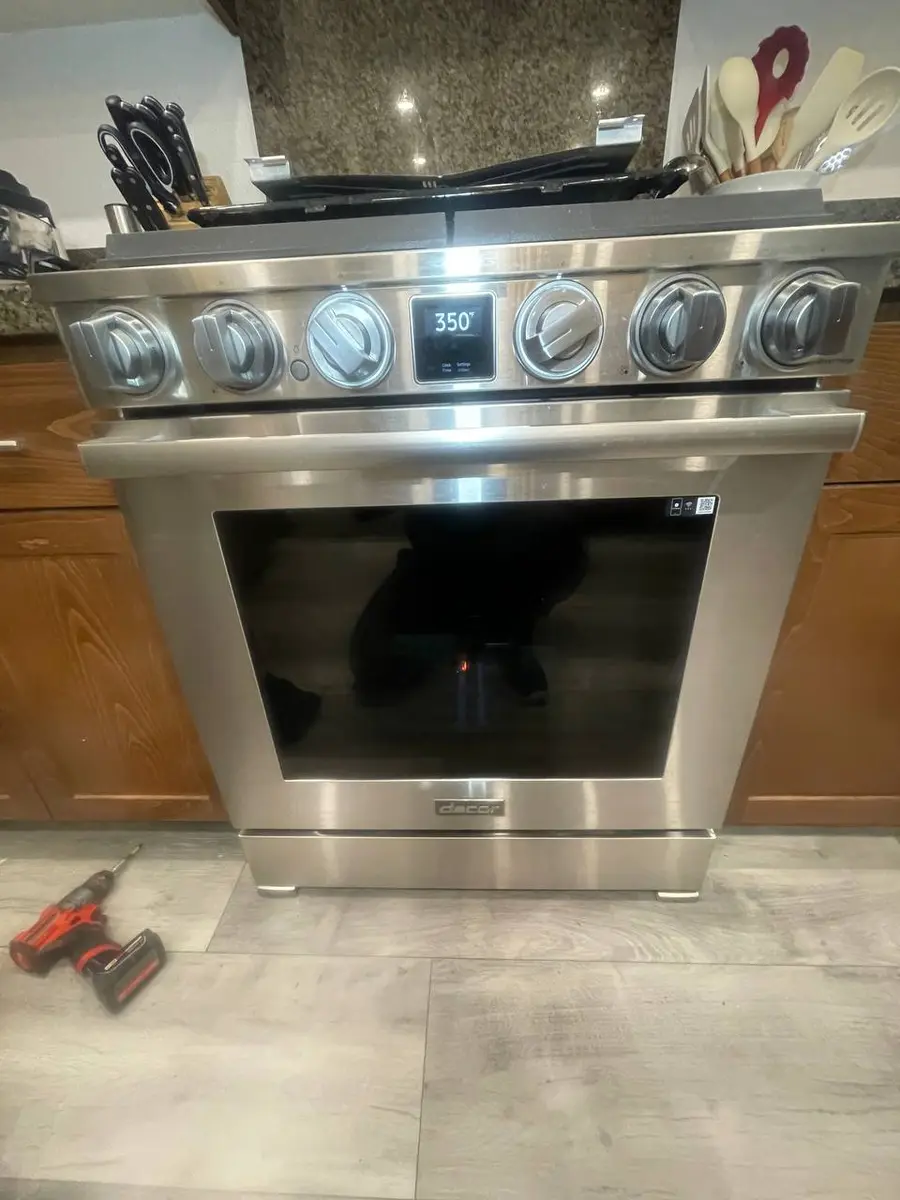
Error F6E0 on your KitchenAid oven points directly to one subsystem: Ribbon cable between touchpad and ERC board. This is not a vague fault indicator — the control board has tested this specific circuit and measured a value outside the acceptable operating range. Understanding what this component does, why ovens destroy it over time, and how to verify its condition gives you the information needed to either fix it yourself or have an informed conversation with a repair technician.
The Failed Component: Ribbon cable between touchpad and ERC board
In every KitchenAid oven, ribbon cable between touchpad and erc board serves as the electronic brain that processes inputs and controls outputs for all oven functions. Communication lost between the user interface and main control board.
The Even-Heat control system communicates through a ribbon cable connecting the touchpad to the main board — a path that runs through the console area above the oven. The dual-fan system's aggressive convection pushes heated air into the console space through the vent opening, subjecting this communication cable to higher ambient temperatures than passive-vent designs.
Do You Have the Right Tools?
Combustion analyzer ($300), igniter tester ($120), temperature calibrator ($150), and gas pressure manometer. Our technician arrives with $15K+ in professional tools — your diagnostic is free.
Licensed & Insured · 90-Day Warranty · Same-Day Service
Why KitchenAid Ovens Destroy This Part
Every oven is a hostile environment for electronic and mechanical components — but KitchenAid's specific engineering choices create particular stress patterns:
Dual-fan thermal cycling. KitchenAid's Even-Heat system maintains temperature by rapidly cycling the convection element. Each on/off cycle creates a thermal expansion pulse that travels through sensor mounts and wire connectors. Over thousands of cooking sessions, these micro-movements fatigue solder joints and loosen crimped connections.
Self-clean acceleration. Every self-clean cycle pushes the oven cavity above 880F for 2-4 hours. Components rated for normal baking temperatures (up to 500F) are operating 75% above their intended thermal ceiling during self-clean. Three self-clean cycles per year is equivalent to roughly 6 months of additional thermal aging on the control board's electrolytic capacitors.
Testing the Ribbon cable between touchpad and ERC board
Tools needed for F6E0 diagnosis: Digital multimeter (ohms and continuity modes required), non-contact voltage tester (mandatory safety tool for any 240V appliance work), standard hand tools (Phillips and Torx drivers as needed for your model), and clean cloths for handling components. A flashlight helps with visual inspection in confined panel areas.
Mandatory disconnection for F6E0 work: Oven circuits carry 240V at up to 50 amps — lethal levels requiring physical isolation at the breaker panel before touching internal components. After switching the breaker off, always confirm with a non-contact voltage tester that the circuit is truly dead before proceeding.
Access Procedure for KitchenAid
SatinGlide racks must be removed before accessing rear cavity sensors. The dual-fan assembly sits behind the rear panel and requires 8 Torx T20 screws for removal.
Electrical Testing
Component continuity test:
- Locate the component connector at the control board end 2. Disconnect the plug — note the orientation for reinstallation 3. Set multimeter to ohms (Ω) range, 2000 or 20K scale 4. On KitchenAid models affected by F6E0, Measure continuity through the component — reading depends on type: motor windings typically 20-200 ohms, switches should show near-zero ohms when closed 5. If reading is outside expected range, the component has failed
Board-level inspection: Look for swollen electrolytic capacitors (domed tops), burn marks on PCB traces, corroded connector pins, or white crystalline deposits indicating moisture intrusion.
Interpreting Results
| Measurement | Meaning | Action |
|---|---|---|
| Continuity confirmed | Component electrically functional | Check wiring harness and connectors |
| Open circuit | Component failed open | Replace ribbon cable between touchpad and erc board |
| Intermittent reading | Failing contacts or loose connection | Replace component |
Safety First — Know the Risks
Gas ovens involve live gas lines — a loose connection creates explosion and carbon monoxide risk. Electric ovens run on 240V circuits. Our techs are licensed and insured — let them handle the risk.
Licensed & Insured · 90-Day Warranty · Same-Day Service
Replacement Procedure
Part number: W11195935 Cost: $120-$250 Professional installation total: $220-$400
Step-by-Step Replacement
- Power verification: Breaker OFF, confirmed with voltage tester
- Access: Remove the console top screws or rear access panel depending on your model variant — consult tech sheet location (behind lower drawer or taped inside console)
- Documentation: Photograph all connectors before touching them — KitchenAid harness colors can vary between production runs
- Removal: Disconnect all harness connectors from the component, remove mounting screws, extract the old component
- Installation: Position new component, secure mounting screws, reconnect all harnesses with positive click at each connector
- Verification: Restore power, enter diagnostic mode (If display is blank, diagnostics may not be accessible), verify no stored codes, run test bake at 350F for 15 minutes
Confirming Successful Repair
After replacement, the F6E0 code should not reappear. Run three validation checks:
- Cold start test: From completely cold, start a bake cycle — code should not appear during preheat
- Full cycle test: Complete a 45-minute bake at 400F — code should not appear during steady-state or cool-down
- 48-hour monitor: Use the oven normally for two days — any recurrence within 48 hours suggests the replaced component was not the root cause
If F6E0 returns after replacement, the most likely explanations are: damaged wiring harness not caught during testing, a secondary failure masked by the primary fault, or an incorrect part number for your specific model variant. Verify the model number on the rating plate matches the part cross-reference.
Same-Day Appliance Repair
Fixed or It's Free
$89 → $0 Service Call & Diagnosis — offer ends May 25
The Real Cost of DIY
Average DIY attempt: $150-400 in tools you may use once, plus the risk of further damage. Our diagnostic visit costs $0 — we find the problem and give you an honest quote.
Licensed & Insured · 90-Day Warranty · Same-Day Service
Repair Decision Framework for KitchenAid F6E0
From a cost perspective, KitchenAid F6E0 is a discrete repair addressing one subsystem, not systemic appliance decline. The economic analysis:
- Repair cost for F6E0: documented above in parts and labor estimates
- Replacement cost for a comparable new KitchenAid oven: $2,500-$5,000
- Expected remaining lifespan if repaired: KitchenAid ovens typically provide 14-18 years total with proper maintenance
The repair-versus-replace threshold for appliances is generally accepted at 50% of replacement cost. For F6E0 on KitchenAid, the repair cost falls well below this threshold — typically representing 15-25% of new unit cost. Additionally, a single-point failure at mid-life does not indicate that other components are approaching failure simultaneously. The Even-Heat True Convection dual-fan system and supporting systems remain functional.
Factors that would shift toward replacement instead: multiple different fault codes stored simultaneously (indicates systemic electronic decline), the oven exceeding 80% of expected On KitchenAid models affected by F6E0, lifespan with prior major repairs in the last 2 years, or visible structural deterioration (rust, cavity damage, door seal failure) alongside the electronic fault.
Control Electronics Protection
The electronic control system on KitchenAid ovens operates in a thermally demanding environment. The Even-Heat True Convection On KitchenAid models affected by F6E0, dual-fan system places particular demands on the control board through frequent relay switching for precise temperature regulation.
Protecting the control electronics after repair: - Surge protection: A 240V-rated surge protector on the oven's dedicated circuit eliminates voltage spikes from utility events, lightning, and large-load switching on the same electrical panel. Surge events are the primary external cause of control board failures. - Adequate ventilation: Verify nothing blocks the oven's ventilation openings (top-rear on ranges, top on wall ovens). Restricted airflow raises ambient temperature in the electronics compartment, reducing the thermal margin between normal operation and component On KitchenAid models affected by F6E0, degradation thresholds. - Stable power supply: Loose connections at the terminal block (where the power cord connects to the range) or corroded breaker contacts create voltage instability that stresses power supply regulation circuits. Inspect these connections during any service visit. - Self-clean moderation: Beyond sensor effects, pyrolytic self-clean cycles expose the entire control board housing to elevated ambient temperatures for extended periods. The board is designed to survive this, but accumulated thermal cycles age electrolytic capacitors and connector contacts.
Don't Void Your Warranty
Opening your appliance yourself may void the manufacturer warranty. Our repair comes with a 90-day guarantee, and we document everything for warranty compliance.
Licensed & Insured · 90-Day Warranty · Same-Day Service
Post-Repair Verification Protocol
After resolving F6E0 on your KitchenAid oven, validate the fix systematically:
-
Cold-start check: From completely cold (ambient temperature), initiate the function that triggered F6E0. The code should not appear during the startup phase or first 5 minutes of heating. This confirms the repair resolved the room-temperature failure condition.
-
Full thermal cycle: Run a complete 45-minute bake at 375°F. Monitor for F6E0 during preheat (when thermal expansion is occurring), during temperature maintenance (steady-state operation), and during cool-down (when contracting components might re-open an intermittent connection). No code appearance at any phase = successful repair.
-
48-hour confidence period: Use the oven normally for two full days. Any recurrence of F6E0 within 48 hours suggests the root cause was not fully addressed — either the replaced component was secondary to the actual failure, or a connection was not fully secured during reassembly.
-
Warranty contact: KitchenAid standard warranty covers 1 year from purchase date — contact 1-800-253-1301 with model and serial number before paying for any repair on a qualifying On KitchenAid models affected by F6E0, unit. Extended warranties purchased through retailers typically cover 3-5 years. Post-repair warranty from a professional service company covers 90 days to 1 year on the specific repair performed.
Need a confirmed diagnosis of F6E0 on your KitchenAid oven? Our technicians verify the root cause before ordering parts — no guesswork, no unnecessary replacements. Book diagnostic visit.