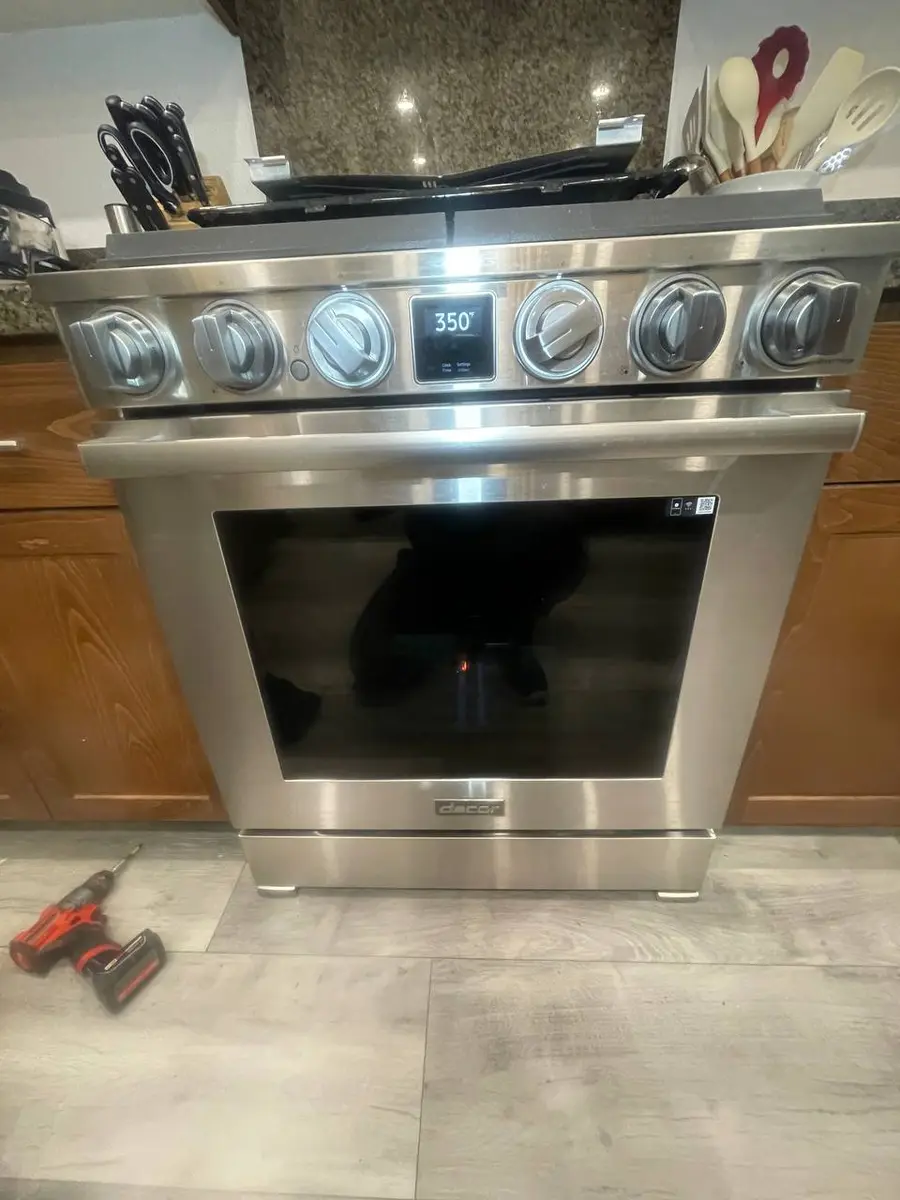
KitchenAid Oven F2E0: Shorted Temperature Sensor — Diagnosis and Replacement
Your KitchenAid oven displays F2E0 and refuses to heat. The control board measured near-zero resistance on the temperature sensor circuit — a reading that represents an impossibly high temperature on the RTD resistance curve. The board's safety logic immediately blocks all element activation to prevent what it perceives as catastrophic overheating.
The Immediate Situation
F2E0 makes the oven completely non-functional for any heating operation. Press Bake, select a temperature — the display acknowledges your input for a fraction of a second before reverting to F2E0. The broil function produces the same result. Self-clean is also blocked. The only functions that work are the clock, timer, and light.
This code appears on KitchenAid models KFEG500ESS, KSGB900ESS, KSEG700ESS, and KODE500ESS. The instant-rejection behavior (code appears immediately when heating is requested, not after a heating attempt) is the key diagnostic indicator — it tells you the sensor circuit is failed RIGHT NOW at room temperature, not just under thermal load.
Do You Have the Right Tools?
Combustion analyzer ($300), igniter tester ($120), temperature calibrator ($150), and gas pressure manometer. Our technician arrives with $15K+ in professional tools — your diagnostic is free.
Licensed & Insured · 90-Day Warranty · Same-Day Service
Understanding the RTD Sensor on KitchenAid Ovens
KitchenAid's Even-Heat technology relies on an RTD (Resistance Temperature Detector) sensor mounted in the upper-rear corner of the oven cavity. This platinum-film element has a precisely calibrated resistance-temperature relationship: approximately 1,080 ohms at room temperature (72°F), increasing linearly to approximately 1,500 ohms at 350°F and continuing upward with temperature.
The control board feeds a reference current through this sensor and measures the resulting voltage drop to calculate resistance, then converts that resistance to a temperature value through a firmware lookup table. When the board measures near-zero resistance, its lookup table returns an impossibly high temperature — thousands of degrees — and the safety logic prevents any heating whatsoever.
The Even-Heat dual-fan system on KitchenAid ovens distributes convection air across the sensor location during operation. This aggressive air circulation creates more thermal cycling at the sensor mounting point per cooking session than single-fan or conventional (no-fan) designs. Each heat-cool cycle expands and contracts the sensor wire, its mounting hardware, and the grommet seal in the rear wall.
What Caused the Short Circuit
Two primary failure modes produce the near-zero resistance that triggers F2E0:
Internal sensor element failure. The platinum film inside the RTD probe can develop a conductive bridge across its own element. Manufacturing defects (thin spots in the film that degrade over years), thermal fatigue (repeated expansion/contraction cracking the substrate), or contamination (cooking residue that penetrated the probe's seal) create a low-resistance path that bypasses the designed resistance.
Wire-to-wire contact. The two-wire harness from the sensor passes through the oven cavity wall at a ceramic grommet. On the cavity side, these wires are exposed to cooking temperatures up to 500°F during normal use and 900°F+ during self-clean. Over 8-12 years, wire insulation degrades at this high-temperature zone until the bare copper conductors contact each other. The SatinGlide rack system, while premium, creates slight vibration at the rear wall during rack insertion — accelerating insulation wear at the grommet point.
Safety First — Know the Risks
Gas ovens involve live gas lines — a loose connection creates explosion and carbon monoxide risk. Electric ovens run on 240V circuits. Our techs are licensed and insured — let them handle the risk.
Licensed & Insured · 90-Day Warranty · Same-Day Service
Confirming the Diagnosis
You need one tool: a digital multimeter set to the 2000-ohm scale.
- Turn off the circuit breaker (not just the control panel)
- Remove the rear access panel from the oven (4-6 Phillips screws depending on model)
- Locate the temperature sensor connector — a two-wire plug (white or grey wires on most KitchenAid models) coming from inside the oven cavity through the rear wall
- Disconnect the plug and measure resistance across the two sensor pins
If reading is 0 ohms or very low (under 50 ohms): Sensor is shorted. Replace the sensor.
If reading is approximately 1,080 ohms: The sensor and harness are actually fine at room temperature. This suggests either an intermittent short that only occurs under heat (rare with F2E0's instant behavior) or a fault in the board's measurement circuit (uncommon but possible). Reconnect and retest — if F2E0 persists with a known-good sensor reading, the board's input circuit has failed.
If reading is infinite (OL): This is an open circuit — you actually have an F3E0 condition, not F2E0. The board may have logged both codes if the circuit transitioned from short to open.
Sensor Replacement Procedure
Part: WPW10181986 — $25-$60 depending on source Tools: Phillips screwdriver, multimeter, possibly Torx T20
Step-by-Step
- With breaker OFF, open the oven door and remove the SatinGlide racks (lift and pull to disengage from the ball-bearing track assemblies)
- Locate the sensor probe inside the oven cavity — upper-rear corner. It is a thin stainless steel tube approximately 4 inches long, protruding from a ceramic mounting bracket on the rear wall
- Remove the mounting screw (one or two depending on model year — Phillips or hex head)
- Gently pull the sensor probe forward and out through the ceramic grommet in the rear wall. It slides through with moderate resistance from the grommet seal
- From outside the oven (rear access panel already removed), disconnect the two-wire plug from the old sensor's leads
- Connect the new sensor's leads to the harness connector. Thread the new probe through the grommet from the rear, pushing it into the cavity until it seats against the mounting bracket
- Secure with the mounting screw. Ensure the probe tip is not contacting any rack guide, cavity wall, or the rear panel itself — it must have clearance for accurate air temperature measurement
- Reconnect everything, replace the rear panel, reinstall SatinGlide racks, restore power
Verification After Installation
Set the oven to 350°F. The Even-Heat system should begin preheat within seconds — you will hear the convection fans spin up and feel warm air from the vent within 2-3 minutes. F2E0 should not appear. After 20 minutes of steady-state operation, check an oven thermometer placed at center rack. The reading should be within ±15°F of your 350°F setpoint. KitchenAid's Even-Heat system self-calibrates over the first few cooking sessions with a new sensor.
The Real Cost of DIY
Average DIY attempt: $150-400 in tools you may use once, plus the risk of further damage. Our diagnostic visit costs $0 — we find the problem and give you an honest quote.
Licensed & Insured · 90-Day Warranty · Same-Day Service
When Professional Repair Makes More Sense
Total professional cost: $150-$280 (diagnostic + sensor + labor + warranty)
Consider professional service when:
- The oven is a wall-mounted KODE or KOSE model requiring extraction from built-in cabinetry for rear access — these units weigh 150-200 lbs and require two people plus proper support
- You measured normal resistance (1,080 ohms) at the sensor but F2E0 persists — this indicates a board-level input circuit fault that requires advanced diagnosis
- The SatinGlide rack mechanism makes cavity access difficult on your specific model variant
Contact KitchenAid warranty at 1-800-253-1301 if your oven is under 1 year old — this repair should be fully covered.
Same-Day Appliance Repair
Fixed or It's Free
$89 → $0 Service Call & Diagnosis — offer ends May 25
Long-Term Sensor Protection
After replacement, extend the new sensor's life:
- Limit self-clean to 3 times per year — each 900°F cycle accelerates insulation aging at the grommet point where the wire transitions from ambient to cavity temperature
- Keep the sensor probe clean — cooking splatter that bakes onto the probe affects its reading accuracy and creates corrosive contact with the element surface
- If you notice temperature inaccuracy developing (food consistently over/undercooking by more than 25°F from before), the sensor is beginning to drift — replace proactively before it reaches fault threshold
KitchenAid oven lifespan: 14-18 years. Sensor replacement at $25-$60 (DIY) or $150-$280 (professional) is one of the most cost-effective oven repairs available.
Don't Void Your Warranty
Opening your appliance yourself may void the manufacturer warranty. Our repair comes with a 90-day guarantee, and we document everything for warranty compliance.
Licensed & Insured · 90-Day Warranty · Same-Day Service
Repair Decision Framework for KitchenAid F2E0
The KitchenAid F2E0 repair scope is narrow — a single component at fault, not systemic appliance decline. The economic analysis:
- Repair cost for F2E0: documented above in parts and labor estimates
- Replacement cost for a comparable new KitchenAid oven: $2,500-$5,000
- Expected remaining lifespan if repaired: KitchenAid ovens typically provide 14-18 years total with proper maintenance
The repair-versus-replace threshold for appliances is generally accepted at 50% of replacement cost. For F2E0 on KitchenAid, the repair cost falls well below this threshold — typically representing 5-15% of new unit cost. Additionally, a single-point failure at mid-life does not indicate that other components are approaching failure simultaneously. The Even-Heat True Convection dual-fan system and supporting systems remain functional.
Factors that would shift toward replacement instead: multiple different fault codes stored simultaneously (indicates systemic electronic decline), the oven exceeding 80% of expected On KitchenAid models affected by F2E0, lifespan with prior major repairs in the last 2 years, or visible structural deterioration (rust, cavity damage, door seal failure) alongside the electronic fault.
Sensor Longevity and Prevention
Temperature sensors in KitchenAid ovens are consumable components with a predictable wear pattern. The platinum RTD element degrades gradually from thermal cycling — each heat/cool transition microscopically stresses the sensing element and its connection points.
Factors that accelerate sensor failure on this platform: - Self-clean frequency: Each pyrolytic cycle (880-925°F for 2-4 hours) ages the sensor and its wiring equivalent to approximately 6 months of normal cooking use. Limiting self-clean to 2-3 times annually can extend sensor life by 2-3 years. - Cooking temperature habits: Consistently cooking On KitchenAid models affected by F2E0, at 400-500°F stresses sensors more than 300-350°F cooking. The temperature differential between ambient and operating temperature drives thermal expansion stress at connection points. - Steam and moisture: Cooking methods that generate heavy steam (boiling, steaming, covered roasting) expose the sensor and its grommet seal to moisture that accelerates corrosion at connector pins.
After replacing the sensor, monitor temperature accuracy with an oven thermometer every 6 months. When readings drift beyond ±25°F from On KitchenAid models affected by F2E0, setpoint, the new sensor is beginning to age — proactive replacement before it reaches fault threshold prevents unexpected cooking failures.
Is It Worth Your Time?
Oven temperature issues require systematic testing of the igniter, gas valve, thermostat, and calibration. Average DIY: 4-6 hours. Our technician diagnoses the issue in about 30 minutes — same-day appointments available.
Licensed & Insured · 90-Day Warranty · Same-Day Service
Post-Repair Verification Protocol
After resolving F2E0 on your KitchenAid oven, validate the fix systematically:
-
Cold-start check: From completely cold (ambient temperature), initiate the function that triggered F2E0. The code should not appear during the startup phase or first 5 minutes of heating. This confirms the repair resolved the room-temperature failure condition.
-
Full thermal cycle: Run a complete 45-minute bake at 375°F. Monitor for F2E0 during preheat (when thermal expansion is occurring), during temperature maintenance (steady-state operation), and during cool-down (when contracting components might re-open an intermittent connection). No code appearance at any phase = successful repair.
-
48-hour confidence period: Use the oven normally for two full days. Any recurrence of F2E0 within 48 hours suggests the root cause was not fully addressed — either the replaced component was secondary to the actual failure, or a connection was not fully secured during reassembly.
KitchenAid oven locked on F2E0? Our technicians carry RTD sensors for all KitchenAid models and complete most sensor repairs in under 30 minutes. Book same-day service.