How to Replace the Water Inlet Valve on a GE Washing Machine
The water inlet valve on a GE washing machine controls the flow of hot and cold water into the tub. It consists of two or more solenoid-operated valves (one per water temperature input) that open when electrically energized by the control board. When an inlet valve fails, the washer may fill slowly, not fill at all, fill with only hot or only cold water, or leak water continuously even when off.
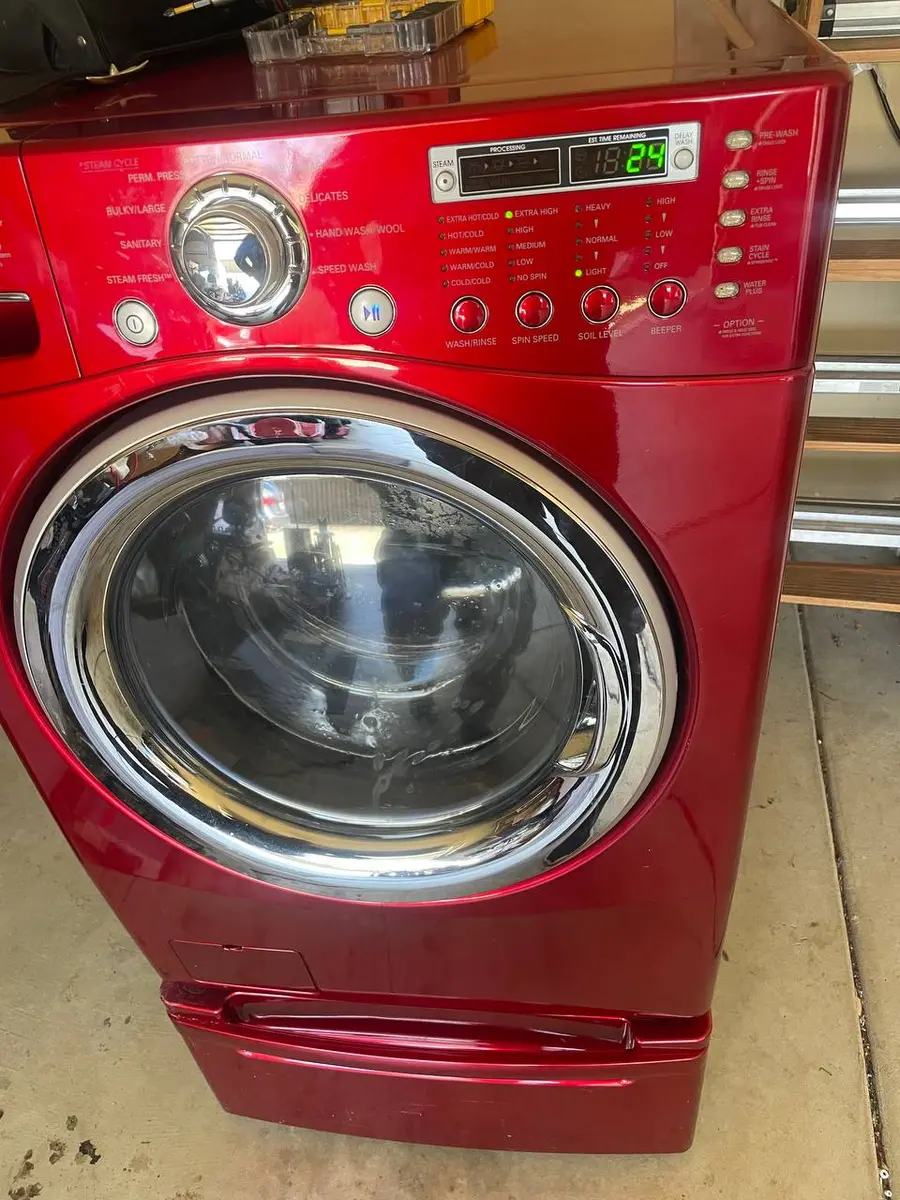
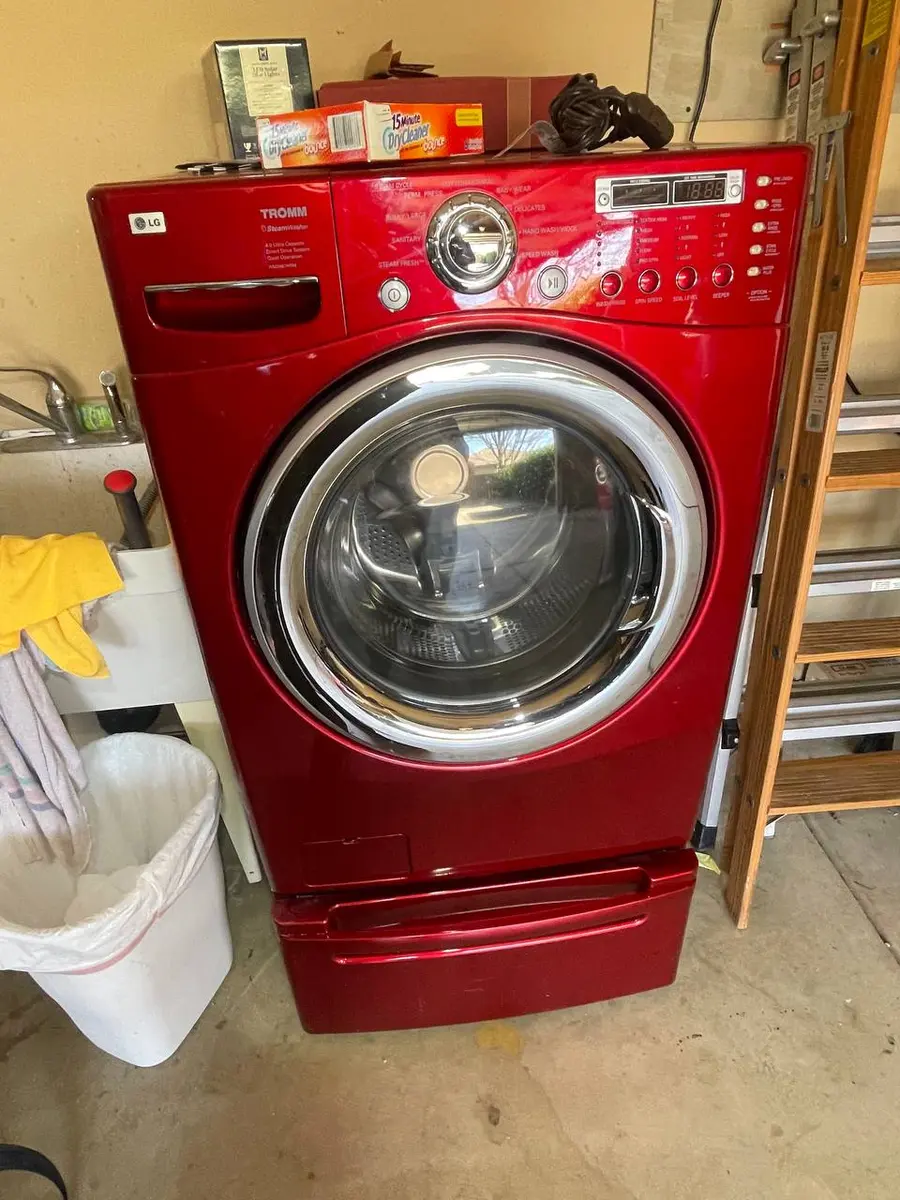
On GE front-load washers (GFW series), the inlet valve is located at the rear of the machine behind the top panel or rear panel, where the fill hoses connect. On GE top-load washers (GTW series), the valve is behind the rear panel at the top where the hoses attach.
Before You Start
- Tools needed: Phillips #2 screwdriver, pliers or channel-locks, multimeter, towels, bucket
- Parts needed: GE washer water inlet valve (model-specific, approximately $25-55)
- Time required: 30-45 minutes
- Difficulty: Intermediate
- Safety warning: Unplug the washing machine. Turn off both hot and cold water supply valves. Have a bucket and towels ready for residual water in the hoses.
Do You Have the Right Tools?
Bearing puller set ($120), drum spider wrench ($85), multimeter ($85), and diagnostic software. Our technician arrives with $15K+ in professional tools — your diagnostic is free.
Licensed & Insured · 90-Day Warranty · Same-Day Service
Step-by-Step Instructions
Step 1: Shut Off Water and Disconnect Hoses
Turn off both water supply valves (clockwise to close). Place a bucket behind the machine and disconnect the fill hoses from the washer inlet ports using pliers or channel-locks. Some water will drain from the hoses — direct it into the bucket.
Step 2: Access the Inlet Valve
Front-load (GFW): Remove the top panel (3 Phillips screws at rear, slide back and lift). The inlet valve is at the rear-left or rear-right where the fill hoses were connected. You will see it from above.
Top-load (GTW): The valve is accessible from the rear. Remove the rear access panel or the full rear panel depending on your model.
Step 3: Test the Valve Solenoids
Before removing, test with a multimeter. Set to resistance (ohms). Disconnect the wire connectors from the valve solenoids. Test across each solenoid terminal pair. A good solenoid reads 500-1500 ohms. An open circuit (OL) indicates a failed solenoid. If one solenoid is open, the washer fills with only hot or only cold water (depending on which failed).
Step 4: Disconnect Internal Hoses
The inlet valve connects to internal fill hoses that route water to the tub or dispenser. These are held by spring clamps. Note which hose connects to which port (take a photo). Release the clamps and pull the hoses off the valve ports. Have a towel ready for drips.
Step 5: Remove the Old Valve
Remove the mounting screws holding the valve bracket to the washer frame (typically 2 Phillips or hex screws). The valve lifts out as a unit.
Step 6: Install the New Valve
Mount the new valve in the same position and orientation. Secure with mounting screws. Reconnect internal hoses to the correct ports (match your reference photo). Ensure spring clamps are fully seated. Reconnect the solenoid wire connectors.
Step 7: Reconnect Fill Hoses and Test
Reattach the external fill hoses — hot to hot (left port typically), cold to cold (right). Hand-tighten plus 1/4 turn with pliers. Turn on water supply valves. Check all connections for leaks. Plug in the washer and run a fill test (any cycle that fills with water). Verify both hot and cold fill correctly.
Diagnosing Inlet Valve Problems
| Symptom | Diagnosis |
|---|---|
| No water fills at all | Both solenoids failed, or no power to valve (check control board, water pressure, supply valves) |
| Only cold water fills | Hot solenoid failed |
| Only hot water fills | Cold solenoid failed |
| Slow fill | Clogged inlet screens (clean with vinegar) or low water pressure |
| Water leaks when machine is off | Valve not closing completely (stuck open) — replace valve |
| Dispenser not getting water | Dispenser solenoid failed (3-solenoid valves) |
Cleaning Inlet Screens First
Before replacing the valve, check the inlet screens. Small mesh screens sit inside each inlet port where the hoses connect. Remove them with pliers, soak in vinegar for 30 minutes to dissolve mineral deposits, rinse, and reinstall. Clogged screens are the most common cause of slow-fill complaints and do not require valve replacement.
Safety First — Know the Risks
High-voltage components and pressurized water lines create flood and shock risk. A single loose fitting can cause thousands in water damage. Our techs are licensed and insured — let them handle the risk.
Licensed & Insured · 90-Day Warranty · Same-Day Service
Troubleshooting After Replacement
- If the washer still does not fill after valve replacement, verify water supply valves are fully open and water pressure is adequate (minimum 20 PSI). GE washers require a minimum water pressure to trigger the pressure switch
- If the new valve leaks at the internal hose connections, verify hoses are pushed on fully and spring clamps are in the correct groove position
- If fill is too slow, check that you did not cross-connect the internal hoses (dispensing routes water through a longer path, reducing fill rate)
- If water continues to enter the tub when the machine is off, the new valve may be defective (rare) or the issue is a siphoning problem — verify drain hose height
When to Call a Professional
- If the washer floods due to a stuck-open valve — professional assessment of water damage may be needed
- If replacing the valve does not resolve continuous filling — the control board may be stuck in a fill signal state
- If your water supply connections are corroded or the shutoff valves do not fully close
Same-Day Appliance Repair
Fixed or It's Free
$89 → $0 Service Call & Diagnosis — offer ends May 25
The Real Cost of DIY
Average DIY attempt: $150-400 in tools you may use once, plus the risk of further damage. Our diagnostic visit costs $0 — we find the problem and give you an honest quote.
Licensed & Insured · 90-Day Warranty · Same-Day Service
Cost Comparison: DIY vs Professional
| DIY | Professional | |
|---|---|---|
| Parts | $25-$55 | $25-$55 |
| Labor | $0 | $120-$225 |
| Time | 30-45 min | 20-30 min |
| Risk | Low | Warranty included |
Need Professional Help?
Don't Void Your Warranty
Opening your appliance yourself may void the manufacturer warranty. Our repair comes with a 90-day guarantee, and we document everything for warranty compliance.
Licensed & Insured · 90-Day Warranty · Same-Day Service
FAQ
Q: How do I know if my GE washer inlet valve is bad or if it is a water pressure issue? A: Test water pressure by disconnecting a fill hose and directing it into a bucket while opening the supply valve. Strong flow indicates adequate pressure. If pressure is good but the washer does not fill, the valve solenoid has failed. Test solenoids with a multimeter (should read 500-1500 ohms).
Q: Can I clean a GE washer inlet valve instead of replacing it? A: You can clean the inlet screens (mesh filters at the hose connection points), which resolves slow-fill issues from mineral buildup. However, if the solenoid coil has failed electrically or the valve is stuck open/closed, cleaning will not help — replacement is required.
Q: Are GE front-load and top-load inlet valves interchangeable? A: No. They differ in size, port configuration, number of solenoids, and mounting bracket design. Always order by your specific model number.
Q: Why does my GE washer fill with water when it is turned off? A: A valve that allows water to pass when de-energized is stuck open mechanically. This is a safety issue that can cause flooding. Replace the valve immediately and turn off water supply valves when not using the washer until the repair is complete.
Need a certified technician? Book same-day repair →