How to Replace the Whirlpool Dryer Thermal Fuse
The thermal fuse is the most commonly replaced part on Whirlpool dryers. This one-time-use safety device blows when the exhaust temperature exceeds safe limits, typically due to a restricted vent. When blown, the dryer runs normally but produces no heat (electric models) or no heat and no tumble (some gas models). The fuse cannot be reset — it must be replaced.
Critically, you must identify and fix the root cause (almost always a clogged vent) before installing a new thermal fuse. A new fuse installed without addressing the vent restriction will blow again within days or weeks.
Before You Start
- Tools needed: Phillips #2 screwdriver, 5/16" nut driver, multimeter, dryer vent cleaning brush kit
- Parts needed: Thermal fuse (~$8-15, model-specific — check your tech sheet for exact part number)
- Time required: 20-30 minutes for fuse replacement, plus 30 minutes for vent cleaning
- Difficulty: Beginner
- Safety warning: Unplug the dryer completely. For gas dryers, shut off the gas valve. The thermal fuse is located near high-voltage connections.
Do You Have the Right Tools?
Gas leak detector ($130), thermal fuse tester ($95), belt tension gauge, and vent inspection camera ($180). Our technician arrives with $15K+ in professional tools — your diagnostic is free.
Licensed & Insured · 90-Day Warranty · Same-Day Service
Step-by-Step Instructions
Step 1: Confirm the Thermal Fuse Has Blown
Before disassembly, confirm your diagnosis. A blown thermal fuse produces a very specific symptom: the dryer tumbles normally, the control panel works, the timer advances, but no heat is produced. If the dryer does not tumble at all, the issue is not the thermal fuse.
If you can access the fuse for testing before ordering a replacement: set your multimeter to continuity or resistance. The fuse should show near-zero ohms (continuity). If it shows OL (open line / infinite resistance), the fuse is blown.
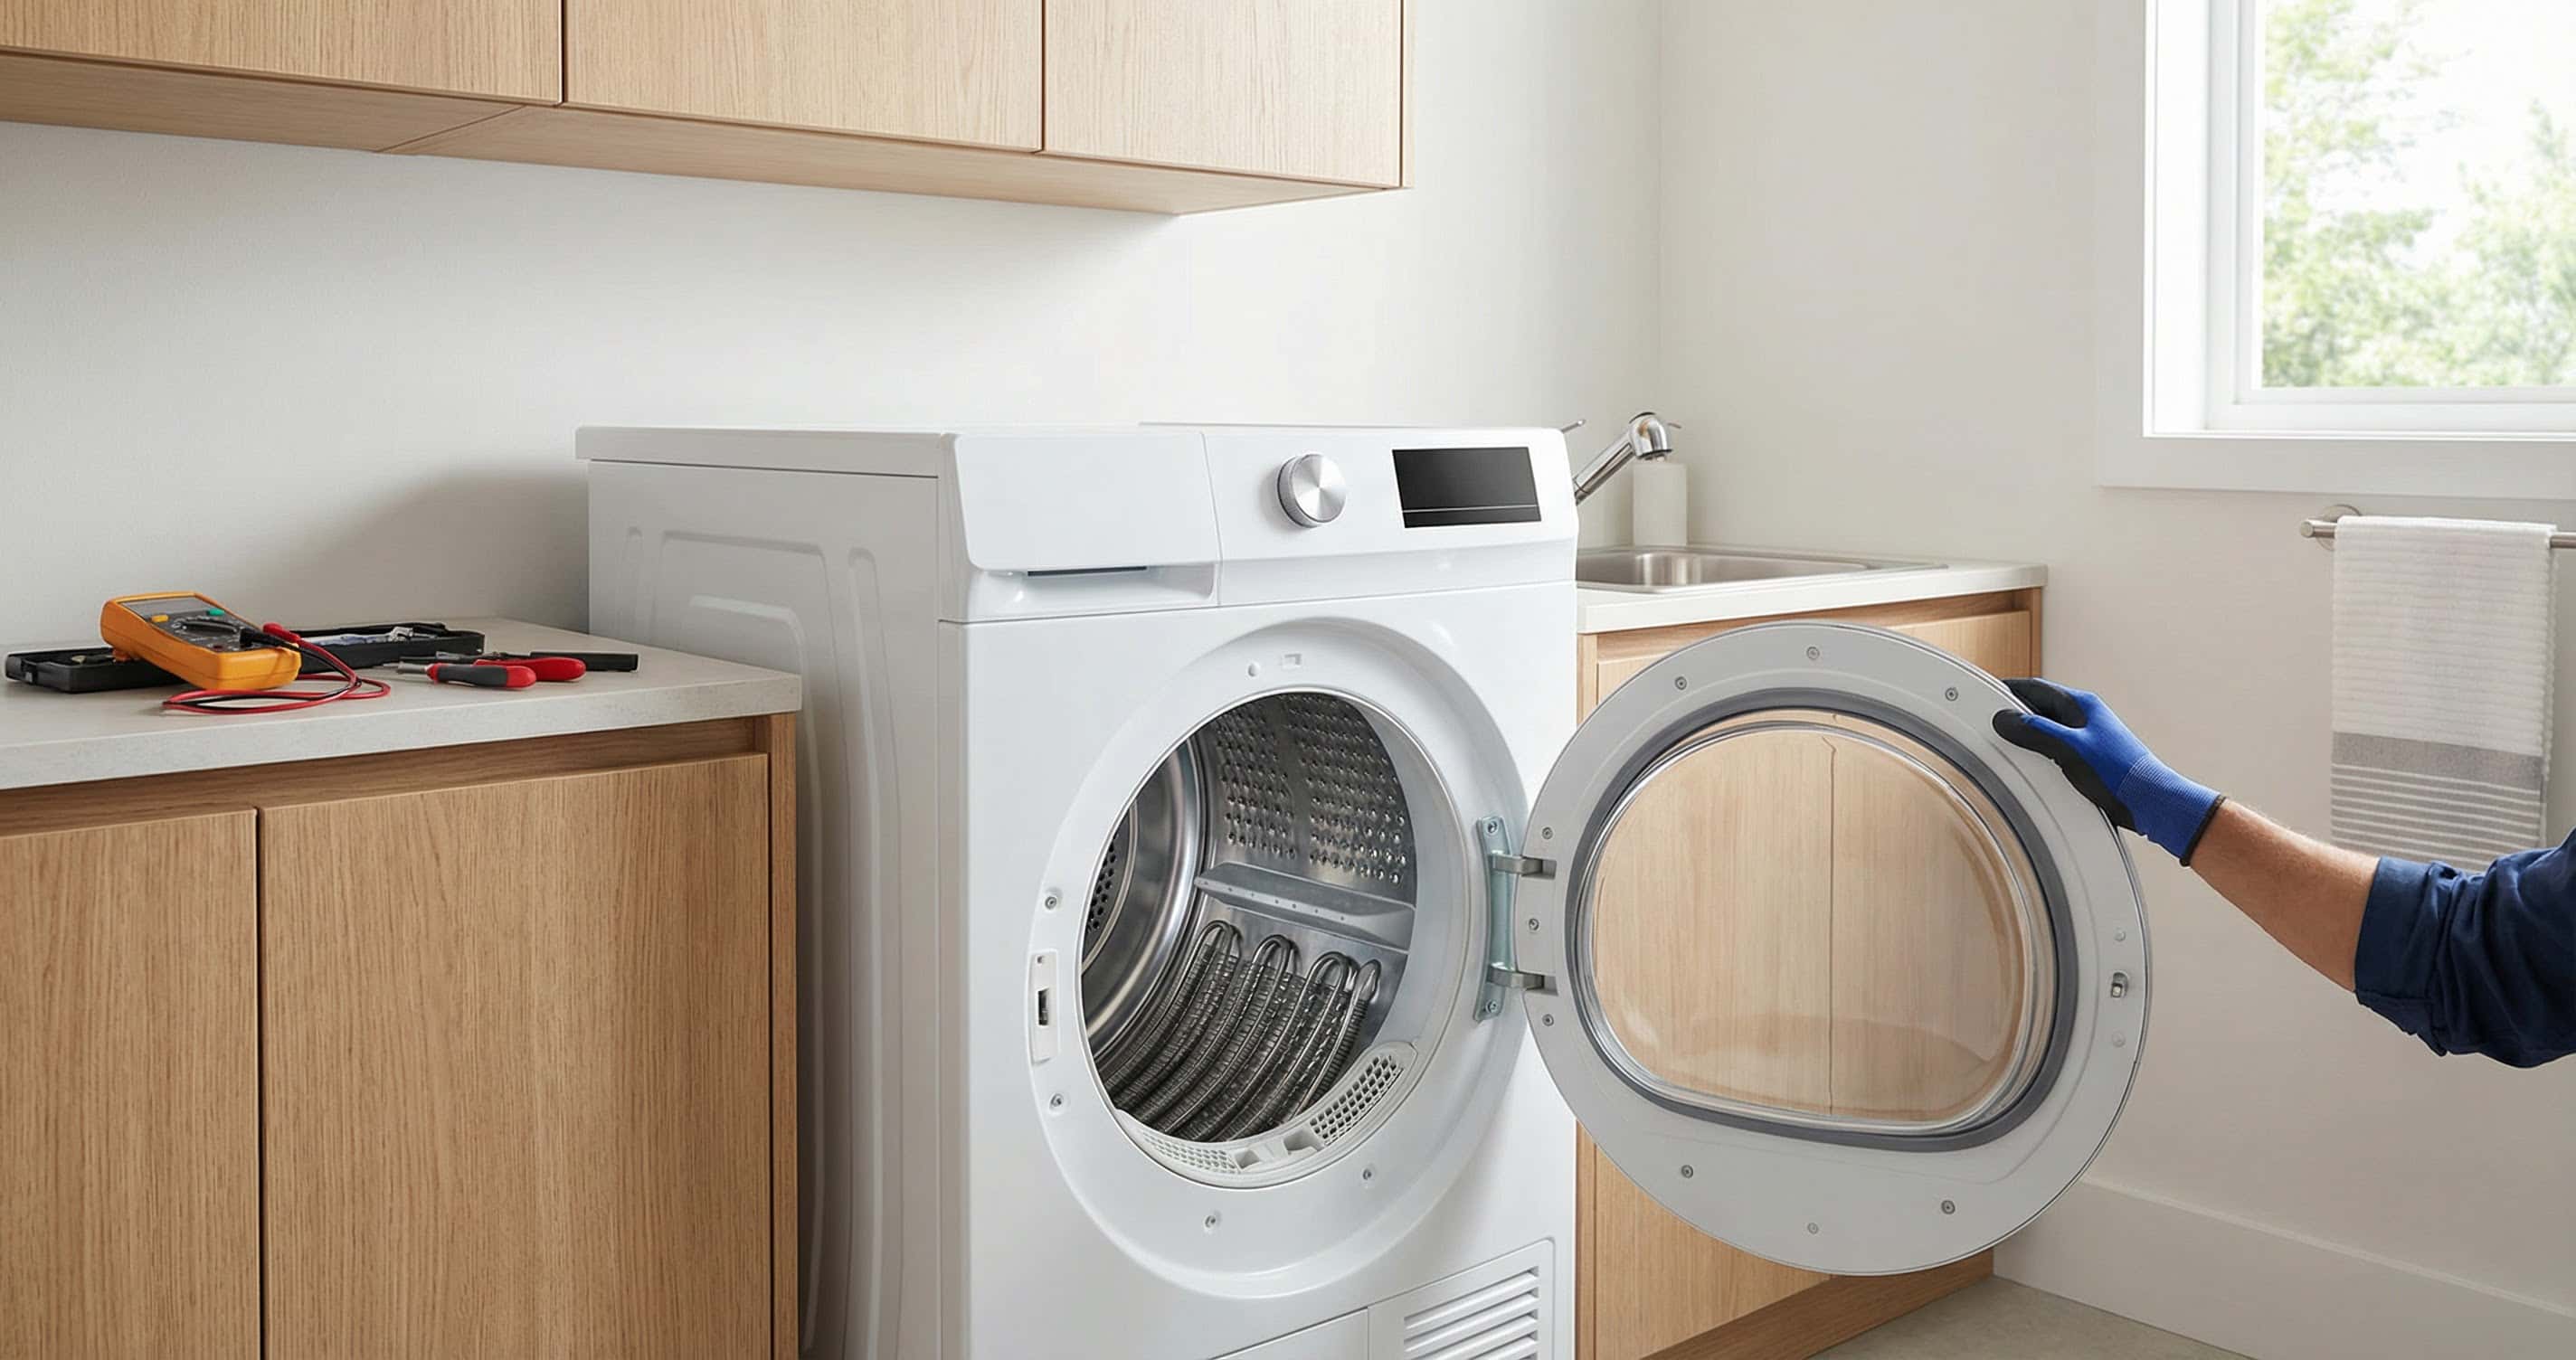
Step 2: Access the Thermal Fuse
On most Whirlpool dryers, the thermal fuse is mounted on the exhaust housing at the rear of the machine. Remove the rear panel by taking out 6-8 Phillips or 5/16" hex-head screws around the perimeter. The panel comes straight off.
Locate the exhaust duct housing (the large metal tube or rectangular box where hot air exits toward the vent connection). The thermal fuse is a small, flat component approximately 1-1.5 inches long, mounted with 2 screws to the surface of this housing. It has 2 wire terminals, one at each end.
On some models, the thermal fuse is mounted on the blower housing (the cylindrical fan housing at the bottom). Consult your tech sheet (taped inside the console or on the rear panel) for exact location.
Step 3: Remove the Blown Thermal Fuse
Disconnect the 2 wire connectors from the thermal fuse terminals. These are push-on spade connectors. Pull them straight off the terminals — do not twist or pry sideways. If they are tight, use needle-nose pliers to grip the connector (not the wire) and pull straight back.
Remove the 2 mounting screws holding the fuse to the exhaust housing. The fuse lifts right off. Note which terminal connects to which wire color — although thermal fuses are non-directional (either terminal works for either wire), keeping orientation consistent prevents confusion if you later need to trace a wiring issue.
Step 4: Test the Old Fuse (Confirmation)
With the fuse removed, test it with your multimeter on the continuity setting. Touch one probe to each terminal. A blown fuse reads OL (infinite resistance). This confirms your diagnosis. If the fuse shows continuity, it is not blown — the no-heat condition is caused by a different component (check the heating element, cycling thermostat, or high-limit thermostat next).
Step 5: CRITICAL — Clean the Vent System Before Installing New Fuse
This step is not optional. The thermal fuse blew because exhaust temperature exceeded its rating. In 90%+ of cases, this means the vent system is restricted. If you install a new fuse without clearing the restriction, it will blow again.
Disconnect the vent hose from the dryer exhaust port. Use a dryer vent cleaning brush to clean the entire vent run from the dryer to the exterior cap. Vacuum the interior lint duct through the lint trap opening. Go outside and verify the exterior vent cap flap opens freely.
After cleaning, run the dryer on air-only (no heat) for 5 minutes and verify strong airflow at the exterior cap.
Step 6: Install the New Thermal Fuse
Position the new thermal fuse on the exhaust housing in the same orientation as the old one. Insert and tighten the 2 mounting screws (snug, not overtightened — the housing is sheet metal). Reconnect both wire terminals, pushing each spade connector firmly onto the fuse terminal until it seats fully.
Step 7: Reassemble and Test
Replace the rear panel and secure all screws. Plug in the dryer (and restore gas if applicable). Run a Normal heat cycle with a small load of damp towels. After 5 minutes, open the door and feel the towels — they should be warm. Also check that the exterior vent cap is expelling warm air with good flow.
Monitor the first full cycle. If the fuse blows again immediately, the vent system still has a restriction you missed, or the high-limit thermostat is stuck closed (not cycling the element off when it should).
Understanding the Thermal Safety Circuit
Whirlpool dryers have multiple thermal safety components working together:
| Component | Function | Resets? | Location |
|---|---|---|---|
| Thermal fuse | Blows if exhaust exceeds ~196-250F | No (one-time) | Exhaust housing |
| High-limit thermostat | Opens if element area exceeds limit | Yes (automatic) | Element housing |
| Cycling thermostat | Cycles element on/off at set temp | Yes (automatic) | Exhaust housing |
| Thermistor (newer models) | Sends temp data to control board | N/A (sensor) | Exhaust duct |
When diagnosing no-heat, test all four components. A high-limit thermostat that has failed open produces the same symptom as a blown thermal fuse.
Safety First — Know the Risks
Gas dryers carry carbon monoxide and explosion risk. Even electric dryers involve 240V circuits that can deliver a fatal shock. Our techs are licensed and insured — let them handle the risk.
Licensed & Insured · 90-Day Warranty · Same-Day Service
Troubleshooting Common Issues
- New fuse blows within days: the vent is still restricted. Use a leaf blower or compressed air to force-clear the duct from inside. Have the exterior cap open while blowing to verify flow
- Fuse tests good but no heat: test the high-limit thermostat (on the element housing), cycling thermostat, and the heating element itself for continuity
- Dryer heats but shuts off after 10 minutes: this is the high-limit thermostat cycling due to partial vent restriction. The fuse has not blown yet, but will if the restriction worsens
- Gas dryer: thermal fuse on gas models can also cut the gas valve circuit. Test the fuse even if the igniter does not glow
When to Call a Professional
- You cannot access or clean the full vent run (rooftop exit, long interior runs with multiple bends)
- The thermal fuse keeps blowing after vent cleaning (possible failed cycling thermostat allowing constant heating)
- Gas dryer and you smell gas after working near the burner area
- The heating element has visible damage (collapsed coil touching housing) requiring element replacement
Same-Day Appliance Repair
Fixed or It's Free
$89 → $0 Service Call & Diagnosis — offer ends May 25
The Real Cost of DIY
Average DIY attempt: $150-400 in tools you may use once, plus the risk of further damage. Our diagnostic visit costs $0 — we find the problem and give you an honest quote.
Licensed & Insured · 90-Day Warranty · Same-Day Service
Cost Comparison: DIY vs Professional
| DIY | Professional | |
|---|---|---|
| Parts | $8-$15 | $8-$15 |
| Labor | $0 | $120-$200 |
| Time | 20-30 min + vent clean | 30-45 min |
| Risk | Low | Warranty included |
Need Professional Help?
Don't Void Your Warranty
Opening your appliance yourself may void the manufacturer warranty. Our repair comes with a 90-day guarantee, and we document everything for warranty compliance.
Licensed & Insured · 90-Day Warranty · Same-Day Service
FAQ
Q: Can I reset the thermal fuse on my Whirlpool dryer instead of replacing it? A: No. The thermal fuse is a one-time-use device. Once it blows, the internal element melts permanently. It must be replaced. Never bypass it with a wire — this removes a critical fire safety protection.
Q: Why does the thermal fuse keep blowing on my Whirlpool dryer? A: In over 90% of cases, a restricted exhaust vent causes repeated thermal fuse failure. Clean the entire vent path from the dryer to the exterior cap. Also check that the cycling thermostat is working (it should cycle the element before temperatures reach the fuse trip point).
Q: Where is the thermal fuse on my Whirlpool dryer? A: On most models, the thermal fuse is on the exhaust housing behind the rear panel. On some models, it is on the blower housing at the lower rear. Your tech sheet (inside the console or on the rear panel) shows the exact location.
Q: How do I test a dryer thermal fuse? A: Disconnect the fuse from the wiring and test with a multimeter on continuity setting. Touch probes to both terminals. A good fuse shows near-zero ohms (continuity/beep). A blown fuse shows OL (open/no continuity).
Need a certified technician? Book same-day repair →

