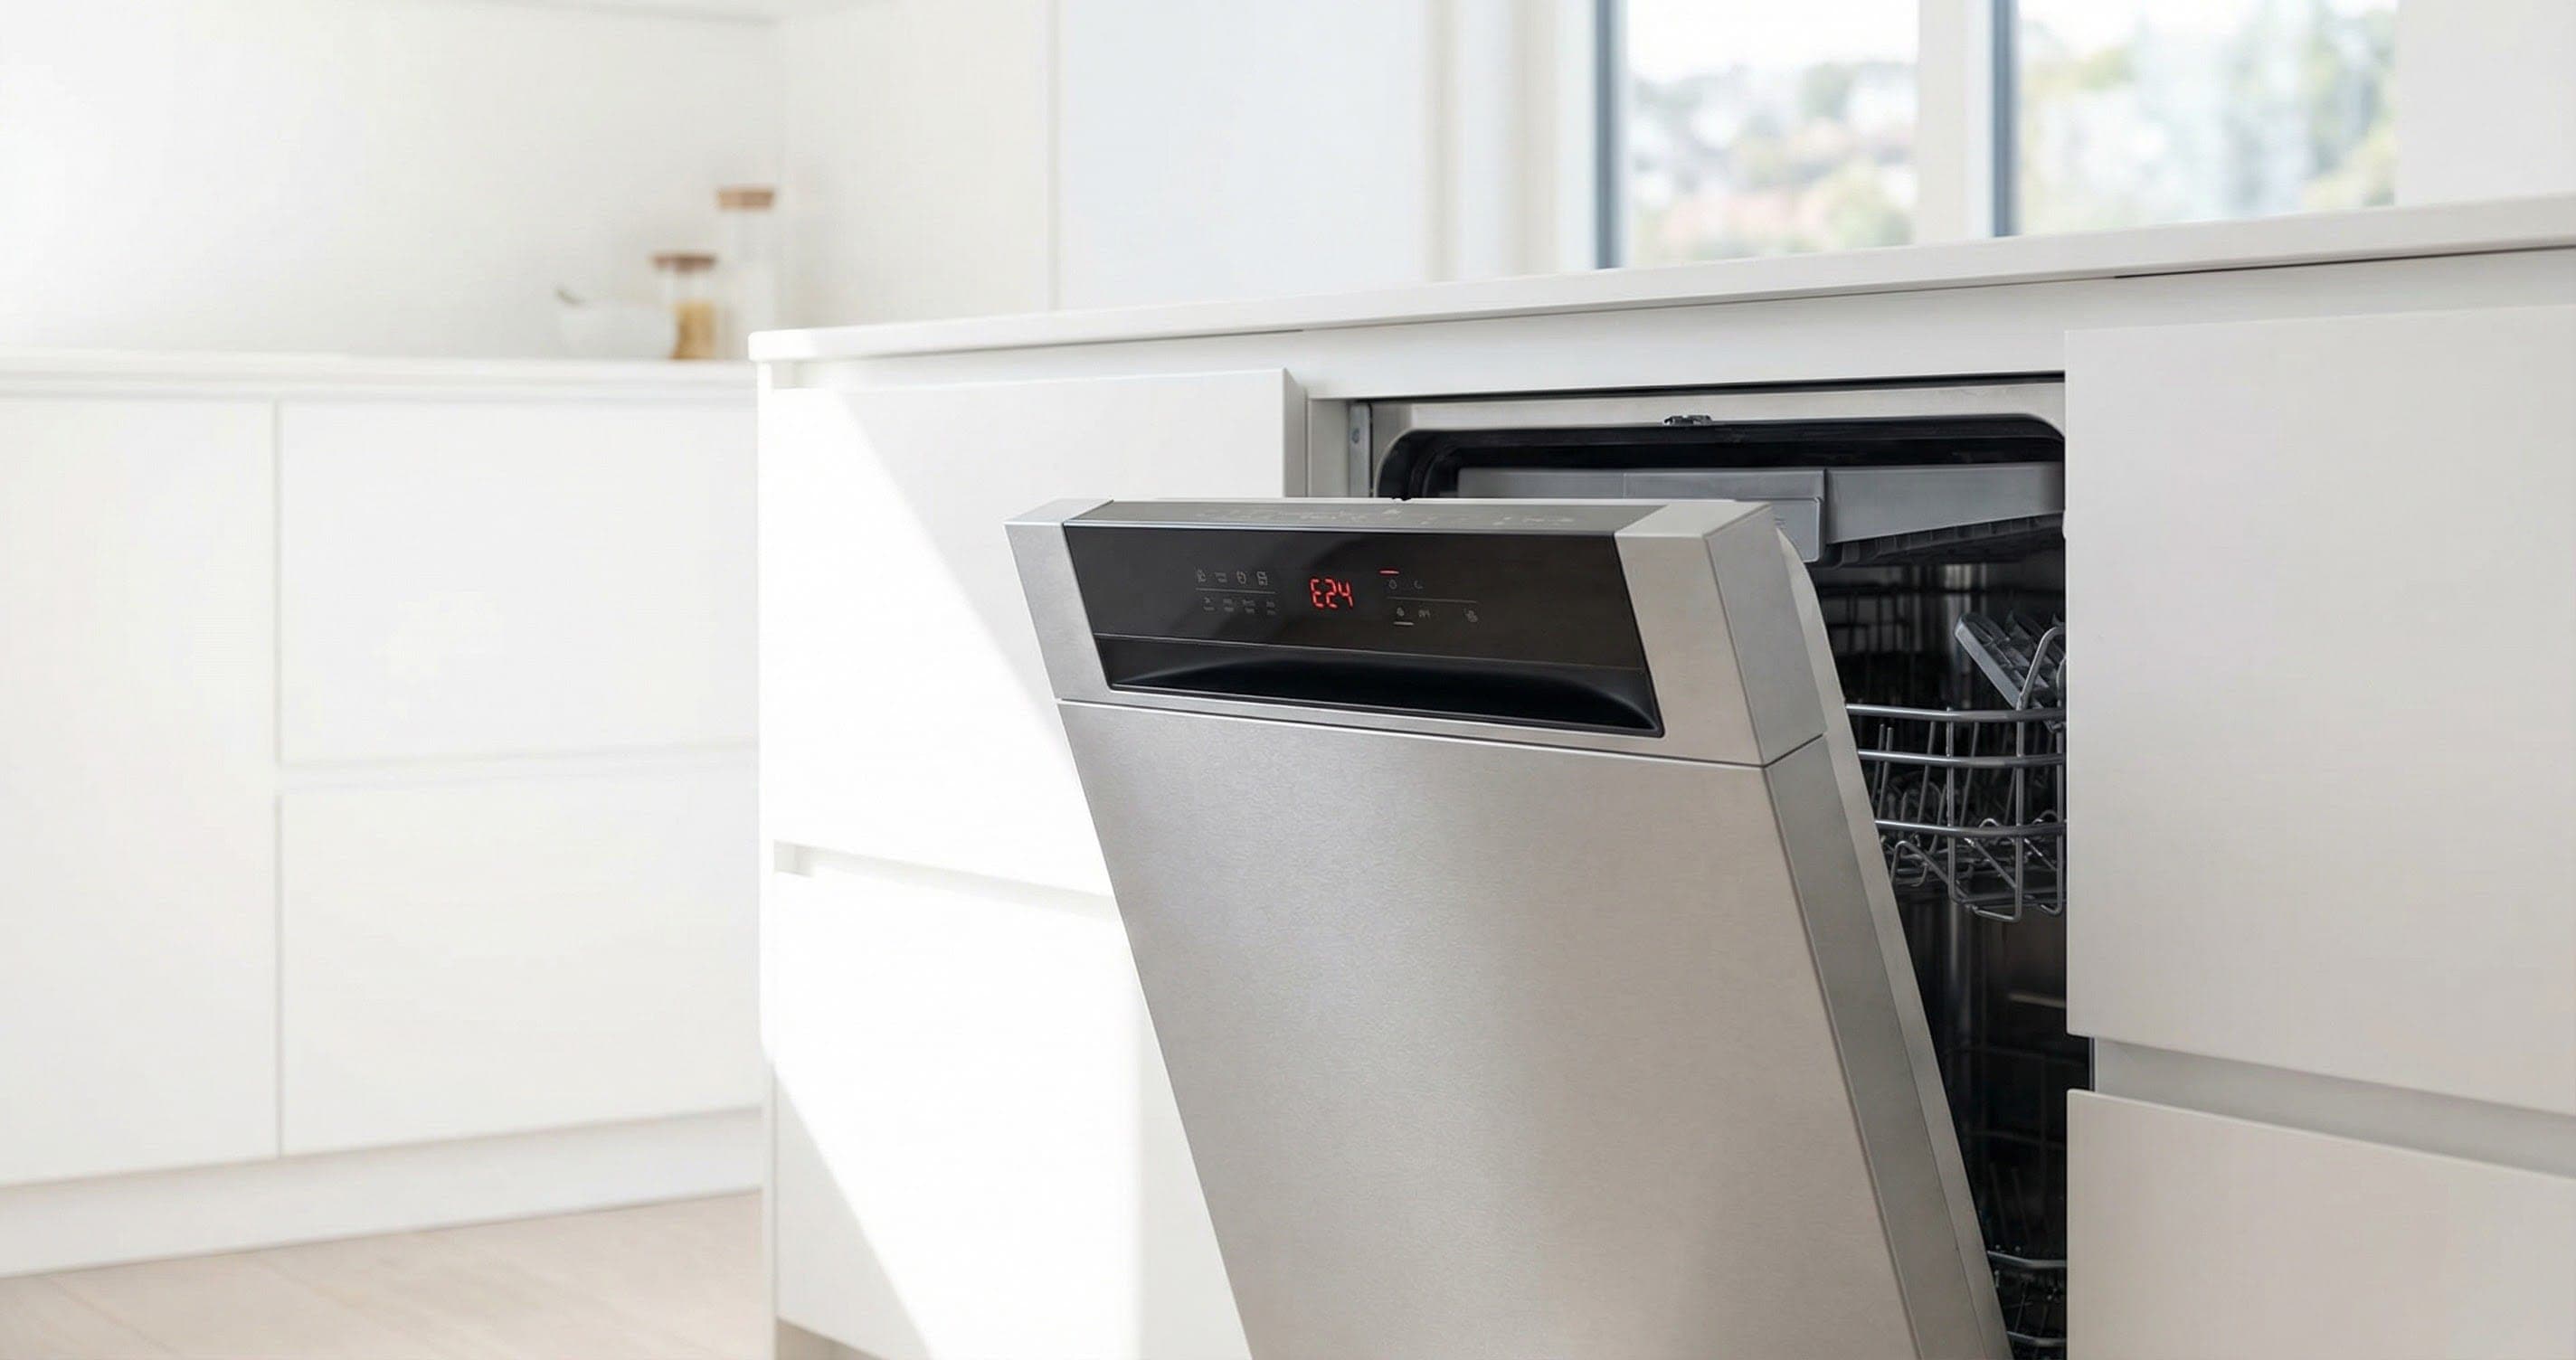
How to Replace a Bosch Dishwasher Water Inlet Valve: Complete AquaStop Guide
The water inlet valve on a Bosch dishwasher is a dual-solenoid electromagnetic valve that opens to allow water into the tub during fill cycles. Bosch's design integrates this valve with their AquaStop flood protection system, which adds a layer of complexity not found on other dishwasher brands. When the valve fails, you get either no water (E17 error) or uncontrolled water flow (E15 AquaStop triggered).
This guide focuses specifically on the inlet valve replacement with attention to the AquaStop interface, covering both the electrical valve at the dishwasher and the relationship with the AquaStop hose solenoid at the faucet end.
Before You Start
- Tools needed: Torx T20 driver, 10mm wrench or socket, adjustable pliers, needle-nose pliers, multimeter, bucket, towels
- Parts needed: Water inlet valve (~$35-$65, confirm BSH part number for your model), thread seal tape (for supply connection if needed), new supply line washer ($2)
- Time required: 30-45 minutes
- Difficulty: Intermediate
- Safety warning: Disconnect power at the breaker. Close the supply valve. The supply line contains pressurized water — have bucket positioned before disconnecting. On models with 3/4" direct-connect supply (no braided hose), there is no local shutoff — you must close the main under-sink valve.
Do You Have the Right Tools?
Water pressure gauge ($60), spray arm tester, float switch multimeter ($85), and drain inspection camera. Our technician arrives with $15K+ in professional tools — your diagnostic is free.
Licensed & Insured · 90-Day Warranty · Same-Day Service
Step-by-Step Instructions
Step 1: Confirm Valve Failure Before Ordering Parts
Do not order a valve until you confirm the current one has failed. Common misdiagnoses: clogged inlet screen (clean it first — costs $0), closed supply valve (verify it is open), failed AquaStop hose solenoid (test separately — this is at the faucet end, not the dishwasher). To confirm valve failure: with screen clear and supply flowing, test each solenoid coil with a multimeter — 700-1500 ohms is normal. Open circuit or short to ground = failed valve.
Step 2: Order the Correct Part
Bosch inlet valves are model-specific due to different mounting configurations and connector orientations. Find your model number (label inside door, left side). Search the BSH parts catalog for your model's inlet valve. Common part: BSH 00622058 (dual solenoid, fits most 300/500/800 series 2010+). Verify the connector type (2-pin vs 4-pin) and mounting style (bracket vs clip) match your current valve.
Step 3: Disconnect Power and Water
Switch off the circuit breaker. Close the water supply valve (under sink, clockwise until firm). Place bucket below the supply connection at the dishwasher. Remove the kick plate (2 Torx T20 screws at bottom corners, slide forward and down).
Step 4: Disconnect the Supply Line
Using a 10mm wrench, loosen the brass compression nut connecting the supply line (or AquaStop hose) to the inlet valve fitting. Once loose, unscrew by hand and pull the line free. Residual water will drain — catch with bucket. Inspect the rubber washer inside the brass fitting — if flat or cracked, replace it when reassembling ($2 part prevents drips).
Step 5: Disconnect Electrical Connectors
The inlet valve has 2 solenoid coils with separate 2-pin connectors (or one 4-pin connector on some models). Press the release tab on each connector and pull straight off. These connectors are keyed (one pin is larger) so they can only go on one way — but photograph them anyway as insurance. Label if needed: left solenoid vs right solenoid.
Step 6: Disconnect the Internal Fill Hose
The valve outlet connects to a rubber hose that carries water up into the tub. This hose is secured with a spring clamp. Squeeze the spring clamp ears with pliers, slide it back along the hose, then pull the hose off the valve's outlet barb. Water will drip from the hose — have a towel positioned.
Step 7: Remove the Valve from Its Mount
The valve attaches to the dishwasher frame via: a metal bracket with 1-2 Torx T15 screws (common), a plastic snap-in clip (some models), or a bayonet twist-lock (less common). Remove screws or release the clip. The valve is now free. Note its exact orientation — the new valve must mount in the same position for hoses and wiring to reach.
Step 8: Install the New Valve
Mount the new valve in the identical position and orientation. Secure with screws or clip. Reconnect the internal fill hose — push fully onto the outlet barb until the hose bottoms out on the barb step. Slide the spring clamp back into position over the barb. Reconnect electrical connectors (match keying, push until click). Reconnect the supply line — thread the brass nut by hand first (to avoid cross-threading), then tighten with 10mm wrench (snug plus 1/4 turn, no more).
Step 9: Check All Connections for Leaks
Open the supply valve slowly (quarter turn at a time). Watch the brass supply fitting for drips. Check the internal fill hose connection. If any drip appears at the supply fitting, tighten slightly or replace the washer. If the fill hose drips, verify the spring clamp is over the barb — not the smooth hose section.
Step 10: Test a Fill Cycle
Restore power. Start a Quick Wash cycle. Listen: after the initial 30-60 second drain, you should hear the inlet valve buzz (solenoid energizing) and water flowing into the tub. Open the door after 3-4 minutes — water should be visible in the tub. Check the kick plate area one more time for drips. If all is dry, replace the kick plate.
AquaStop Hose Interaction
Bosch AquaStop is a separate flood-prevention system built into the water supply hose. It has its own solenoid at the faucet end. Important notes when replacing the inlet valve:
- The AquaStop hose connects TO the inlet valve — it is not part of the valve
- If your AquaStop hose works fine (water flows through it when supply is open), you do NOT need to replace it along with the valve
- The AquaStop hose cannot be spliced or repaired — if it fails, replace the entire hose assembly (BSH 00667327)
- After valve replacement, verify AquaStop hose connection is tight — a drip here goes into the base pan and triggers E15
Safety First — Know the Risks
Live 120V wiring in a wet environment is one of the most dangerous DIY scenarios. Water + electricity = serious shock risk. Our techs are licensed and insured — let them handle the risk.
Licensed & Insured · 90-Day Warranty · Same-Day Service
When to Call a Professional
Consider professional service if:
- The brass supply fitting on the dishwasher body is cross-threaded or corroded — a new valve won't seal to a damaged fitting
- You have a direct-wired installation (no plug) and need to verify electrical connections
- The AquaStop has been triggered (E15) alongside the fill failure — there may be additional damage in the base pan
- Your model has an integrated flow meter in the inlet valve assembly that requires calibration after replacement
Same-Day Appliance Repair
Fixed or It's Free
$89 → $0 Service Call & Diagnosis — offer ends May 25
Cost Comparison: DIY vs Professional
| DIY | Professional | |
|---|---|---|
| Parts | $35-$65 | $35-$65 |
| Labor | $0 | $120-$220 |
| Time | 30-45 min | 20-30 min |
| Risk | Low | Warranty included |
The Real Cost of DIY
Average DIY attempt: $150-400 in tools you may use once, plus the risk of further damage. Our diagnostic visit costs $0 — we find the problem and give you an honest quote.
Licensed & Insured · 90-Day Warranty · Same-Day Service
Need Professional Help?
FAQ
Q: Does replacing the inlet valve affect my AquaStop warranty? A: BSH does not typically void AquaStop warranty due to inlet valve replacement, as these are separate systems. However, if you damage the AquaStop hose connection during valve replacement, any resulting flood damage is your responsibility. Handle the AquaStop hose gently and do not bend it sharply.
Q: Why does Bosch use a dual-solenoid inlet valve instead of a single solenoid? A: The dual-solenoid design provides redundant shutoff — both solenoids must open for water to flow. If one solenoid fails open (stuck), the other still blocks flow, preventing uncontrolled filling. This is part of Bosch's layered flood-prevention philosophy alongside AquaStop.
Q: Can I install an aftermarket inlet valve on my Bosch dishwasher? A: We recommend OEM BSH parts. Aftermarket valves often have different flow rates, mounting dimensions, or connector types. An incorrect flow rate causes the control board to miscalculate fill levels. If using aftermarket, verify: connector pin count matches, solenoid coil resistance is 700-1500 ohms, and the outlet barb diameter fits your fill hose.
Q: After replacing the valve, my dishwasher overfills. What went wrong? A: Overfilling after valve replacement usually means: (1) the solenoid connectors were swapped (if 2 separate connectors), (2) the new valve has a stuck-open solenoid (defective part — test new valve resistance before installing), or (3) a pressure switch/flow meter issue unrelated to the valve. Disconnect power immediately if overfilling occurs.
Need a certified technician? Book same-day repair →

