How to Replace a Bosch Dishwasher Heating Element: Integrated Pump Assembly
Bosch dishwashers manufactured from 2014 onward integrate the heating element directly into the circulation pump housing as a flow-through heater. Unlike older dishwashers with a standalone exposed coil at the bottom of the tub, the Bosch heater is a tubular element inside the pump casing that heats water as it flows through. This design is more efficient but means that a heater failure often requires replacing the entire pump/heater assembly (BSH 00442548).
Common symptoms of heater failure: dishes come out cold and greasy, detergent pods do not dissolve fully, error code E09 (heater relay fault) or E01 (heating timeout), and the Sanitize cycle fails to reach temperature.
Before You Start
- Tools needed: Torx T20 driver, Torx T15 driver, 10mm wrench, needle-nose pliers, multimeter, moving blanket, towels, helper for tipping
- Parts needed: Integrated pump/heater assembly BSH 00442548 (
$150-$280) or standalone heater tube ($85-$150 on pre-2014 models) - Time required: 60-90 minutes
- Difficulty: Advanced
- Safety warning: The heater circuit draws 15+ amps at 120V (1800W). Disconnect power at the breaker AND verify with multimeter that no voltage is present before touching heater terminals. Allow 20+ minutes cooling if the dishwasher recently ran. Heater connections use thick gauge wire — reconnect securely to prevent arcing and fire hazard.
Do You Have the Right Tools?
Water pressure gauge ($60), spray arm tester, float switch multimeter ($85), and drain inspection camera. Our technician arrives with $15K+ in professional tools — your diagnostic is free.
Licensed & Insured · 90-Day Warranty · Same-Day Service
Step-by-Step Instructions
Step 1: Verify Heater Failure with Multimeter
Before ordering an expensive assembly, confirm the heater element is actually failed. Remove the kick plate (2 Torx T20 screws). Locate the heater power wires — typically 2 thick wires (12-14 gauge) connecting to spade terminals on the pump/heater housing visible from below. Disconnect one wire. Measure resistance across the heater terminals: a healthy Bosch flow-through heater reads 10-15 ohms. Open circuit (OL/infinity) = broken element. Very low (under 2 ohms) = shorted element. Also check for ground fault: measure between either heater terminal and the metal pump housing — should read infinity. Any measurable resistance indicates a short to ground.
Step 2: Determine Your Model's Heater Configuration
Check your model number (label inside door, left side). Models from 2014+ have integrated pump/heater (replace as assembly). Models from 2008-2013 may have a separate flow-through heater tube that can be replaced independently. Models pre-2008 may have an exposed element in the tub base (very different procedure). This guide covers the integrated assembly (2014+) and notes differences for older models.
Step 3: Full Preparation and Disconnection
Disconnect power at breaker. Close water supply. Remove racks, spray arms, and triple-filter. Sponge out any standing water. Remove kick plate. Remove countertop mounting screws (2 Torx T20 from inside door opening). Disconnect water supply line (10mm wrench, catch water). Disconnect drain hose (squeeze spring clamp, pull off). Pull the dishwasher completely out from under the counter.
Step 4: Lay Unit on Its Back
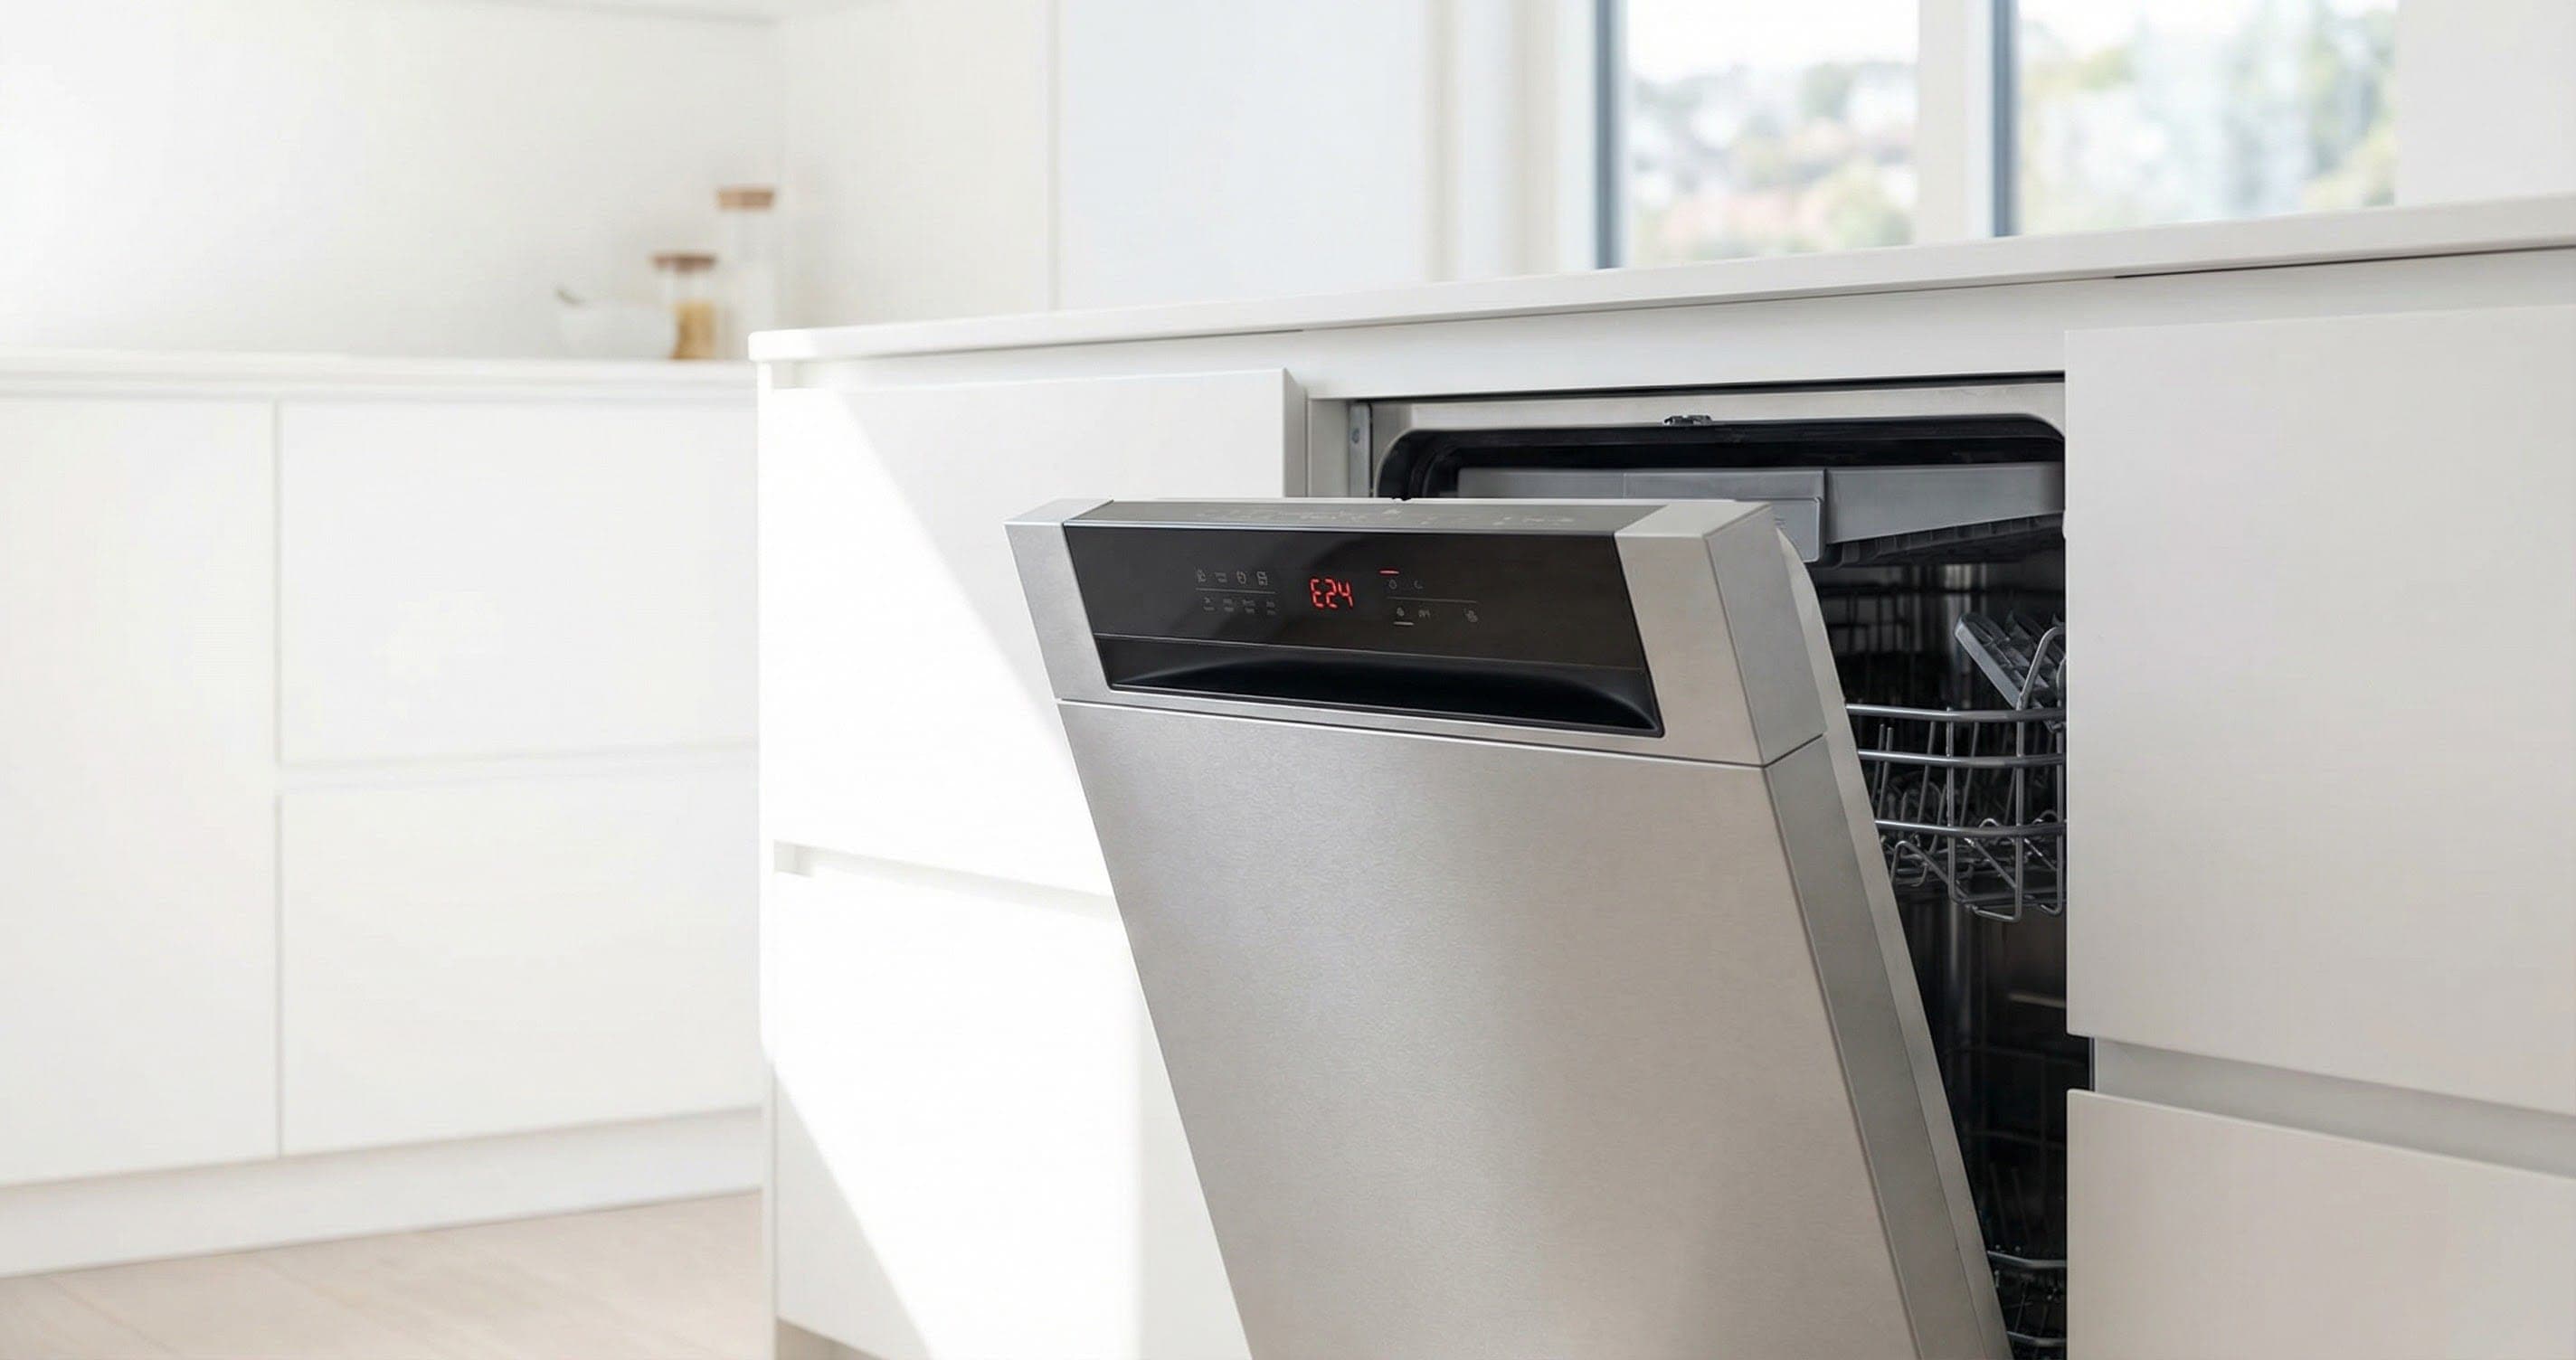
With a helper, carefully lower the dishwasher onto its back on a moving blanket. The base plate faces upward. Remove all Torx T20 screws around the base plate perimeter (4-6 screws). Lift and set aside the base plate. The pump/heater assembly is now fully visible — the largest component under the unit, centrally located, with multiple hose and wire connections.
Step 5: Photograph and Label All Connections
Before disconnecting anything: take detailed photos from directly above and from each side. You should see: the main motor harness connector (multi-pin plug), heater power wires (2 thick wires, spade terminals), inlet hose (from sump), outlet hose (to spray arm distributor), and possibly a small sensor wire. Label each connection with tape if your photos are not clear.
Step 6: Disconnect All Electrical
Disconnect the motor harness connector (press release tab, pull straight). Pull each heater spade connector off its terminal — grip the metal connector, not the wire. If stuck, use a gentle rocking motion with needle-nose pliers on the connector. Disconnect any sensor wires (NTC temperature sensor may plug into the pump housing).
Step 7: Remove All Hoses
Squeeze each spring clamp and slide back. Pull each hose off its barb. Common connections: large sump inlet hose, spray arm outlet hose, small drain branch hose, and sometimes a pressure relief overflow hose. Each hose will release some water — have towels positioned. Note which hose goes on which barb — they are different diameters.
Step 8: Release the Assembly from the Sump
The pump/heater mounts to the sump housing with a bayonet-style twist ring (most 2014+ models) or a bracket with 3-4 Torx T15 screws (older style). For bayonet mount: grip the assembly body and rotate counterclockwise 15-20 degrees until the tabs clear the lock slots. Pull straight down and out. The assembly weighs 3-5 lbs — support it as it releases. An O-ring between the assembly and sump should come with the new part.
Step 9: Install the New Assembly
Apply a thin film of silicone grease to the new O-ring (included with new assembly). Align the new pump/heater with the sump opening — match the orientation of your photos. Push up and engage the bayonet tabs, then rotate clockwise until you feel the lock detent. Reconnect all hoses in their original positions (push fully onto barbs, spring clamps over barb ridges). Reconnect all electrical: motor harness (click), heater power wires (push spade connectors fully on, ensure positive contact), sensor wires.
Step 10: Reassemble and Test
Replace base plate. Return to upright with helper. Reconnect water supply and drain hose. Push back under counter. Install mounting screws and kick plate. Replace filter, spray arms, racks inside. Open water supply. Restore power. Run the Sanitize cycle (hottest available). After 15-20 minutes, feel the door — it should be warm. Cycle should complete without E09/E01 errors. Check under unit for leaks after the first complete cycle.
Testing After Installation
Verify the repair by running the Sanitize cycle (75C/167F target):
- Door should feel distinctly warm (not just slightly warm) by 15 minutes
- Cycle should complete without error codes
- Dishes should come out hot to the touch
- Steam should be visible when opening the door immediately after cycle ends
- No leaks at any pump connection (check through kick plate opening)
Safety First — Know the Risks
Live 120V wiring in a wet environment is one of the most dangerous DIY scenarios. Water + electricity = serious shock risk. Our techs are licensed and insured — let them handle the risk.
Licensed & Insured · 90-Day Warranty · Same-Day Service
When to Call a Professional
This is one of the most involved Bosch dishwasher repairs. Professional service is recommended if:
- You are not comfortable verifying zero voltage on high-current circuits with a multimeter
- You cannot safely tip a 75-90 lb dishwasher with a helper
- Your model is an 800 series with Zeolite drying — the Zeolite canister interfaces with the pump/heater routing
- The sump mounting ring is damaged or corroded — forcing it can crack the sump housing ($300+ repair)
- Multiple error codes present (E09 + E15 + E21) suggesting cascading failures beyond just the heater
Same-Day Appliance Repair
Fixed or It's Free
$89 → $0 Service Call & Diagnosis — offer ends May 25
Cost Comparison: DIY vs Professional
| DIY | Professional | |
|---|---|---|
| Parts | $150-$280 | $150-$280 |
| Labor | $0 | $200-$380 |
| Time | 60-90 min | 45-60 min |
| Risk | Moderate-High | Warranty included |
The Real Cost of DIY
Average DIY attempt: $150-400 in tools you may use once, plus the risk of further damage. Our diagnostic visit costs $0 — we find the problem and give you an honest quote.
Licensed & Insured · 90-Day Warranty · Same-Day Service
Need Professional Help?
FAQ
Q: Is it worth replacing the heater assembly on a 10+ year old Bosch dishwasher? A: At $150-280 for parts plus your time (or $350-650 professionally), compare against a new Bosch 300 series at $700-900. If the rest of the dishwasher is in good condition (no other failing components, tub not corroded), replacement makes financial sense. If other parts are also aging, a new unit provides better long-term value.
Q: Can I replace just the heater element without replacing the circulation pump? A: On 2014+ Bosch models with integrated assemblies, no — BSH only sells the complete pump/heater unit. On older models (2008-2013), the heater tube may be available separately ($85-150). Check your model number against the BSH parts catalog to see what is available for your specific unit.
Q: Why does my Bosch dishwasher smell like burning after the heater failed? A: A shorted heater element (low resistance reading) can overheat locally before the thermal fuse blows, burning the rubber O-ring or adjacent hose material. The burnt rubber smell can persist in the sump area even after the element stops conducting. After replacement, run several hot cycles to clear the residual smell from the tub.
Q: Can a failed heater cause my Bosch dishwasher to not drain? A: Not directly, but there is an indirect connection. On some Bosch models, the control board will not advance to the drain phase if it detects the heating phase did not complete correctly. This can leave water in the tub. If your dishwasher stops mid-cycle with water inside AND has cold water, the heater failure is causing the cycle logic to stall.
Need a certified technician? Book same-day repair →

