How to Replace a Bosch Dishwasher Detergent Dispenser (BSH 00490467)
The detergent dispenser on a Bosch dishwasher is a spring-loaded mechanism mounted in the inner door panel. When it fails, detergent either does not release during the wash cycle (the door stays latched) or releases immediately at the start (latch does not hold). Common symptoms include finding an unopened detergent tab after the cycle, or all the soap dissolving in the pre-wash phase leaving the main wash without cleaning power.
Bosch uses part BSH 00490467 across most of their dishwasher models. The dispenser assembly includes the latch mechanism, spring, wax motor actuator, and the compartment housing. This guide covers the complete replacement.
Before You Start
- Tools needed: Torx T15 driver, Torx T20 driver, plastic spudger, Phillips #1 screwdriver (for some models), magnetic parts tray
- Parts needed: Detergent dispenser assembly BSH 00490467 (~$35-$70)
- Time required: 25-40 minutes
- Difficulty: Intermediate
- Safety warning: Disconnect power at the circuit breaker before working on the door. The dispenser mechanism connects to the control board with electrical wiring — avoid working on it while energized. The dispenser spring is under tension and can snap out during removal.
Do You Have the Right Tools?
Water pressure gauge ($60), spray arm tester, float switch multimeter ($85), and drain inspection camera. Our technician arrives with $15K+ in professional tools — your diagnostic is free.
Licensed & Insured · 90-Day Warranty · Same-Day Service
Step-by-Step Instructions
Step 1: Disconnect Power
Switch off the circuit breaker for the dishwasher. Press any button on the control panel to confirm no power reaches the unit. The dispenser wax motor is electrically activated during the cycle and you will be handling its wire connections.
Step 2: Open the Door and Remove the Inner Door Cover (if applicable)
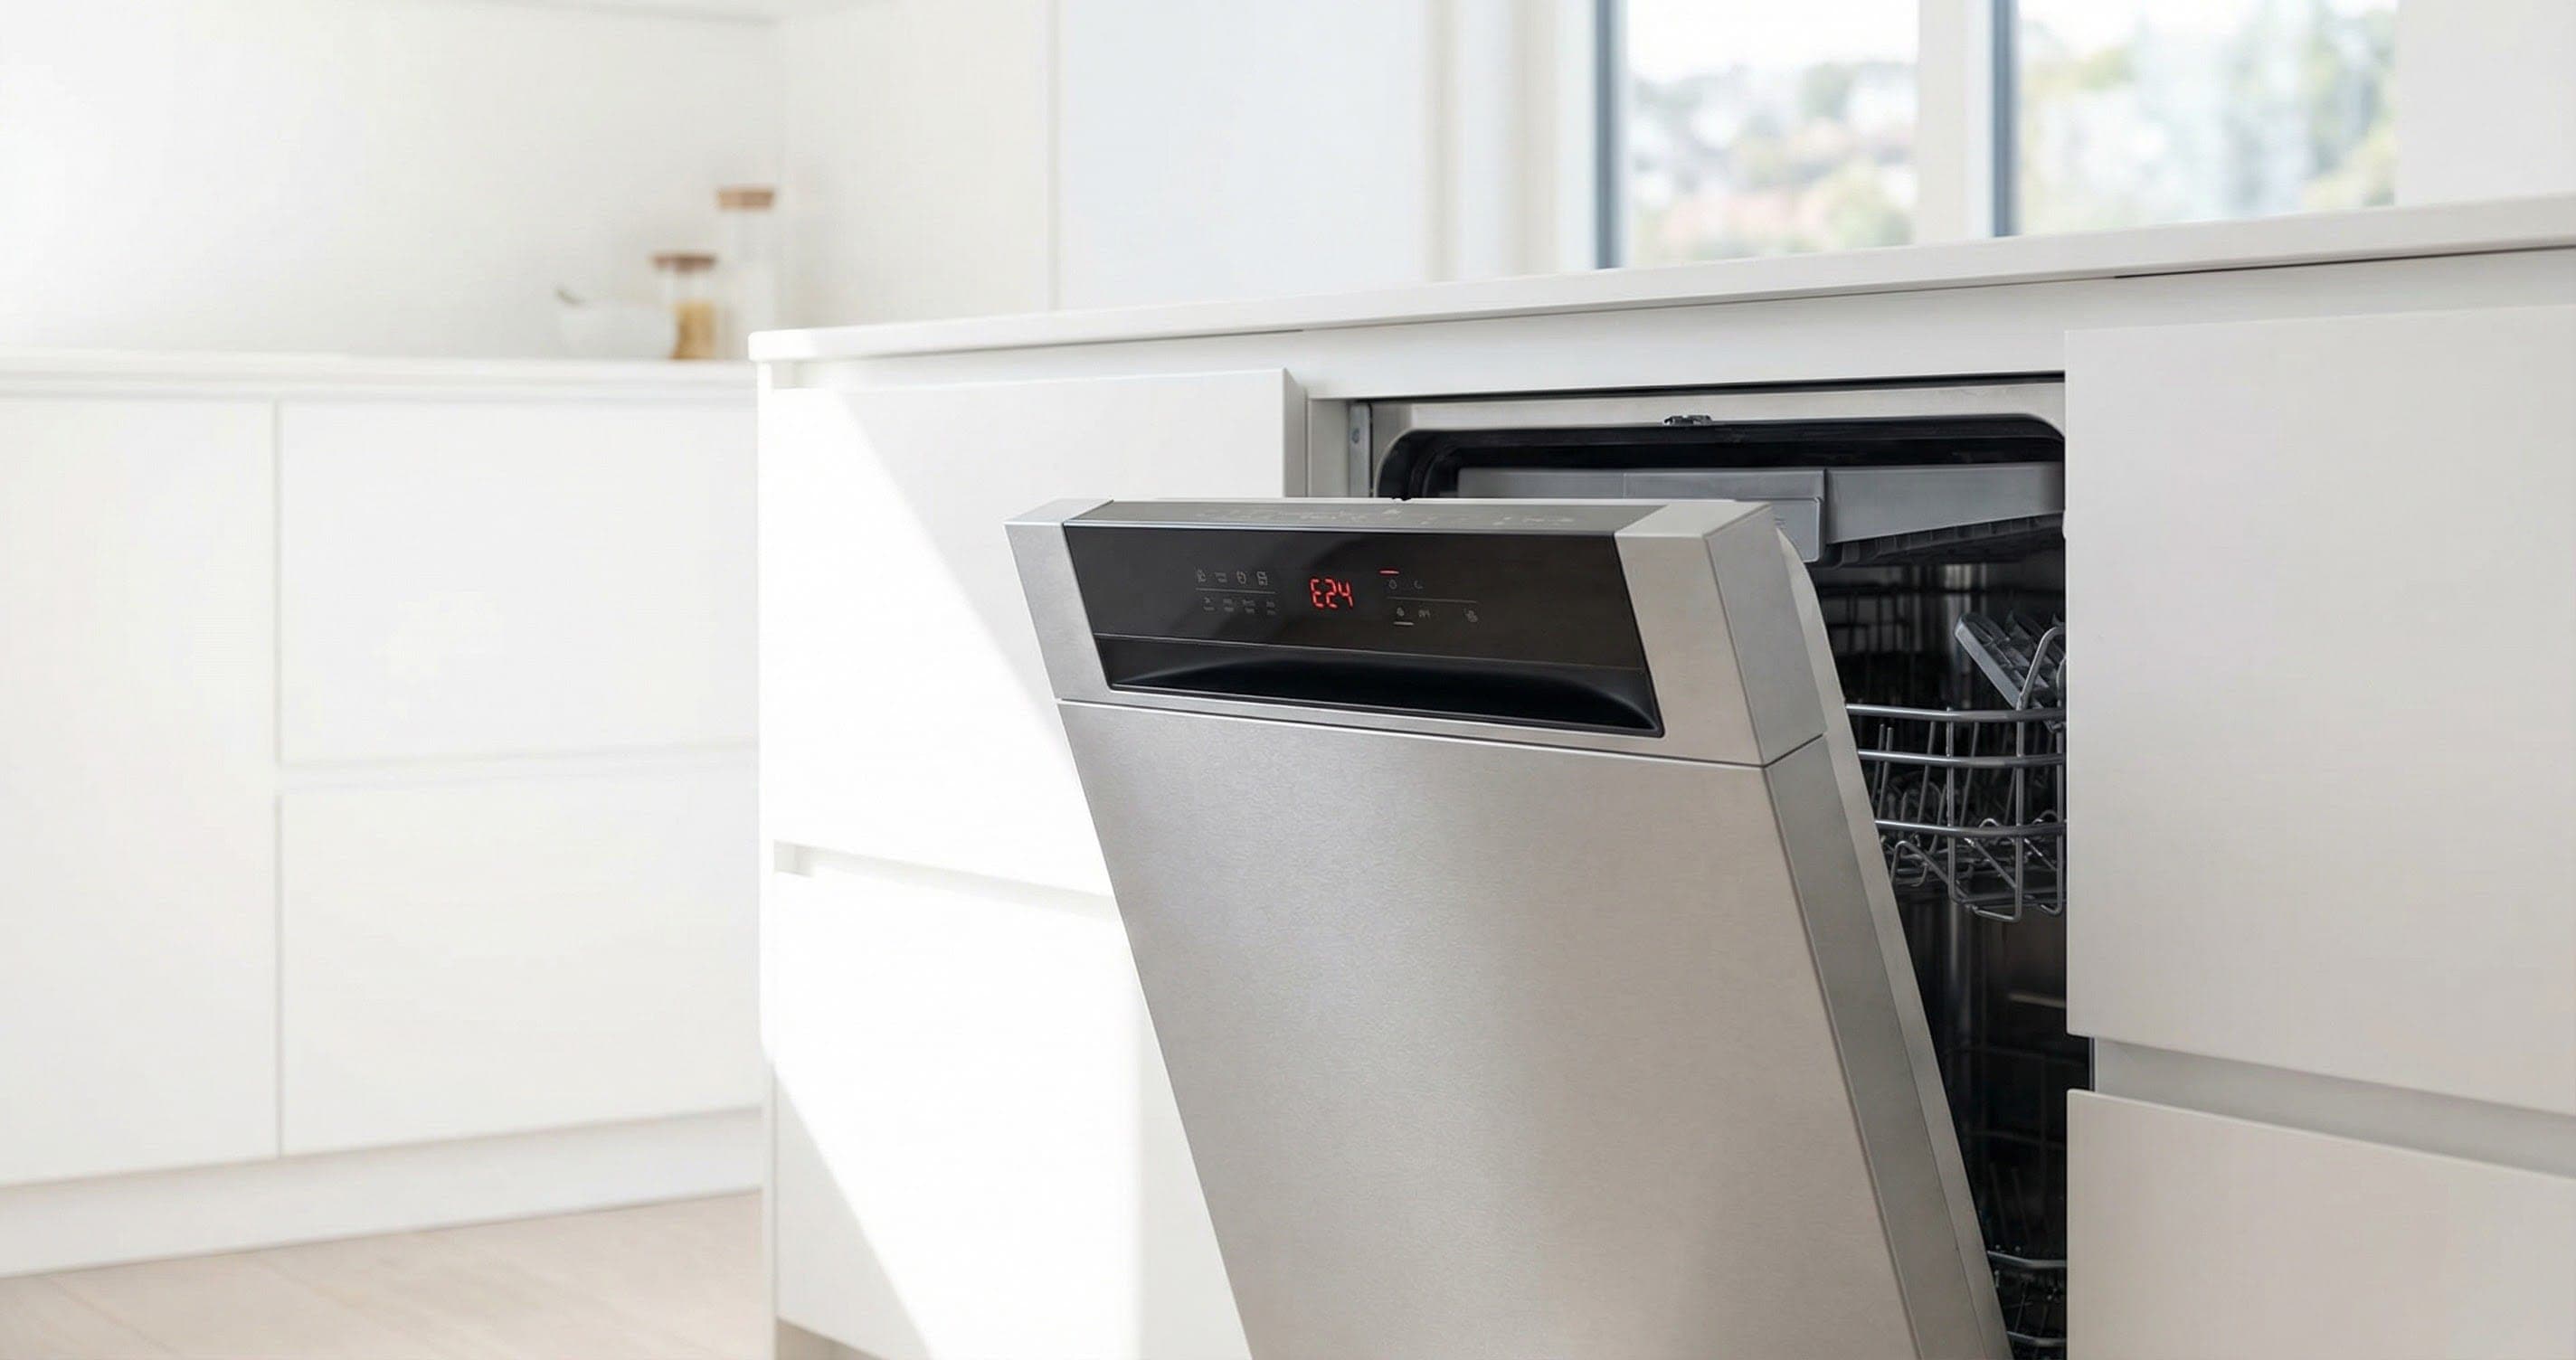
On some Bosch models, the dispenser is accessible directly from inside the tub by removing 2-3 Torx T15 screws around its perimeter. On others, you need to access it from behind the outer door panel. First try the direct approach: look inside the tub at the dispenser area on the inner door. If you see screw heads around the dispenser housing, you can remove it from the front. If there are no visible screws, proceed to step 3 for full door panel access.
Step 3: Remove the Outer Door Panel (If Front Access Not Available)
Open the door to the fully flat (horizontal) position. Locate the Torx T15 screws along the top edge and sides of the inner door — typically 6-8 screws. Remove all screws while supporting the outer door panel with your other hand (it will separate once the last screw is out). Carefully lower the outer panel and set it aside on a soft surface to avoid scratching.
Step 4: Locate the Dispenser Mechanism
With the outer door panel removed, the rear of the dispenser is visible — it protrudes through the inner door panel. You will see the wax motor (a small cylindrical component with 2 wires) and the dispenser housing secured with screws or clips to the inner door panel. Some models have a separate rinse aid dispenser mounted adjacent to the detergent dispenser — do not confuse them.
Step 5: Disconnect the Wax Motor Wires
The wax motor has a 2-pin connector that plugs into the door wiring harness. Press the release tab and pull the connector apart. Do not pull by the wires — grip the connector body. On some models, there is also a micro-switch wire (for detecting the dispenser door position) — disconnect this as well and note its position.
Step 6: Remove the Dispenser Assembly
Remove the 2-4 Torx T15 screws securing the dispenser housing to the inner door panel. On some models, the dispenser also has locking tabs that require pressing inward while pushing the assembly out. Work carefully — the spring-loaded latch mechanism can fly apart if the housing flexes too much. Pull the entire assembly straight out from the inner door.
Step 7: Transfer the Rinse Aid Cap (if integrated)
On some Bosch models, the rinse aid cap and reservoir are integrated with the detergent dispenser housing. If your new part does not include the rinse aid section, you may need to transfer the cap and seal from the old unit. Check both old and new parts side by side before committing to the swap.
Step 8: Install the New Dispenser
Position the new dispenser assembly in the inner door opening. Align the screw holes and locking tabs. Insert and tighten the Torx T15 screws — snug but not over-tight (the housing is plastic and strips easily). Reconnect the wax motor connector and any micro-switch wires. Verify all connections are seated with a positive click.
Step 9: Test the Latch Before Reassembly
Before reinstalling the outer door panel, restore power temporarily and test: close the dispenser door manually. Start a cycle and listen — you should hear the wax motor click within 15-20 minutes (when the main wash phase begins). The dispenser door should pop open. If it does not activate, verify your wiring connections. Once confirmed working, cancel the cycle and disconnect power again.
Step 10: Reassemble the Door
Reinstall the outer door panel by aligning it at the top edge and sliding upward. Insert all Torx T15 screws (start with bottom screws to hold the panel in position, then top screws). Tighten evenly. Do not force the panel — if it does not align, check that no wires are pinched between the inner and outer panels.
Troubleshooting Dispenser Issues Before Replacing
Sometimes the dispenser itself is fine but appears faulty:
- Detergent tab not dissolving: The dispenser opened correctly but the tab landed face-down against a dish or pot handle blocking water flow. Rearrange the lower rack so nothing blocks the dispenser door's swing path
- Dispenser door sticky but opens sometimes: Detergent residue gunking the hinge. Clean with hot water and a toothbrush — the latch may not need replacement
- Dispenser opens but at wrong time: The wax motor timing is controlled by the control board — if it opens during pre-wash instead of main wash, the control board is sending the signal too early
Safety First — Know the Risks
Live 120V wiring in a wet environment is one of the most dangerous DIY scenarios. Water + electricity = serious shock risk. Our techs are licensed and insured — let them handle the risk.
Licensed & Insured · 90-Day Warranty · Same-Day Service
When to Call a Professional
Consider professional help if:
- The dispenser is part of an integrated assembly that also includes the door latch (BSH 00630783) — some 800 series models combine these
- The wax motor tests good and wiring is intact but the dispenser still does not open — the control board relay may be faulty
- You cracked the inner door panel during removal — Bosch inner door panels are not sold separately from the tub on some models
Same-Day Appliance Repair
Fixed or It's Free
$89 → $0 Service Call & Diagnosis — offer ends May 25
Cost Comparison: DIY vs Professional
| DIY | Professional | |
|---|---|---|
| Parts | $35-$70 | $35-$70 |
| Labor | $0 | $100-$180 |
| Time | 25-40 min | 20-30 min |
| Risk | Low | Warranty included |
The Real Cost of DIY
Average DIY attempt: $150-400 in tools you may use once, plus the risk of further damage. Our diagnostic visit costs $0 — we find the problem and give you an honest quote.
Licensed & Insured · 90-Day Warranty · Same-Day Service
Need Professional Help?
FAQ
Q: Why does my Bosch dishwasher detergent tab not dissolve? A: The most common cause is not the dispenser — it is a loading issue. Tall items in the lower rack (cutting boards, large pots) can block the dispenser door from swinging open, or block water from reaching the tab once released. Test: run an empty cycle with a tab. If it dissolves perfectly, the issue is how you load the rack, not the dispenser mechanism.
Q: Can I just use the pre-wash cup instead of fixing the dispenser? A: The pre-wash cup (the open section next to the main dispenser) releases detergent at the start of the cycle during the pre-rinse. Placing your main detergent here means it all dissolves in the first 5 minutes and the remaining 45+ minutes of the main wash cycle have no cleaning agent. This results in significantly worse cleaning performance.
Q: How does the Bosch dispenser know when to open? A: A small wax motor receives an electrical signal from the control board at a programmed point in the cycle (typically 15-20 minutes in, after the pre-wash drains). The wax motor heats up, expanding and pushing a plunger that releases the spring-loaded latch. It is purely electrically timed — there is no water-pressure trigger like some older dishwasher designs.
Q: Is the detergent dispenser covered by Bosch warranty? A: The dispenser is covered under the standard 1-year parts and labor warranty. It is classified as a mechanical component, not a wear item, so it should last the life of the machine. If it fails in the first 2-3 years, it may be a manufacturing defect worth contacting BSH about even outside formal warranty.
Need a certified technician? Book same-day repair →

