How to Replace a Bosch Dishwasher Water Inlet Valve: Quick Access Method
This guide covers the fastest method for replacing a Bosch dishwasher water inlet valve — through the kick plate opening without pulling the dishwasher out or tipping it over. The inlet valve is one of the few Bosch components that can be fully accessed and replaced from the front base area alone, making it an ideal DIY repair that takes under 30 minutes.
The inlet valve fails when its internal solenoid coils burn out (no water enters) or its screen becomes clogged with sediment (slow fill). Both scenarios trigger error E17 on the Bosch display.
Before You Start
- Tools needed: Torx T20 driver, Torx T15 driver, 10mm wrench, needle-nose pliers, multimeter (for diagnosis), bucket, towels
- Parts needed: Water inlet valve (~$35-$65, verify BSH part number for your model)
- Time required: 20-30 minutes
- Difficulty: Intermediate
- Safety warning: Disconnect power at the circuit breaker and close the water supply valve under the sink. Have a bucket positioned before disconnecting the supply line — residual water is under pressure and will spray if released without a catch basin.
Do You Have the Right Tools?
Water pressure gauge ($60), spray arm tester, float switch multimeter ($85), and drain inspection camera. Our technician arrives with $15K+ in professional tools — your diagnostic is free.
Licensed & Insured · 90-Day Warranty · Same-Day Service
Step-by-Step Instructions
Step 1: Shut Off Power and Water
Locate the circuit breaker for the dishwasher and switch it off. Under the kitchen sink, close the hot water supply valve by turning clockwise until firm. Open the dishwasher door and verify no lights appear on the control panel.
Step 2: Remove the Kick Plate
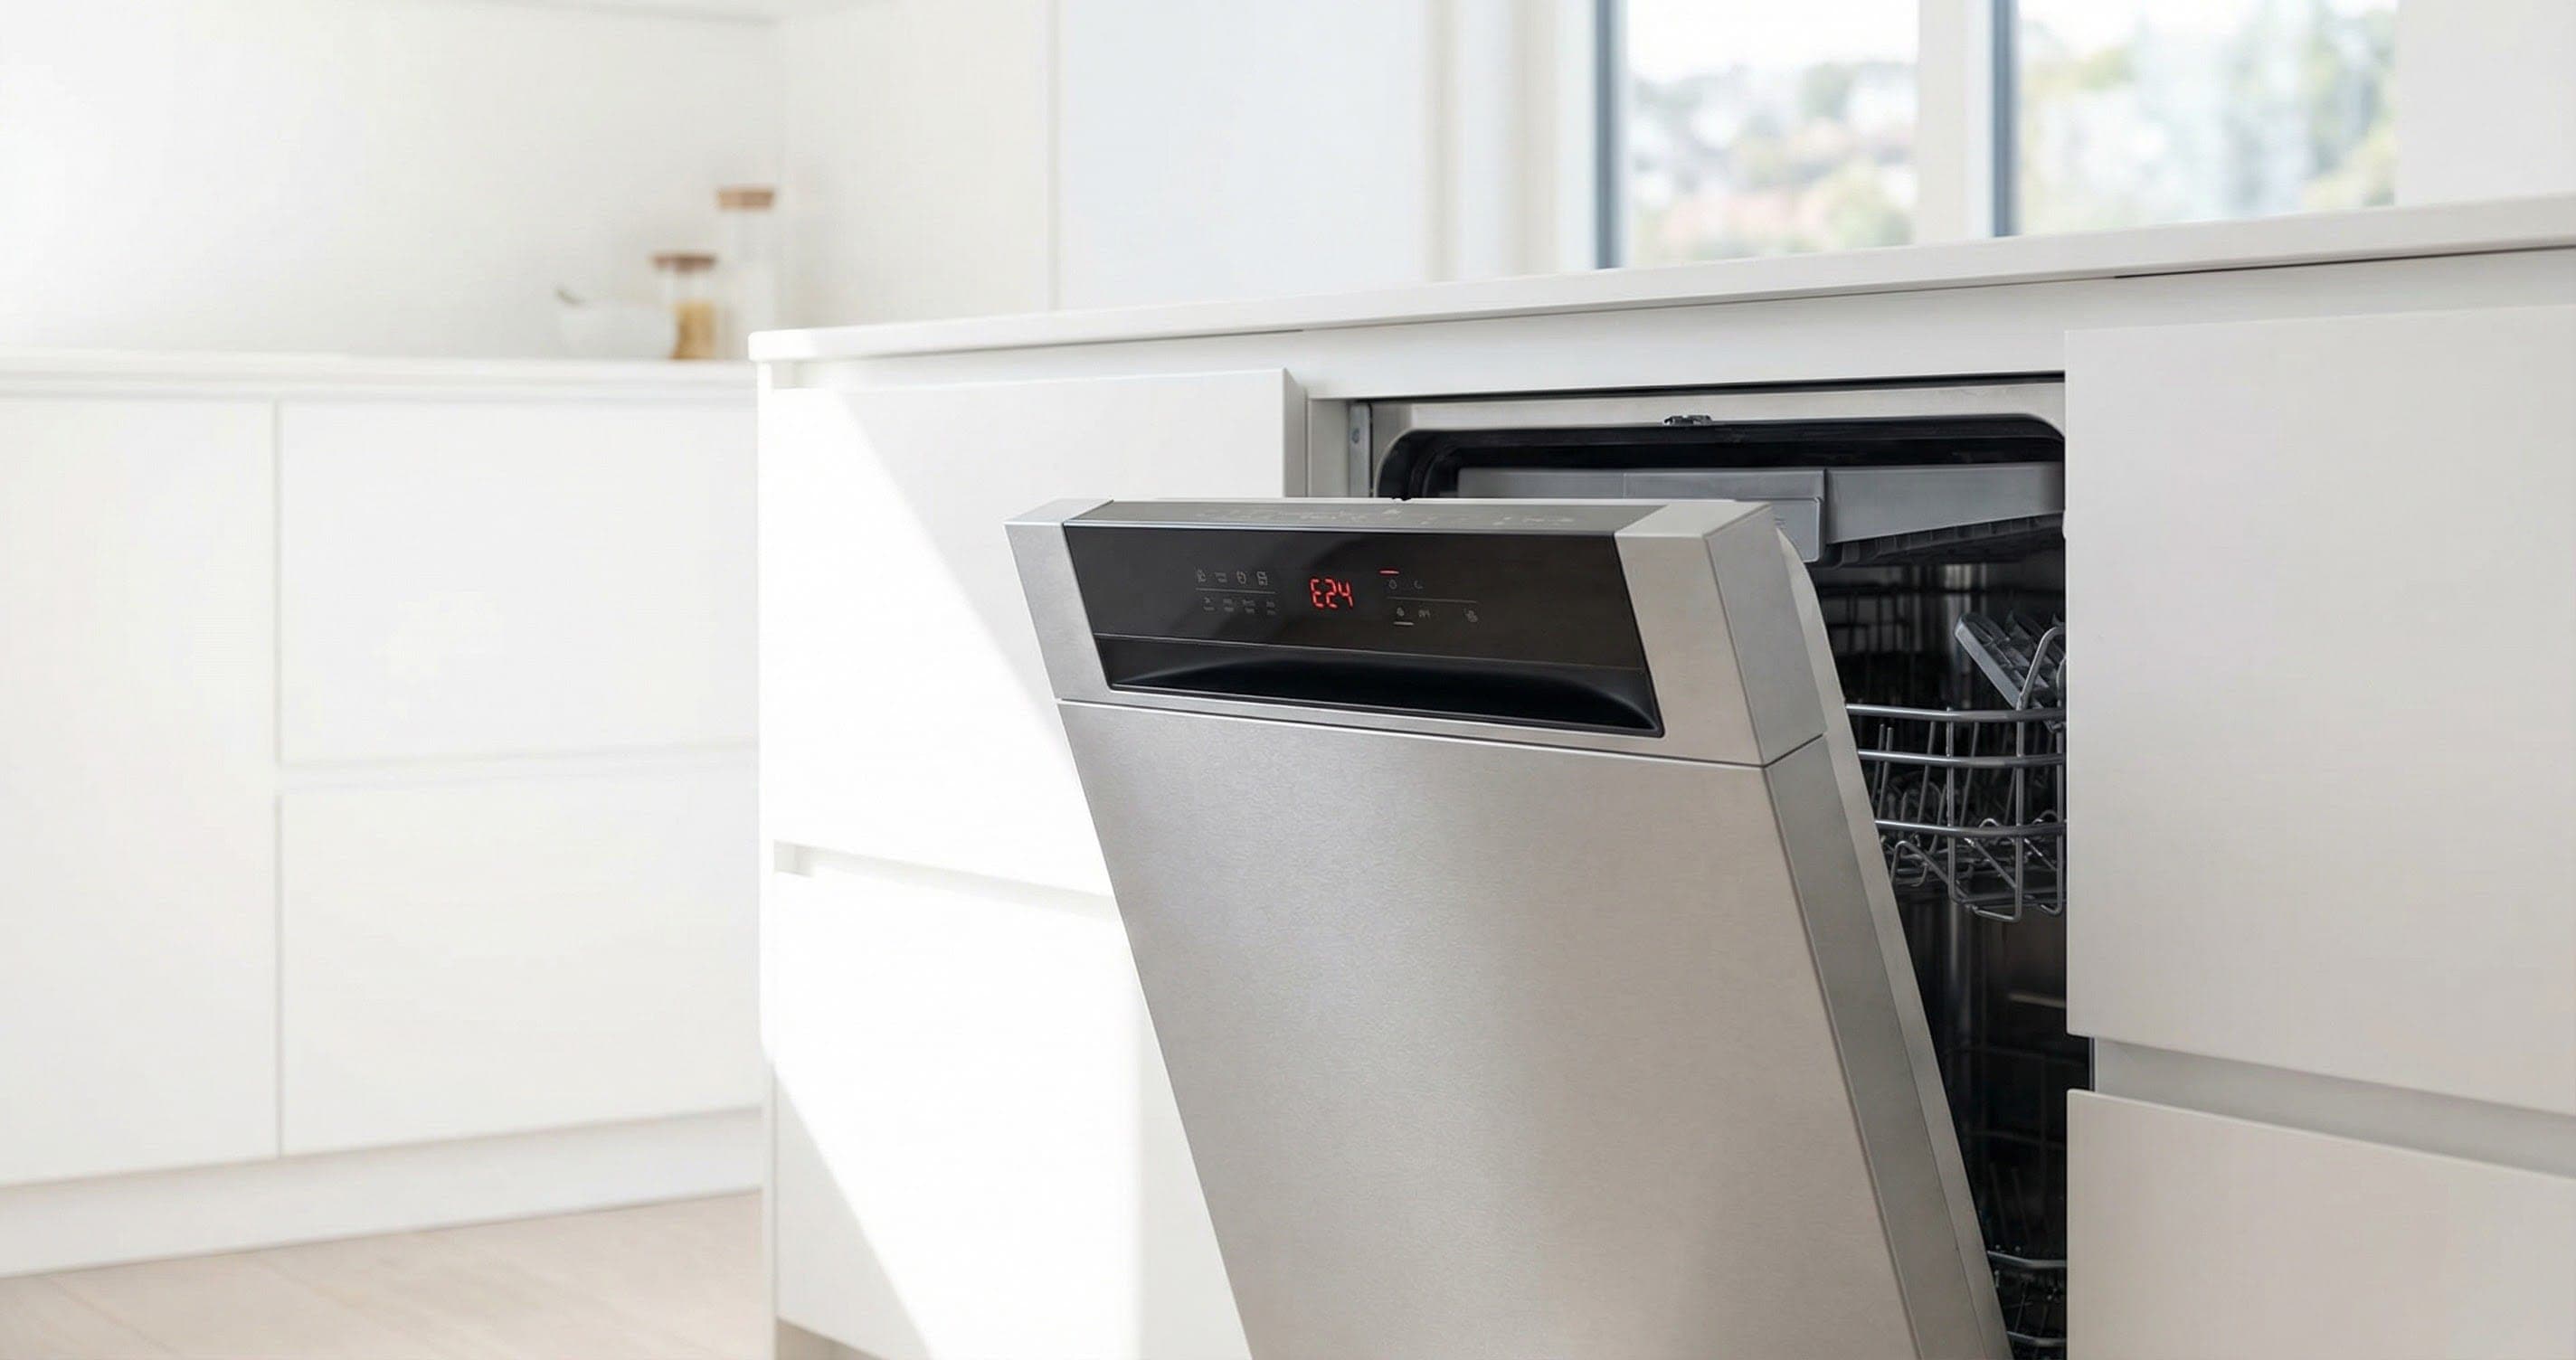
The kick plate is the narrow panel at the base of the dishwasher. It is held by 2 Torx T20 screws (one near each bottom corner). Remove both screws. Slide the panel forward about 1/4 inch, then lift and pull away. You now have a clear view of the base area: the inlet valve is at the lower-left (viewed from the front), the drain pump is center-left, and the water supply line enters from below.
Step 3: Disconnect the Water Supply Line
Place your bucket directly below the supply line connection. Using a 10mm wrench, loosen the brass nut connecting the supply line to the inlet valve inlet. Water will begin to flow once the seal breaks — let it drain into the bucket. Remove the nut completely and pull the supply line away from the valve. Inspect the rubber washer inside the brass nut — if flat or cracked, get a replacement ($2).
Step 4: Disconnect the Electrical Connector
The inlet valve has a 2-pin or 4-pin electrical connector. Reach in and press the release tab on the connector, then pull it straight off. On some models, there are two separate 2-pin connectors (one per solenoid coil). Photograph the connector position before removing — particularly which connector goes to which solenoid if there are two.
Step 5: Disconnect the Internal Fill Hose
The outlet side of the valve connects to a rubber hose that carries water up into the tub. Find the spring clamp on this hose: squeeze its ears with needle-nose pliers, slide it back along the hose, then pull the hose off the valve barb. Position a towel underneath — a small amount of water will drain from the hose.
Step 6: Release the Valve from Its Mount
The valve is secured to the dishwasher frame by: (A) a mounting bracket with 1-2 Torx T15 screws, or (B) a plastic snap-clip. Remove the screws or press the clip release tab. The valve is now free — pull it out through the kick plate opening. Note the exact orientation it was mounted in.
Step 7: Transfer the Inlet Screen
Before discarding the old valve, check if the new valve includes a mesh inlet screen. If not, carefully pry the screen from the old valve's inlet port using a small flat screwdriver and press it into the new valve. This screen is essential — without it, sediment enters the solenoid and causes premature failure.
Step 8: Install the New Valve
Position the new valve in the same orientation as the old one. Secure it to the mounting bracket with Torx T15 screws or snap it into the clip. Reconnect the internal fill hose — push it fully onto the outlet barb until it stops, then slide the spring clamp back over the barb. Reconnect the electrical connector(s) — push until you hear/feel the click.
Step 9: Reconnect the Water Supply
Thread the supply line brass nut onto the valve inlet port by hand first (prevent cross-threading). Tighten with the 10mm wrench: hand-tight plus 1/4 turn. The brass nut seals against the rubber washer — overtightening damages both the washer and the valve's brass threads.
Step 10: Test for Leaks
Open the water supply valve SLOWLY (quarter turn at a time). Watch the brass nut connection for drips. Check the internal fill hose connection. If dry after 30 seconds at full pressure, restore power and start a Quick Wash cycle. Watch through the kick plate opening for the first 5 minutes. Once confirmed dry, replace the kick plate and its 2 Torx T20 screws.
Quick Diagnostic: Does the Valve Need Replacement or Just Cleaning?
| Symptom | Likely Cause | Fix |
|---|---|---|
| No water at all, no buzz from valve | Dead solenoid coil | Replace valve |
| Buzzing sound but very slow fill | Clogged inlet screen | Clean screen only |
| Continuous filling (won't stop) | Solenoid stuck open | Replace valve |
| Intermittent fill (works sometimes) | Partially clogged screen or worn solenoid | Clean screen; if persists, replace |
Safety First — Know the Risks
Live 120V wiring in a wet environment is one of the most dangerous DIY scenarios. Water + electricity = serious shock risk. Our techs are licensed and insured — let them handle the risk.
Licensed & Insured · 90-Day Warranty · Same-Day Service
When to Call a Professional
This is one of the more accessible Bosch dishwasher repairs. Professional help is only needed if:
- The brass supply fitting on the dishwasher body is damaged or cross-threaded — a stripped fitting requires professional brazing or a new supply manifold
- The AquaStop system has triggered (E15) alongside the fill failure — the base pan needs draining and leak investigation
- You suspect the control board is not sending voltage to the valve (no buzz, good coils) — board diagnosis requires advanced electrical skill
Same-Day Appliance Repair
Fixed or It's Free
$89 → $0 Service Call & Diagnosis — offer ends May 25
Cost Comparison: DIY vs Professional
| DIY | Professional | |
|---|---|---|
| Parts | $35-$65 | $35-$65 |
| Labor | $0 | $120-$200 |
| Time | 20-30 min | 15-25 min |
| Risk | Low | Warranty included |
The Real Cost of DIY
Average DIY attempt: $150-400 in tools you may use once, plus the risk of further damage. Our diagnostic visit costs $0 — we find the problem and give you an honest quote.
Licensed & Insured · 90-Day Warranty · Same-Day Service
Need Professional Help?
FAQ
Q: Do I need to pull my Bosch dishwasher out to replace the inlet valve? A: No. The inlet valve is fully accessible through the kick plate opening at the base of the unit. You can disconnect the supply line, electrical connector, fill hose, and mounting screws all from the front without moving the dishwasher. This is one of the easiest Bosch repairs from an access standpoint.
Q: How do I know which inlet valve to order for my Bosch model? A: Find your full model number (label inside the door, left side — format like SHE3AR55UC/08). Search this exact model at boschparts.com or appliancepartspros.com. The most common valve is BSH 00622058, which fits most Bosch 300/500/800 series from 2010+. Always verify before ordering.
Q: Can a clogged inlet screen cause the same symptoms as a failed valve? A: Yes. A heavily clogged screen blocks water flow just like a failed solenoid. The difference: with a clogged screen, you will still hear the valve buzzing (solenoid is trying to open), but water enters very slowly or not at all. With a dead solenoid, there is no buzzing sound during the fill phase. Always clean the screen first — it is free and fixes the majority of cases.
Q: After replacing the valve, how do I clear the E17 error code? A: Press and hold Start/Reset for 3-5 seconds. If E17 does not clear, switch off the breaker for 60 seconds and restore power. The error clears once the dishwasher successfully completes a fill cycle. If E17 returns during the next attempt, there is still a fill problem — check supply valve, screen, and AquaStop hose.
Need a certified technician? Book same-day repair →

