How to Repair a Bosch Dishwasher Control Board (Troubleshooting Guide)
The control board is the brain of your Bosch dishwasher — it manages cycle timing, activates the heater, signals the inlet valve to fill, and monitors sensors for error conditions. When the control board develops problems, symptoms can range from a completely dead panel (no lights, no response) to erratic behavior like random error codes, cycles that stop mid-run, or components that activate at wrong times.
Bosch control boards rarely fail catastrophically. More commonly, individual relays wear out (especially the heater relay that switches 15+ amps) or solder joints crack from thermal cycling. This guide helps you diagnose whether the board is truly at fault and, for advanced DIYers, covers the replacement procedure.
Before You Start
- Tools needed: Torx T15 driver, Torx T20 driver, multimeter, plastic spudger, phone camera (for photos), needle-nose pliers
- Parts needed: Replacement control board (model-specific, ~$120-$350) — only order after confirming diagnosis
- Time required: 30-60 minutes (diagnosis: 15 min, replacement: 30-45 min)
- Difficulty: Intermediate (diagnosis) to Advanced (replacement)
- Safety warning: Disconnect power at the circuit breaker. The control board connects to 120V AC directly — verify zero voltage with a multimeter before touching any board connections. Static electricity can damage board components — touch a metal surface to discharge before handling the board.
Do You Have the Right Tools?
Water pressure gauge ($60), spray arm tester, float switch multimeter ($85), and drain inspection camera. Our technician arrives with $15K+ in professional tools — your diagnostic is free.
Licensed & Insured · 90-Day Warranty · Same-Day Service
Step-by-Step Instructions
Step 1: Perform a Hard Reset First
Before assuming board failure, try a full power reset. Switch off the circuit breaker for the dishwasher (not just the panel button). Wait 5 full minutes — this allows capacitors to discharge and volatile memory to clear. Restore power. If the panel responds and error codes are gone, the board was in a fault state, not failed. If symptoms return within 24 hours, continue diagnosis.
Step 2: Check the Door Latch Switch
A completely dead panel (no lights at all) is often NOT the control board — it is the door latch switch. The Bosch door latch (BSH 00630783) includes a safety interlock that disconnects power from the board when the door is open. If this switch fails in the "open" position, the board receives no power even with the door closed. Test: close the door firmly and listen for the latch click. With the door closed, check for 120V at the board's power input connector (through the kick plate area).
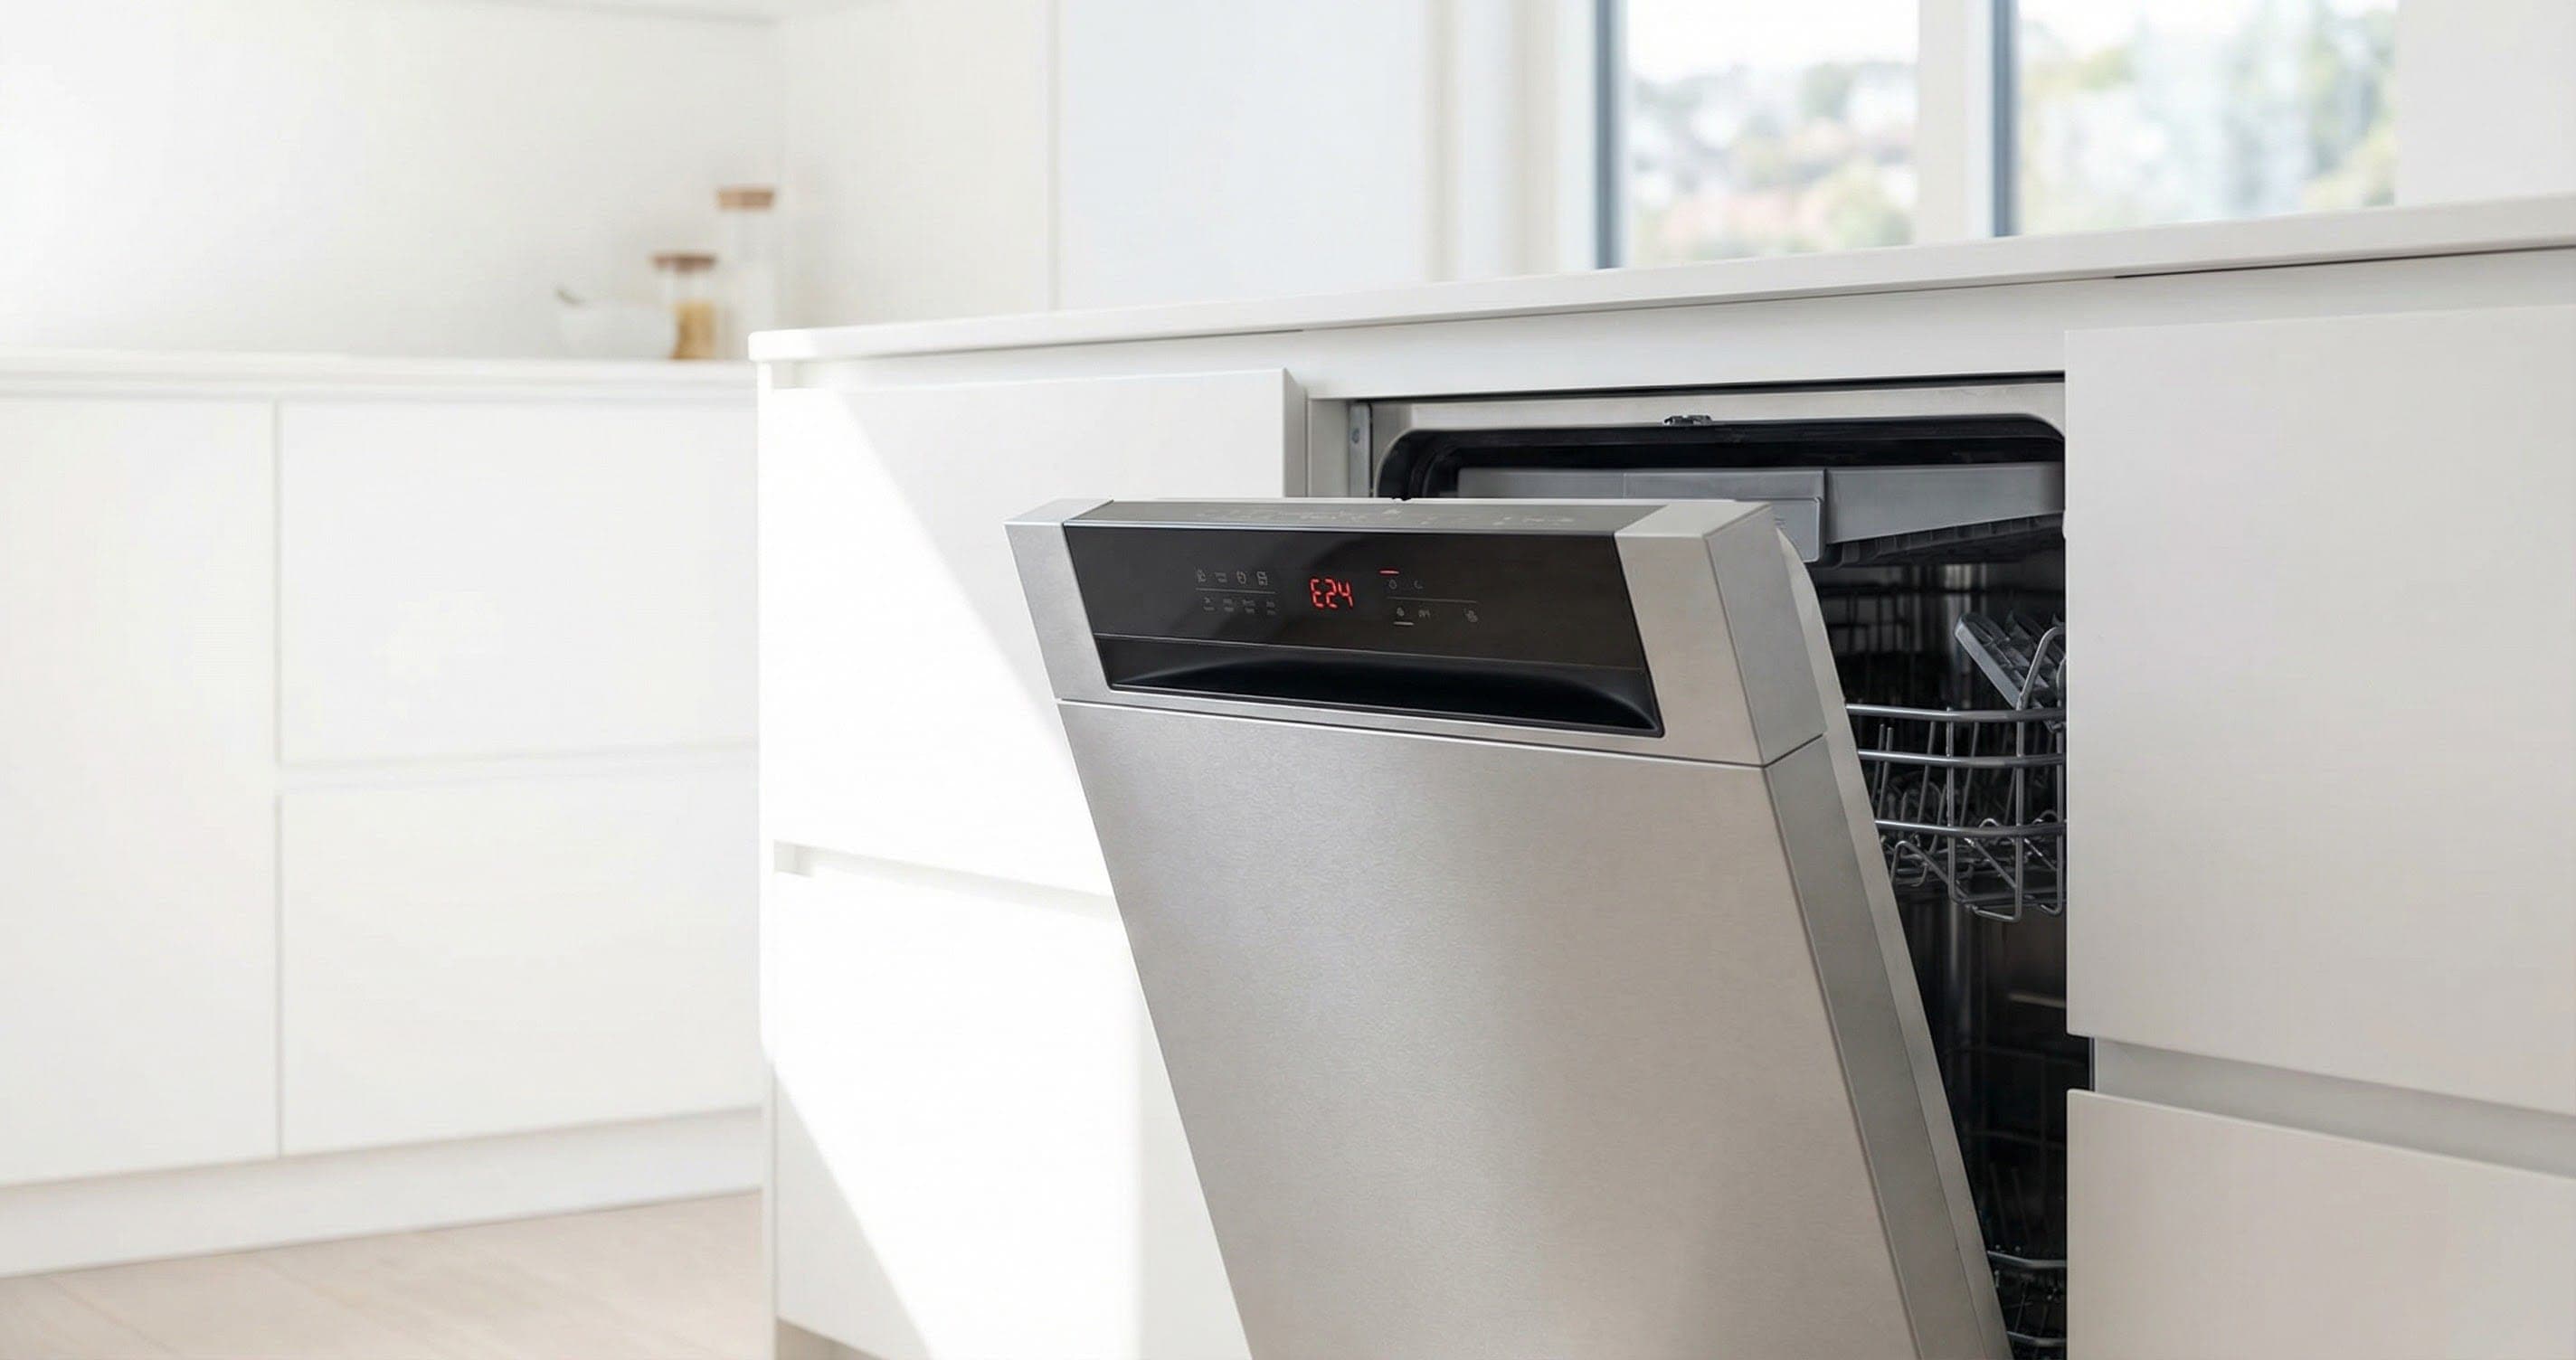
Step 3: Inspect the Board for Visible Damage
Disconnect power. Access the control board: open the door to horizontal. Remove the Torx T15 screws from the inner door perimeter (6-8 screws). Carefully lower the outer door panel. The control board sits at the top of the door in a plastic housing secured by 2-3 Torx T15 screws and a decorative trim strip (pry off with plastic spudger). Remove the housing cover. Visually inspect the board for: burnt components (black marks), swollen or leaking capacitors, cracked solder joints (look at relay terminals especially), and water damage (green corrosion on traces).
Step 4: Check the Heater Relay
The heater relay is the most common board failure point — it switches 15+ amps every cycle and eventually welds its contacts or burns open. Symptoms of a failed heater relay: error E09, heater never activates (cold washes), or heater never turns off (water overheats). The relay is usually the largest component on the board. With the board removed, measure continuity across the relay contacts — with no power, the normally-open contacts should read open circuit. If they read continuity (relay contacts welded shut), the relay has failed. Some repair shops can replace individual relays for $40-80 instead of the full board.
Step 5: Test Control Board Outputs
For advanced diagnosis with the board installed: reconnect power and start a cycle. Using a multimeter, check for expected voltages at various connector pins during different cycle phases. For example: during fill, 120V should appear at the inlet valve connector. During wash, 120V at the circulation pump. During drain, 120V at the drain pump. If a specific output is always missing but others work, that relay or output transistor has failed.
Step 6: Document All Connections Before Removal
If replacement is needed: before disconnecting anything, photograph every connector on the board from multiple angles. Bosch boards have 5-10 connectors of various sizes. Some connectors look similar but carry different signals — mixing them up can damage the new board. Label each connector with tape if your photos are not clear enough.
Step 7: Remove the Failed Board
Disconnect all ribbon cables (lift the locking tab on ZIF connectors, then slide the cable out). Disconnect all wire harness connectors (press release tabs and pull straight). Remove the 2-3 mounting screws. Lift the board out of its housing. Handle by edges only — avoid touching component leads or solder joints.
Step 8: Install the New Board
Place the new board in the housing and secure with mounting screws. Reconnect all connectors in the exact positions photographed in Step 6. For ribbon cables: slide fully into the ZIF socket before pressing the locking tab down. For harness connectors: push until you hear/feel the click. Double-check every connection against your photos.
Step 9: Reassemble and Program (If Required)
Some Bosch replacement boards come pre-programmed for your model. Others require configuration at first startup: power on, and within 30 seconds, press and hold a specific button combination to enter setup mode (consult the instructions included with the replacement board). This sets the board to your specific model's cycle parameters.
Step 10: Test All Functions
Run through each cycle type briefly to verify all systems work: fill (inlet valve activates), wash (circulation pump runs, spray arms spin), heat (door warms after 15 min), drain (drain pump activates at end), and dry (fan or condensation cycle operates). If any function fails, recheck the corresponding connector.
Common Control Board Symptoms and Diagnosis
| Symptom | Likely Board Issue | Alternative Cause |
|---|---|---|
| Panel completely dead | Power supply section | Door latch switch, blown fuse |
| Buttons unresponsive | Touch panel membrane | Ribbon cable connection |
| Random error codes | Failing sensor inputs | Actual sensor failures |
| Cycle stops mid-run | Overheating relay | Wiring issue to component |
| Heater never turns on | Heater relay welded open | Failed heater element |
| Won't start but panel lights up | Safety interlock logic | Door latch not fully engaging |
Safety First — Know the Risks
Live 120V wiring in a wet environment is one of the most dangerous DIY scenarios. Water + electricity = serious shock risk. Our techs are licensed and insured — let them handle the risk.
Licensed & Insured · 90-Day Warranty · Same-Day Service
When to Call a Professional
Control board repair/replacement is best left to professionals if:
- You are not comfortable diagnosing 120V AC circuits with a multimeter
- The board shows signs of water damage — there may be an underlying leak that needs addressing first, or corrosion may have damaged traces that look intact
- Your model requires board programming/configuration that is not documented in the replacement instructions
- Multiple outputs have failed simultaneously — this often indicates a power surge that may have damaged other components too
Same-Day Appliance Repair
Fixed or It's Free
$89 → $0 Service Call & Diagnosis — offer ends May 25
Cost Comparison: DIY vs Professional
| DIY | Professional | |
|---|---|---|
| Parts | $120-$350 | $120-$350 |
| Labor | $0 | $150-$280 |
| Time | 30-60 min | 30-45 min |
| Risk | Moderate-High | Warranty included |
The Real Cost of DIY
Average DIY attempt: $150-400 in tools you may use once, plus the risk of further damage. Our diagnostic visit costs $0 — we find the problem and give you an honest quote.
Licensed & Insured · 90-Day Warranty · Same-Day Service
Need Professional Help?
FAQ
Q: How do I know if my Bosch dishwasher control board has failed vs a sensor? A: Start with the sensor. If only one function fails (heating, filling, draining) but everything else works, the corresponding component or sensor is more likely faulty than the board. Test the component first — boards rarely develop single-function failures. If multiple unrelated functions fail simultaneously, or the panel behaves erratically, the board is suspect.
Q: Can a Bosch dishwasher control board be repaired instead of replaced? A: Yes, specialized appliance electronics repair shops can replace individual relays, capacitors, or burned traces for $40-100 — significantly cheaper than a new board ($120-350). Search for "appliance circuit board repair" in your area. You ship the board, they repair and return it in 3-7 days.
Q: Will a power surge damage my Bosch dishwasher control board? A: Yes. Power surges are the #1 cause of sudden board failures in otherwise healthy dishwashers. Symptoms appear immediately after a power outage or electrical event. A whole-home surge protector or a dedicated outlet surge protector can prevent this. If your board failed during a storm or power flicker, check other connected appliances too.
Q: Is the control board covered under Bosch warranty? A: The standard Bosch warranty covers the control board for 1 year (parts and labor). However, if the board failed due to a manufacturing defect (not a surge), Bosch sometimes offers goodwill coverage beyond the warranty period — especially in the first 3 years. Call BSH at 1-800-944-2904 with your model/serial and explain the failure.
Need a certified technician? Book same-day repair →

