Bosch Dishwasher Display Not Working — Control Panel & Power Diagnosis
A non-functioning display on a Bosch dishwasher can mean anything from a simple power interruption to a failed control board. The diagnostic approach depends on distinguishing between "no power to the entire machine" and "power exists but the display specifically has failed." This distinction matters because Bosch dishwashers are typically hardwired — connected directly through a junction box rather than a plug — making power verification require different steps than plug-in appliances.
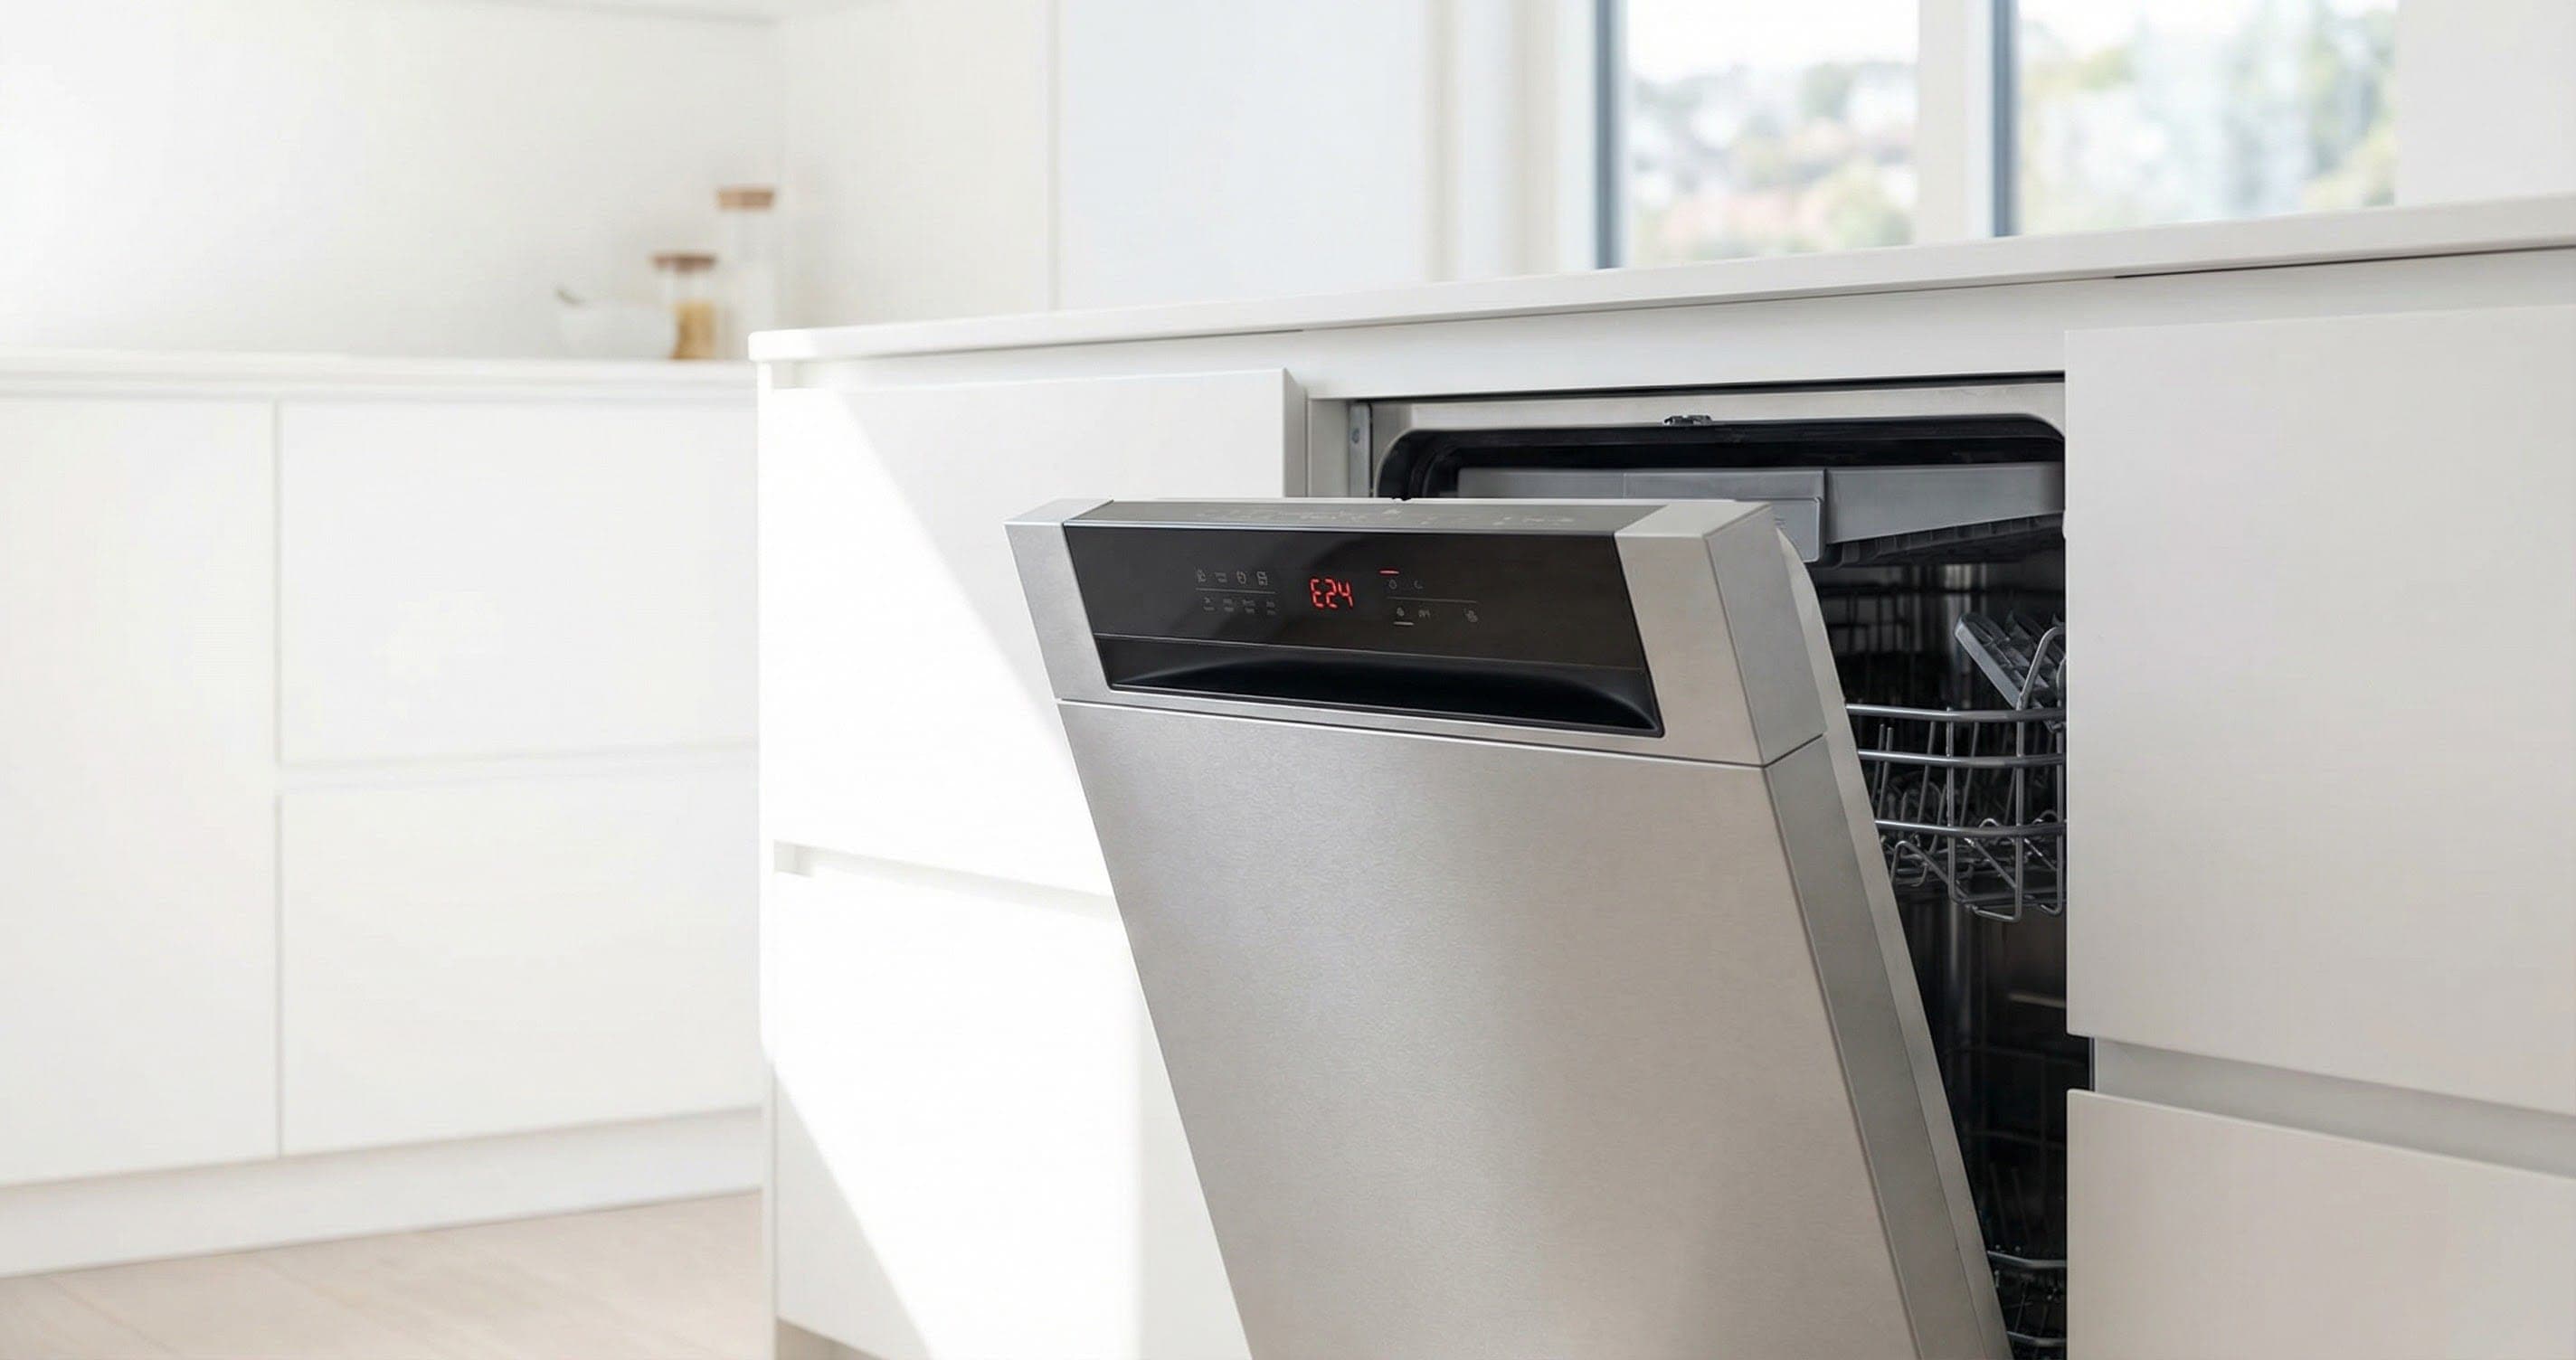
On Bosch models with top-of-door controls (most SHX, SHP, SHV models in the 300–800 series), the display is part of the interface board mounted inside the door panel. On models with front-facing controls (typically older 100 series or ascenta models), the display is integrated into the front panel board. Both configurations use ribbon cables connecting the display to the main control board — these cables are a common failure point due to repeated door opening flexion.
Understanding Bosch Display Architecture
Bosch dishwashers use two separate boards:
- Main control board — mounted lower in the door, handles all operational logic and power switching
- User interface board (UI board) — mounted behind the display, handles button inputs and display output
- Ribbon cable — connects the two boards, flexes every time the door opens and closes
The InfoLight (red dot projected on the floor) on 500 and 800 series models runs from the main control board independently. If the InfoLight works but the display doesn't, the main board has power but the UI board or ribbon cable has failed. If neither works, the power issue is upstream of both boards.
Do You Have the Right Tools?
Water pressure gauge ($60), spray arm tester, float switch multimeter ($85), and drain inspection camera. Our technician arrives with $15K+ in professional tools — your diagnostic is free.
Licensed & Insured · 90-Day Warranty · Same-Day Service
Cause 1: No Electrical Power to the Machine (30% of Cases)
Because Bosch dishwashers connect through a hardwired junction box (located behind the lower kick panel), any issue with the home wiring, breaker, or junction box connections results in a completely dead machine — no display, no lights, no sounds.
How to distinguish: Press any button, try to start a cycle, listen for any sound whatsoever. If the machine is completely dead — no beep, no light, no relay click — it's a power issue. The InfoLight won't project either.
Diagnosis:
- Check the circuit breaker panel — the dishwasher should have a dedicated 20-amp breaker
- If the breaker hasn't tripped, check whether other outlets on the same circuit have power
- Remove the lower access panel (2x T20 Torx screws) and open the junction box (single cover screw)
- With a multimeter, test voltage between black (hot) and white (neutral) wires — should read 120V AC
Repair Steps:
- If the breaker tripped: reset it. If it immediately trips again, there's a short circuit in the machine (likely the circulation pump or heating circuit). Do not keep resetting — call an electrician
- If breaker is fine but no voltage at junction box: the wiring between breaker and dishwasher has an open circuit — requires an electrician
- If voltage is present at junction box but machine is dead: the internal main control board has likely failed (or its power supply section specifically)
- Check junction box wire nut connections for corrosion or looseness — re-strip and reconnect if needed
Parts Cost: $5–$15 (wire nuts) or requires electrician Professional Repair Cost: $89–$200
Cause 2: Ribbon Cable Failure Between Boards (25% of Cases)
The ribbon cable connecting the main control board to the UI board flexes every time you open and close the dishwasher door. Over years of use (thousands of door cycles), the cable's conductor traces can crack or the connector pins can corrode from steam exposure. This is the most common Bosch-specific display failure.
How to distinguish: The machine has power (you might hear the AquaStop valve click when starting, or the InfoLight works on equipped models) but the display shows nothing, partial segments, or garbled characters. Sometimes the display works intermittently — pressing on the door panel or opening/closing the door changes the display behavior.
Diagnosis: Open the door gently and observe — if the display flickers or changes when the door moves, the ribbon cable connection is intermittent due to a flexion-related break.
Repair Steps:
- Disconnect power at the breaker
- Open the dishwasher door fully
- Remove the inner door panel (6x T15 Torx screws around the perimeter)
- Locate the ribbon cable running between the two circuit boards
- Carefully reseat both ends — press the connector firmly into each socket
- Inspect the cable itself for visible cracks, tears, or dark spots (indicates conductor breaks)
- If the cable is damaged, replacement requires the specific ribbon cable for your model (dealer-order part)
- If reseating the connectors resolves the issue temporarily but it returns, the cable has an internal break and must be replaced
Parts Cost: $20–$60 (ribbon cable — model-specific) Professional Repair Cost: $120–$220
Safety First — Know the Risks
Live 120V wiring in a wet environment is one of the most dangerous DIY scenarios. Water + electricity = serious shock risk. Our techs are licensed and insured — let them handle the risk.
Licensed & Insured · 90-Day Warranty · Same-Day Service
Cause 3: UI Board (User Interface Board) Failure (20% of Cases)
The UI board contains the display module, the button contacts/touch sensors, and the microcontroller that manages the user interface. Steam intrusion through the door panel over time (especially in humid kitchens) corrodes components on this board, causing partial or complete display failure.
How to distinguish: The machine appears to have power (sounds, InfoLight) but the display is completely blank or shows random segments that don't correspond to any normal display. Buttons may or may not respond (press Start — if the machine actually runs despite no display, the UI board display section is dead but the input section still functions).
Diagnosis: With the inner door panel removed, visually inspect the UI board for corrosion (green oxidation on solder joints), water marks, or component damage. Also check the backlight — sometimes the display data is actually present but the backlight has failed, making it invisible (shine a flashlight at the display — you may see faint characters).
Repair Steps:
- Disconnect power
- Remove the inner door panel (6x T15 Torx)
- The UI board is mounted directly behind the display area at the top of the door
- Disconnect the ribbon cable and any other connectors
- Remove the board mounting screws (typically 2–4x T10 Torx)
- Install the replacement UI board (model-specific part number — must match exactly)
- Reconnect all cables and verify before reassembling the door panel
- Restore power and test all buttons and display functions
Parts Cost: $80–$200 (UI board — model-specific) Professional Repair Cost: $175–$350
Cause 4: Main Control Board Power Section Failure (15% of Cases)
The main control board contains a power supply section that converts 120V AC to the low voltages needed by the logic circuits and display. If a capacitor or voltage regulator in this section fails, the board can't power the display or UI board even though 120V reaches the board from the junction box.
How to distinguish: Completely dead machine — identical to Cause 1 externally. But voltage at the junction box tests good (120V present). The issue is that the main board's internal power supply has failed.
Diagnosis: Requires measuring the board's output voltages with a multimeter at the connector pins. This is typically a professional-level diagnostic.
Repair Steps:
- Disconnect power
- Access the main control board (lower section of the inner door panel)
- Look for obvious failures: bulging or leaking capacitors, scorched areas on the PCB, burnt components
- If visible damage: replace the entire main control board (model-specific)
- If no visible damage: this becomes a professional diagnostic (requires testing specific voltages)
Parts Cost: $150–$350 (main control board) Professional Repair Cost: $250–$500
The Real Cost of DIY
Average DIY attempt: $150-400 in tools you may use once, plus the risk of further damage. Our diagnostic visit costs $0 — we find the problem and give you an honest quote.
Licensed & Insured · 90-Day Warranty · Same-Day Service
Cause 5: Steam/Moisture Damage to Door Panel Electronics (10% of Cases)
Bosch dishwashers vent steam during the drying phase (and when the door is opened hot). Over time, this steam migrates upward into the control panel area. While Bosch designs for this with moisture barriers, eventually (typically after 5–8 years) steam penetration can cause:
- Corrosion on connector pins
- Short circuits between traces on boards
- Fogging of the display itself (moisture between LCD layers)
Diagnosis: After removing the inner door panel, look for water droplets, fogging, or white mineral deposits on the control electronics. This type of damage is cumulative and progressive.
Repair Steps:
- If minor: dry all components thoroughly, clean corroded connector pins with electronic contact cleaner, apply dielectric grease to connector interfaces
- If the display itself is fogged internally: the display module must be replaced (usually comes as part of the UI board assembly)
- Improve the moisture barrier: ensure the inner door panel gasket (foam strip) is intact and makes full contact when the panel is installed
- Consider adding an additional moisture seal if your model is prone to this issue
Parts Cost: $10–$200 (ranging from contact cleaner to full UI board replacement) Professional Repair Cost: $100–$350
Same-Day Appliance Repair
Fixed or It's Free
$89 → $0 Service Call & Diagnosis — offer ends May 25
Troubleshooting the InfoLight
On 500 and 800 series Bosch dishwashers, the InfoLight projects a red dot on the floor during cycle operation:
- If the InfoLight works but display doesn't: power is reaching the main board, problem is UI board or ribbon cable
- If neither InfoLight nor display works: no power to the main board (junction box, breaker, or board power supply failure)
- If the InfoLight is always on: the machine thinks a cycle is running — try a hard reset (breaker off 5 minutes)
The InfoLight LED module is in the bottom of the door and is replaceable independently — but it rarely fails on its own.
Don't Void Your Warranty
Opening your appliance yourself may void the manufacturer warranty. Our repair comes with a 90-day guarantee, and we document everything for warranty compliance.
Licensed & Insured · 90-Day Warranty · Same-Day Service
Hard Reset Procedure
Before investigating hardware, always attempt a hard reset:
- Turn off the dishwasher breaker for at least 5 minutes (not just press the power button)
- Restore power
- The display should initialize with the last-used program or a default
- If the display comes back but shows an error code, address that specific code
- If the display remains blank after a hard reset, the issue is hardware
Prevention
- Don't lean on the dishwasher door — excessive force on the top panel stresses ribbon cable flex points
- Wipe condensation from the top edge of the door after opening a hot cycle — prevents steam from pooling along the control panel seam
- Listen for the InfoLight click when starting a cycle — if you hear the relay but see nothing, the display is failing before the main board
Bosch dishwasher display blank or showing garbled information? Our technicians diagnose whether the issue is power supply, ribbon cable, UI board, or main control board — and carry replacement boards for many Bosch models for same-visit repair. Schedule your Bosch dishwasher repair →

