
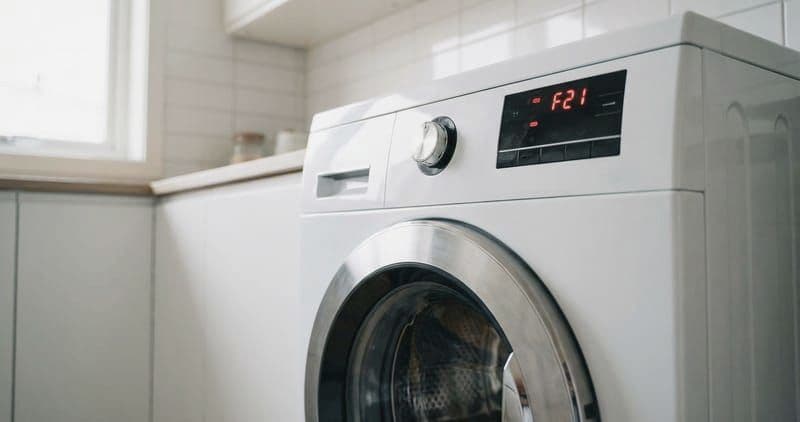
A Whirlpool washer that fills slowly or won't fill at all almost always has a restriction or a valve fault somewhere between the supply valves and the tub. Most of the causes are cheap and checkable at home — this guide ranks them so you can find yours fast.
The likely culprit#
Most likely: clogged inlet screens. Every Whirlpool washer has small mesh screens at the inlet-valve ports where the fill hoses connect, and in hard-water areas they clog with sediment and mineral scale within a year or two, throttling the fill. If the screens are clean, the water inlet valve itself is the next suspect.
Before you unthread anything, though, take two observations that cost nothing and that narrow the ranked list below by more than any single test on it. The first is which temperature is affected: a machine where cold fills normally and hot does not has told you the fault lives on one side only, and everything the two sides share is instantly off the list. The second is what the nearest tap does — because if the house cannot deliver, nothing inside the washer is wrong at all. The table below turns those two answers into a cause.
Do You Have the Right Tools?
Bearing puller set ($120), drum spider wrench ($85), multimeter ($85), and diagnostic software. Our technician arrives with $3,000+ in professional tools — your diagnostic is free.
Licensed & Insured · 90-Day Warranty · Same-Day Service
Two free observations: which temperature, and what the tap says#
Run a cold-only programme, then a warm one, and note which fills and how fast. Then open the nearest tap and watch it. Find the row where your two answers meet.
| What you observe | Where the restriction is | What it rules out |
|---|---|---|
| Both temperatures trickle at about the same reduced rate | Something both sides share: house pressure, or both screens silted together | A solenoid failure, which takes out one side and leaves the other alone |
| Cold fills normally, hot does not — or the reverse | That one side only: its supply valve, its hose, its screen, or its solenoid | Everything shared, including house pressure and the board |
| The nearest tap also runs weakly with the washer's hoses disconnected | The household supply, upstream of the machine entirely | The washer; no part inside it will change a pressure problem |
| The tap runs strongly, and the machine still trickles on both sides | The screens or the valve — the water is arriving and not getting in | The supply and the pressure, both just proven good |
| The tub fills at a perfectly normal rate and the machine still times out | The flow meter under-reading what is actually passing through it | Every physical restriction; the water is plainly arriving |
| It started the week the washer was moved or the plumbing was worked on | A hose kinked behind the machine, or a supply valve left part-open | Wear and silting, which do not arrive on a single afternoon |
The second row is the one that saves the most work, because a fault on one temperature only eliminates the pressure, the meter and everything shared in a single observation — and it points at four cheap things instead of six.
Where these rows come from: the six causes ranked in the table above — clogged inlet screens, inlet valve failure, low water pressure, a supply valve not fully open, kinked hoses, and a flow-meter fault — re-keyed on the two observations this page already treats as decisive, namely that one temperature failing points at that side's solenoid and that testing a nearby fixture separates house pressure from the machine. The percentages beside those causes order them against one another and name no sample; nothing here repeats a share.
Safety first#
Turn off both supply valves and unplug the washer before you disconnect a hose or the inlet valve.
Safety First — Know the Risks
High-voltage components and pressurized water lines create flood and shock risk. A single loose fitting can cause thousands in water damage. Our techs are licensed and insured — let them handle the risk.
Licensed & Insured · 90-Day Warranty · Same-Day Service
Ranked causes at a glance#
Work down the table — the top two cover roughly two-thirds of slow-fill calls:
| Likely cause | How common | What you'll notice / what to check |
|---|---|---|
| Clogged inlet screens | 40% of cases | A slow trickle fill; sediment packed in the mesh screens at the valve inlet ports. |
| Water inlet valve failure | 28% of cases | One temperature won't flow, or flow is weak even with the solenoid energized; valve W10872255. |
| Low water pressure | 15% of cases | Below the ~20 PSI the valve needs; several fixtures running or a partly-closed supply. |
| Supply valve not fully open | 10% of cases | Hot or cold supply behind the washer not fully on, or an old gate valve seized part-open. |
| Kinked supply hoses | 5% of cases | A hose pinched behind the washer restricting flow like a partly-closed valve. |
| Flow-meter fault | 2% of cases | Tub fills at a normal rate but an F8E1 still times out; the meter under-reads the flow. |
Working through each cause#
1. Clogged inlet screens (40% of cases)#
The mesh screens at the valve inlets catch sediment, rust, and mineral deposits before they reach the diaphragm. In hard water they pack solid in about 12-18 months and choke the fill to a trickle. Shut off the supplies, unthread the hoses, and pull or brush the screens clean — replace them if they're crushed or corroded rather than forcing debris through into the valve.
2. Water inlet valve failure (28% of cases)#
The inlet valve (Whirlpool part W10872255) uses solenoid-operated diaphragm gates for hot and cold. When a solenoid fails, that temperature stops flowing; when the diaphragm calcifies, flow stays weak even with the solenoid energized. On WTW and WFW models with the Load & Go dispenser the valve feeds through the dispenser, so confirm the fault is the valve and not a blocked dispenser path before replacing it.
3. Low water pressure (15% of cases)#
Whirlpool inlet valves need roughly 20 PSI to open the diaphragm fully; below that you get a trickle or nothing. Common causes are several fixtures drawing at once, a kinked hose, or a partially closed supply. Test by opening a nearby faucet — weak flow there points to a house-pressure problem rather than the washer.
4. Supply valve not fully open (10% of cases)#
After plumbing work, a move, or a reinstall, the hot or cold supply behind the washer can be left only part-way open, and old gate valves sometimes seize internally even when the handle looks open. Turn both valves fully counterclockwise. If a gate valve is stiff or unreliable, replace it with a quarter-turn ball valve so it's obvious when it's open.
5. Kinked supply hoses (5% of cases)#
Rubber hoses kink when the washer is pushed back against the wall, and even braided stainless lines can be pinched under the machine's weight. A kinked hose restricts flow exactly like a partly-closed valve. Pull the washer forward, inspect both hoses, and replace any rubber hose with a braided stainless one.
6. Flow-meter fault (2% of cases)#
Whirlpool's Adaptive Fill flow meter can under-read the actual flow, so the control thinks too little water is entering and times out with F8E1 even though the tub is filling normally. If the tub clearly fills at a normal rate but F8E1 still trips, the meter is the suspect. This is a control-side diagnosis best confirmed before replacing parts.
The Real Cost of DIY
Average DIY attempt: $150-400 in tools you may use once, plus the risk of further damage. Our diagnostic visit costs $0 — we find the problem and give you an honest quote.
Licensed & Insured · 90-Day Warranty · Same-Day Service
The short version#
- Clogged inlet screens — 40%; clean or replace the mesh at the valve ports.
- Inlet valve — 28%; W10872255, one temperature dead or weak flow.
- Low pressure — 15%; needs ~20 PSI, check other fixtures.
- Supply valve — 10%; open both fully, swap seized gate valves.
- Kinked hose — 5%; straighten or replace.
- Flow meter — 2%; normal fill but F8E1 times out.
What the repair usually involves#
A slow-fill repair starts at the hoses and screens — the cheapest, most common culprits — and only moves to the inlet valve, then the flow meter and control, if flow stays low. The washer is filled and cycled afterward to confirm both hot and cold reach the tub at full rate.
Don't Void Your Warranty
Opening your appliance yourself may void the manufacturer warranty. Our repair comes with a 90-day guarantee, and we document everything for warranty compliance.
Licensed & Insured · 90-Day Warranty · Same-Day Service
Keeping it from coming back#
Clean the inlet screens periodically in hard-water areas, use braided stainless hoses, and leave the supply valves fully open — most repeat slow-fill complaints trace back to scale in the screens rather than a failed valve.
When to call a professional#
Call a technician if the fill is still slow after cleaning the screens and checking pressure and hoses, if the inlet valve or flow meter needs replacing, or if an F8E1 keeps returning. The cost depends on whether it's a hose, a screen, or the valve plus labor, and a tech can confirm before starting.
Still barely filling? Book an EasyBear technician — we service Whirlpool washers and carry the inlet-valve and hose parts these models use.
Is It Worth Your Time?
Washer problems have dozens of possible causes from bearings to control boards. Average DIY troubleshooting: 3-5 hours plus parts ordering delays. Our technician diagnoses the issue in about 30 minutes — same-day appointments available.
Licensed & Insured · 90-Day Warranty · Same-Day Service
Cleaning the inlet screens without flooding the floor#
This is the most likely fix on the page and the one people put off, usually because the last attempt made a mess. It does not have to.
Close both supply valves fully first and then open a tap on the machine — run a rinse for a few seconds — so the pressure between the valve and the washer drops. That trapped pressure is what sprays the wall when a hose comes off a live supply, and bleeding it takes about five seconds.
Put a towel and a shallow tray under the connections before anything is unthreaded. Even with the valves closed, each hose holds a cupful, and it arrives all at once.
Unthread one hose at a time rather than both, and keep track of which is which. The screens sit in the machine's inlet ports and lift out with fine-nose pliers or the corner of a small screwdriver — they are a press fit, not a thread, and they come out further than you expect.
Rinse each one under a tap from the back so the debris travels the way it came, brush it with an old toothbrush, and hold it up to the light. A screen you can see through cleanly is done; a screen that still looks grey has more in it. Refit them the way they came out, hand-tighten the hoses, then open the valves slowly and check for weeping before you push the machine back.
Lead Appliance Repair Technician · 12 years experience
Experienced technician with 12 years specializing in washing machine and dryer repairs across all major brands.


