KitchenAid Washer Leaking Water — Complete Repair Guide
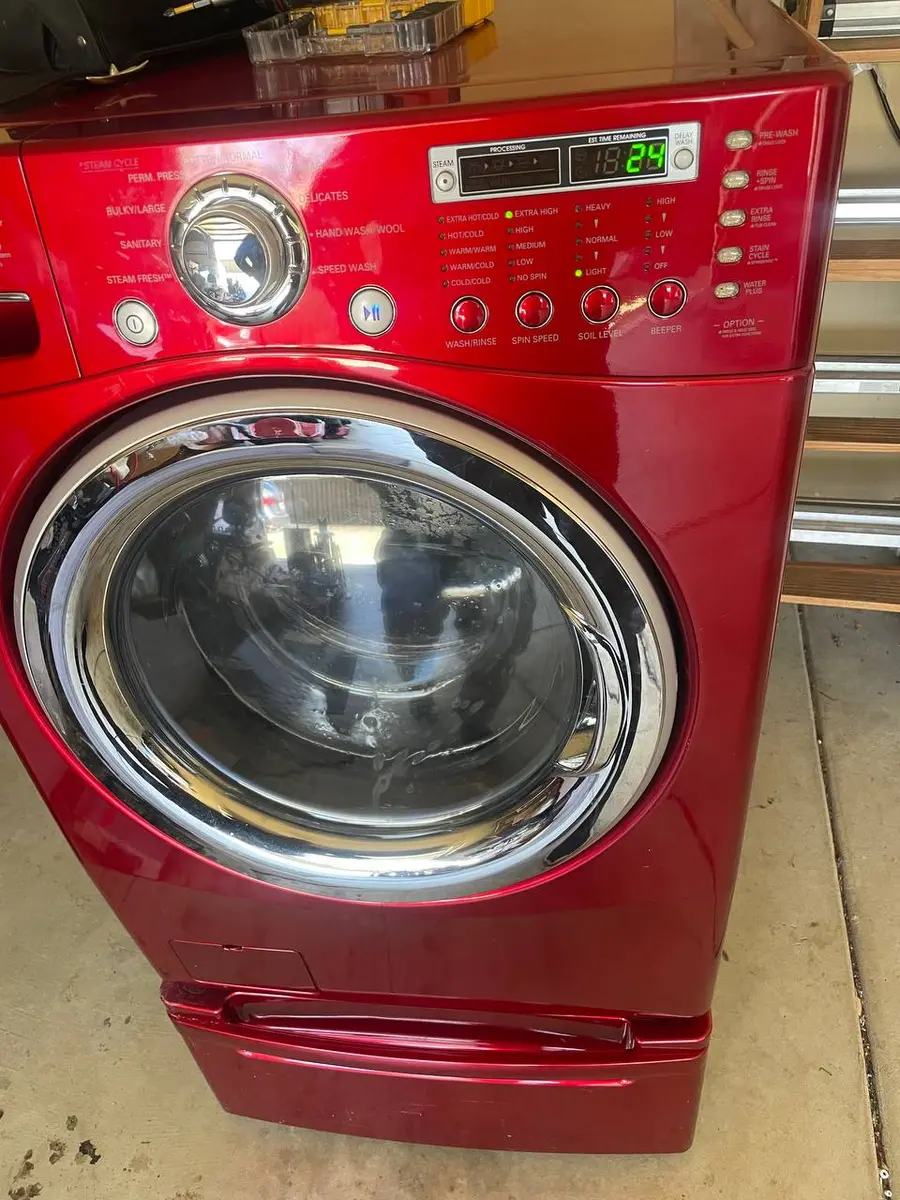
Water on the floor around your KitchenAid washer requires prompt attention — both to prevent flooring damage (particularly in the hardwood-floored laundry spaces common in Bay Area premium homes) and to diagnose the source before it escalates. KitchenAid front-load washers (KFWF series) and top-loaders (KTWF series) share the Whirlpool platform's internal plumbing architecture, but the Clean Water Wash filtration system and larger capacity drums introduce additional potential leak points.
Identifying the Leak Source
Before troubleshooting, determine the leak location:
- Front of machine: Door boot seal, dispenser housing, or front panel drain filter
- Rear of machine: Supply hose connections, inlet valve, or internal fill hose
- Underneath: Drain pump, tub-to-pump hose, or outer tub crack
- During fill only: Supply connections or inlet valve
- During spin only: Boot seal, drain hose connection, or tub seal
Do You Have the Right Tools?
Bearing puller set ($120), drum spider wrench ($85), multimeter ($85), and diagnostic software. Our technician arrives with $15K+ in professional tools — your diagnostic is free.
Licensed & Insured · 90-Day Warranty · Same-Day Service
Most Common Causes
1. Door Boot Seal Tear or Contamination (30% of cases)
The boot seal (door gasket) on KFWF front-loaders creates a watertight boundary between the door and the outer tub. KitchenAid's satin-finish drum is gentler on fabrics but buttons, zippers, and underwires can still puncture or tear the boot seal's inner lip. Additionally, mold and detergent residue buildup between the seal folds can channel water over the seal lip during high-speed spin.
DIY Difficulty: Moderate-Hard Parts Cost: $60–$150 (boot seal varies by model) Professional Repair Cost: $200–$400
Repair Steps:
- Unplug and inspect the boot seal thoroughly — fold back both the inner and outer lips, checking the entire circumference.
- Look for tears, holes, or channels worn into the rubber.
- If damage found: remove the wire retaining ring (outer), peel the seal off the front panel lip, then remove the inner ring from the tub.
- Clean the tub lip and front panel channel thoroughly.
- Install new seal — start at the top and work down, ensuring the drain holes in the seal bottom align with the tub drain.
- Reseat both retaining rings (inner first, then outer).
- If no tears found: clean all folds with diluted bleach to remove buildup, then verify seal seats flush.
2. Drain Pump or Filter Area Leak (22% of cases)
The drain filter access (lower front panel on KFWF) uses an O-ring seal on the filter cap. If the O-ring degrades or the filter is not fully seated after cleaning, water weeps during drain cycles. The pump-to-tub hose connection also uses spring clamps that can loosen.
DIY Difficulty: Easy Parts Cost: $5–$25 (O-ring or clamp) or $45–$90 (pump if cracked housing) Professional Repair Cost: $125–$250
3. Supply Hose Connection (18% of cases)
Where the hot and cold supply hoses connect to the inlet valve (rear of machine), rubber washers inside the hose couplings flatten over time. KitchenAid's installation spec calls for hand-tight plus 1/4 turn — over-tightening cracks the valve ports.
DIY Difficulty: Easy Parts Cost: $3–$10 (rubber hose washers) or $15–$60 (new hoses) Professional Repair Cost: $100–$175
4. Internal Fill Hose Failure (12% of cases)
Inside the machine, small hoses route water from the inlet valve to the dispenser and from the dispenser to the tub. These internal hoses use spring clamps that can corrode or loosen. A leak here appears as water dripping inside the cabinet — often pooling at the bottom before seeping out.
DIY Difficulty: Moderate Parts Cost: $10–$35 (hose + clamps) Professional Repair Cost: $150–$275
5. Detergent Dispenser Overflow (10% of cases)
Using non-HE detergent or too much HE detergent causes excessive suds. KitchenAid's ProWash system detects this (code F0E5 — suds detected) and adds extra rinses, but the dispenser housing can overflow during the initial fill phase, sending water down the front panel interior.
DIY Difficulty: Easy (behavioral fix) Parts Cost: $0 (use correct detergent) or $25–$60 (dispenser housing if cracked) Professional Repair Cost: $100–$175
6. Outer Tub Crack (5% of cases)
Rare but serious — the plastic outer tub can crack from impact (objects caught between drum and tub) or stress fracture near mounting points. Repair is not practical; tub replacement or machine replacement is the path.
DIY Difficulty: Not recommended Parts Cost: $200–$400 (outer tub — if available) Professional Repair Cost: $450–$700 (labor-intensive)
7. Clean Water Wash Filter Housing (3% of cases)
KitchenAid-specific: the Clean Water Wash system's internal filter housing can develop hairline cracks after several years, creating a small but persistent leak during the wash cycle's recirculation phase.
DIY Difficulty: Moderate Parts Cost: $30–$75 Professional Repair Cost: $150–$275
Leak Detection Technique
- Place dry newspaper (multiple sheets) under and around the machine.
- Run a full cycle — check the newspaper at each phase transition (fill, wash, rinse, spin, drain).
- The wet spot location + timing reveals the source:
- Wet at rear during fill = supply hose/valve
- Wet at front during wash = boot seal or dispenser
- Wet at bottom during drain = pump area or drain hose
- Wet at front during spin = boot seal (water flung at high speed)
Same-Day Appliance Repair
Fixed or It's Free
$89 → $0 Service Call & Diagnosis — offer ends May 25
Safety First — Know the Risks
High-voltage components and pressurized water lines create flood and shock risk. A single loose fitting can cause thousands in water damage. Our techs are licensed and insured — let them handle the risk.
Licensed & Insured · 90-Day Warranty · Same-Day Service
Prevention
- Clean the boot seal folds monthly (prevents buildup-channel leaks).
- Use only HE detergent in measured amounts (prevents suds overflow).
- Check supply hose washers annually — replace at the first sign of compression set (flattening).
- Leave the door ajar between loads to prevent mold growth in the boot seal.
- Inspect and clean the drain filter monthly — the Clean Water Wash system traps debris that should be cleared regularly.
FAQ
Q: My KitchenAid washer only leaks during spin. What causes that?
Spin-only leaks are almost always the door boot seal — high-speed rotation flings water against the seal with more force. Even a small tear or fold imperfection that is sealed at lower speeds can leak under spin-cycle pressure.
Q: Is the KitchenAid door boot seal the same as Whirlpool?
Some are interchangeable, but verify by model number. The KitchenAid-specific part may have a different shore hardness (firmness) to account for the heavier door weight.
Q: How much does it cost to fix a leaking KitchenAid washer?
Most leaks cost $125–$275 to fix professionally. Boot seal replacement is at the higher end ($200–$400) due to labor intensity.
Leaking KitchenAid washer? Water damage compounds daily — our technicians can diagnose and repair the leak in one visit. Schedule now →