Kenmore Washer Error F11: When the Boards Stop Talking
What You Are Experiencing
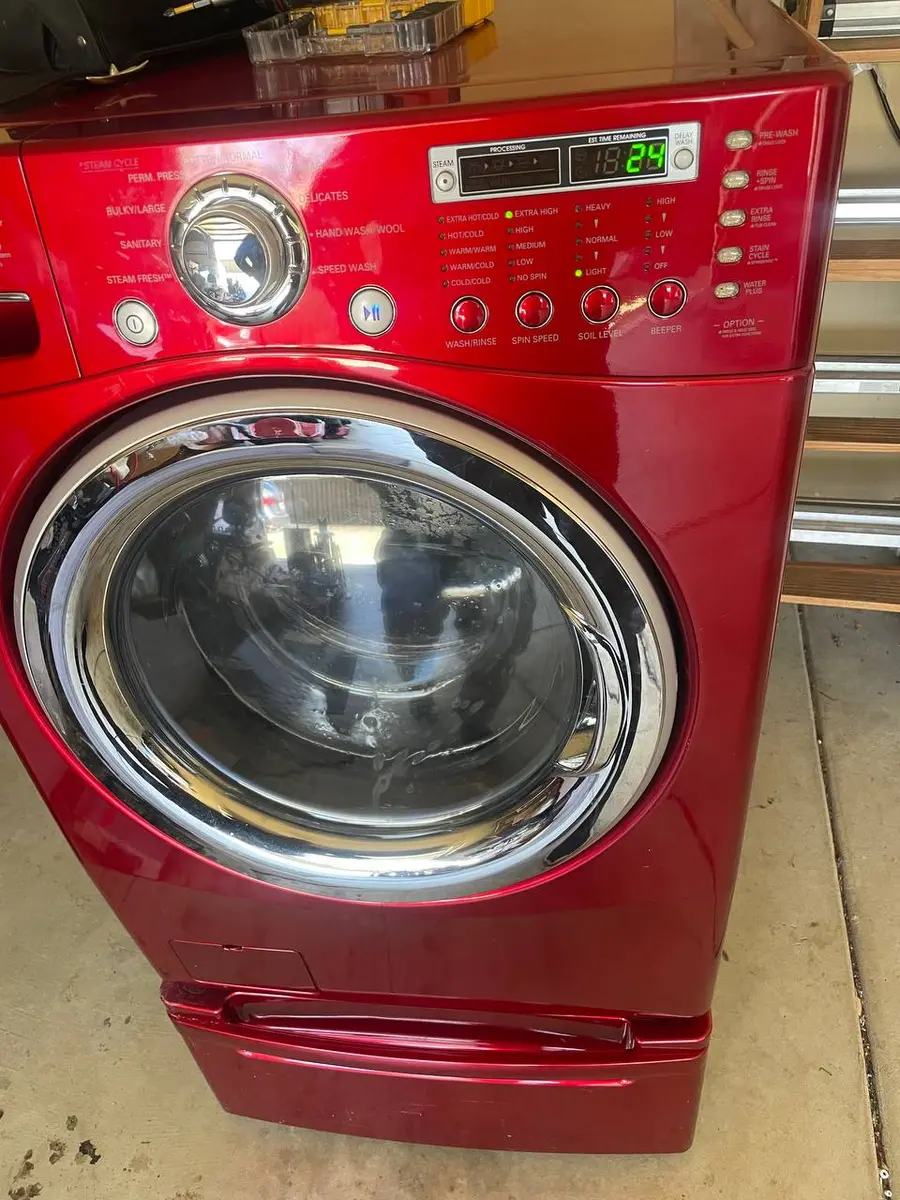
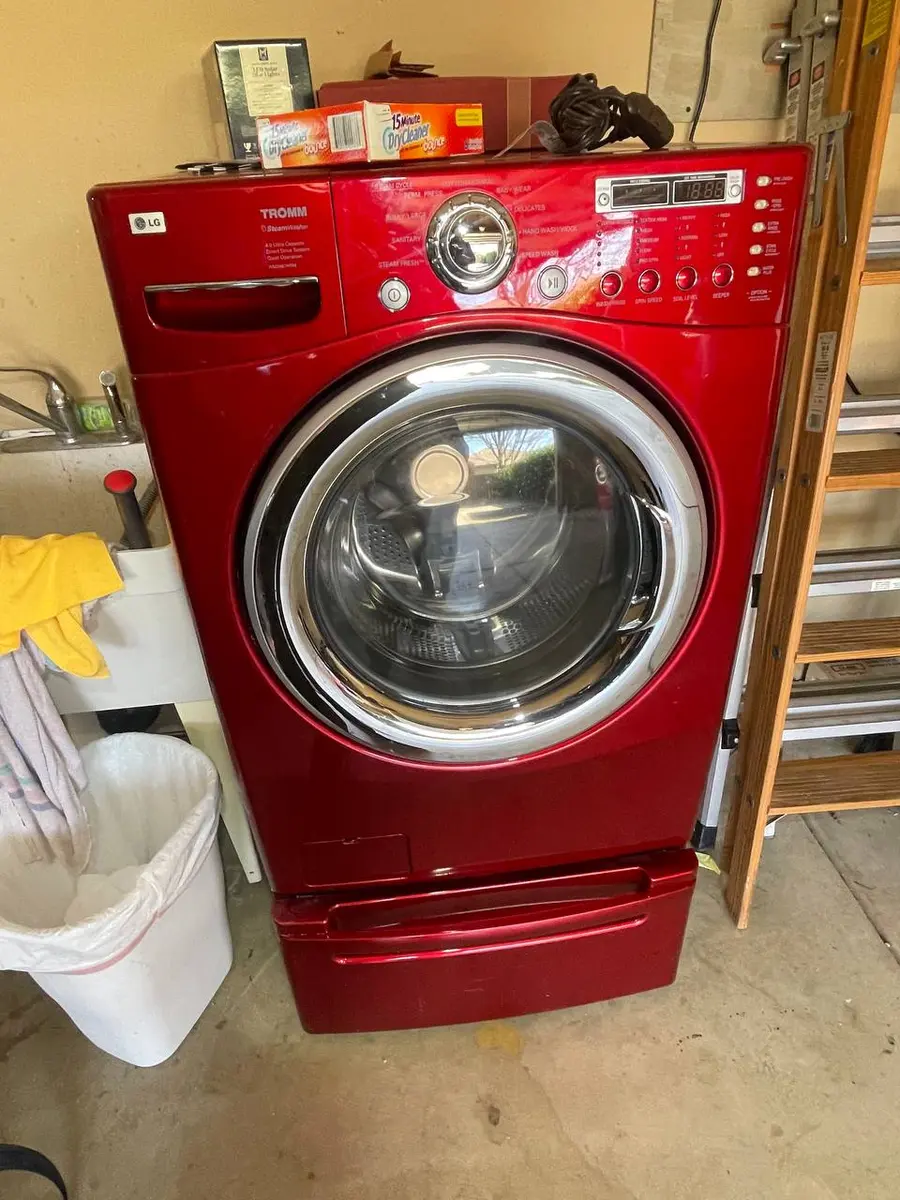
Your Kenmore washer starts a cycle — or attempts to — and within seconds posts F11 on the display, then shuts down. Some owners report the code appears mid-cycle: the washer fills normally, begins agitating, then abruptly stops and displays F11. Others see it immediately at startup before any water enters the tub.
The machine may beep repeatedly. The door may lock and refuse to open. Pressing buttons produces no response except the persistent F11 display. Power cycling (unplugging for several minutes) sometimes allows one partial cycle before the code returns. This intermittent behavior is characteristic of F11 — it is a communication fault, and loose connections create exactly this on-again-off-again pattern.
Do You Have the Right Tools?
Bearing puller set ($120), drum spider wrench ($85), multimeter ($85), and diagnostic software. Our technician arrives with $15K+ in professional tools — your diagnostic is free.
Licensed & Insured · 90-Day Warranty · Same-Day Service
Why This Happens
F11 is a serial communication error between the Central Control Unit (CCU — the main brain board) and the Motor Control Unit (MCU — the motor driver board). On Whirlpool-manufactured Kenmore washers (model prefix 110.xxxxx), these two boards exchange constant data over a dedicated serial communication bus.
The CCU tells the MCU what motor speed, direction, and duration to execute. The MCU reports back actual motor speed, current draw, and fault status. This conversation happens continuously during every phase of operation. When the CCU sends a command and receives no acknowledgment within its timeout window (typically 1-2 seconds), or receives garbled data that fails its checksum, it posts F11 and halts everything.
This code applies only to Whirlpool-built Kenmore washers with dual-board architecture (CCU + MCU as separate boards). Some newer single-board models do not produce F11 at all. LG-built Kenmore washers (796.xxxxx) use "PE" for communication errors between their main PCB and display board — completely different failure mode and parts.
Systematic Diagnosis
Cause 1: The Communication Harness Connection (Most Common — 60% of F11 Cases)
The serial communication line runs through a multi-pin wire harness connecting the CCU (mounted behind the control panel at the top) to the MCU (mounted to the machine frame near the motor at the bottom). This harness routes through the interior of the machine, past the tub, through areas subject to vibration and occasional moisture.
Diagnostic approach:
Unplug the washer. Access the CCU by removing the control panel mounting screws (typically two or three phillips-head screws along the top rear edge of the panel). Tilt or lift the panel forward. The CCU is in a plastic housing — open the housing to expose the board and its connectors.
Find the large multi-pin connector (often white, 8-16 pins) that carries signals down to the MCU. Disconnect it and examine both the plug and the receptacle:
- Blackened or corroded pins indicate arcing from a loose connection
- Melted plastic around specific pin positions shows overheating from high-resistance contact
- Bent pins that do not make full contact with their socket
Clean all connector pins with electrical contact cleaner and a cotton swab. Straighten any bent pins carefully with needle-nose pliers. Reconnect firmly — you should hear or feel a positive click.
Now access the MCU (on front-loaders: rear access panel. On top-loaders: tilt machine forward, access from bottom). Perform the same inspection and cleaning on the MCU end of the same harness.
Reassemble and test. This connector cleaning resolves F11 in roughly 60% of cases.
Cause 2: CCU Board Solder Joint Failure (25% of Cases)
The CCU board's serial communication transmitter and receiver components connect to the board via solder joints. Thermal cycling (the board heats during operation and cools when idle) stresses these joints over thousands of cycles. Hairline cracks develop in the solder, creating intermittent opens that break communication unpredictably.
Diagnostic approach:
With the CCU removed from its housing, examine the solder side of the board (the back) under bright light with magnification if available. Look for dull, cracked, or ring-shaped fractures around component leads — particularly near the large connector footprints and any relay mounting points.
If you are comfortable with soldering, reflowing (reheating and adding fresh solder to) the communication connector pin joints and the serial driver IC pins can restore function. This is a free fix but requires soldering skill. If you are not comfortable, a replacement CCU board is the path forward.
Cause 3: MCU Board Failure (10% of Cases)
The MCU's communication receiver can fail independently, typically from a voltage spike that damages the input protection diodes on the serial data line. Symptoms: the CCU is verified good (it works with a known-good MCU or shows clean output on an oscilloscope), the harness is verified good, but F11 persists.
MCU failure diagnosis without an oscilloscope is essentially a process of elimination — if you replaced connectors and tested/replaced the CCU without success, the MCU is the remaining variable.
Cause 4: Electrical Interference (5% of Cases)
In rare situations, F11 appears in machines that have functioned correctly for years with no hardware degradation. The cause: a newly installed appliance on the same circuit creating electrical noise on the AC line that couples into the serial communication bus. Common culprits are variable-speed HVAC systems, arc welders in an attached garage, or LED driver power supplies with poor filtering.
Diagnostic clue: F11 appeared suddenly without any other symptom, and correlates with specific times (when the HVAC compressor kicks on, when the garage welder runs, etc.). Solution: move the washer to a different circuit, or install a power line filter ($30-$50) on the washer's outlet.
Safety First — Know the Risks
High-voltage components and pressurized water lines create flood and shock risk. A single loose fitting can cause thousands in water damage. Our techs are licensed and insured — let them handle the risk.
Licensed & Insured · 90-Day Warranty · Same-Day Service
Repair Costs
| Component | Part Cost | Professional Service |
|---|---|---|
| Connector cleaning only | $0 (contact cleaner: $8) | $90-$120 diagnostic fee |
| CCU board replacement | $120-$220 | $220-$350 installed |
| MCU board replacement | $150-$280 | $280-$420 installed |
| Both boards (rare) | $270-$450 | $450-$600 installed |
| Power line filter | $30-$50 | N/A (plug-in device) |
Repair Options
The connector fix is the obvious first attempt for any owner — it costs nothing but time and resolves the majority of F11 cases. No special tools beyond a screwdriver and contact cleaner.
Board replacement is straightforward mechanically (swap board, transfer connectors) but carries a risk: connecting harnesses to the wrong pins destroys the new board instantly. Photograph every connector's position and orientation before disconnecting the old board. Use those photos as a map during reinstallation.
A professional technician earns their fee on F11 by having access to a scope that can verify serial data integrity without replacing parts speculatively. If connector cleaning did not fix it, and you are unsure which board failed, a technician avoids the costly mistake of ordering the wrong board.
Same-Day Appliance Repair
Fixed or It's Free
$89 → $0 Service Call & Diagnosis — offer ends May 25
The Real Cost of DIY
Average DIY attempt: $150-400 in tools you may use once, plus the risk of further damage. Our diagnostic visit costs $0 — we find the problem and give you an honest quote.
Licensed & Insured · 90-Day Warranty · Same-Day Service
Prevention
F11 is fundamentally a connection reliability problem. Vibration is the root cause of both connector loosening and solder joint fatigue. Reducing vibration reduces F11 risk:
- Level the machine precisely (bubble level on top, adjust all four legs)
- Never overload the drum — overloaded drums oscillate more violently
- Replace worn shock absorbers / suspension springs that allow excessive tub movement
- Ensure the machine is on a solid floor (not a flexible raised platform that amplifies vibration)
Important Note About Kenmore Parts Ordering
Because Kenmore is a multi-manufacturer brand (not a maker itself), parts must be ordered by the actual manufacturer's part number — not by searching "Kenmore washer parts." Your model number prefix identifies the real manufacturer:
For washers: the most common Kenmore washer manufacturer is Whirlpool (prefix 110.xxxxx for washers/dryers, 665.xxxxx for dishwashers, 790.xxxxx for ovens). Parts websites like PartSelect and RepairClinic accept your full Kenmore model number and automatically cross-reference to the correct OEM part number. Always verify the part number matches before ordering — similar-looking parts from different manufacturers are not interchangeable even though both machines say "Kenmore" on the exterior.
The Sears Parts Direct website (now Partstown) also stocks these parts but typically at a higher price point than ordering the OEM part directly from an appliance parts wholesaler. Shopping by the OEM part number rather than the Kenmore part number often saves 20-40% on identical components.
Don't Void Your Warranty
Opening your appliance yourself may void the manufacturer warranty. Our repair comes with a 90-day guarantee, and we document everything for warranty compliance.
Licensed & Insured · 90-Day Warranty · Same-Day Service
Extending Your Kenmore Washer's Lifespan
Regular maintenance prevents many error codes from developing in the first place. For your Kenmore washer, the most impactful maintenance items are:
Monthly: Run a clean cycle (dedicated Clean Washer cycle or hottest cycle with no clothes and a washer cleaner tablet). This dissolves detergent residue and mineral deposits that accumulate in the wash system, drain path, and sensor areas. Residue buildup causes false sensor readings, slow drainage, and reduced cleaning effectiveness.
Every 3-6 months: Clean the inlet screens where supply hoses connect. Hard water areas should clean every 3 months; soft water areas every 6. Also clean the drain pump filter if your model has an accessible one.
Annually: Inspect supply hoses for bulging, cracking, or discoloration. Rubber hoses should be replaced every 5 years regardless of appearance — internal deterioration is invisible until the hose bursts. Upgrade to stainless steel braided hoses for burst protection.
Always: Use the correct amount of HE detergent (if applicable). Check pockets before every load. Do not overload the drum past 3/4 capacity. Leave the door ajar between loads to prevent mold and mildew in the gasket and tub.
F11 intermittent on your Kenmore? Our technicians use scope-level diagnostics to identify whether CCU, MCU, or wiring is the culprit — avoiding expensive wrong-board replacements. Book your appointment.