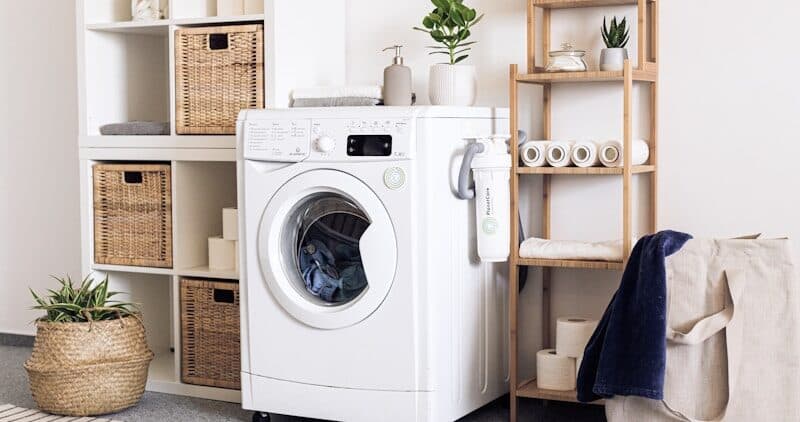
How to Replace a Maytag Washing Machine Water Inlet Valve
The water inlet valve controls hot and cold water flow into your Maytag washing machine. It contains electromagnetic solenoids that open when the control board signals a fill command. When a solenoid fails, the washer either cannot fill at all (triggering F8E1 error code) or fills extremely slowly. In rare cases, a mechanically failed valve can leak continuously even when the machine is off.
Maytag inlet valves use the same Whirlpool W10-series part numbers as the broader platform. Replacement takes 20-30 minutes.
Before You Start
- Tools needed: Phillips #2 screwdriver, pliers, adjustable wrench or channel locks, multimeter, bucket and towels
- Parts needed: Replacement inlet valve assembly (~$30-$60)
- Time required: 20-30 minutes
- Difficulty: Beginner to Intermediate
- Safety warning: Turn off both hot and cold water supply valves. Disconnect power. Have towels ready — residual water will spill when disconnecting hoses.
Do You Have the Right Tools?
Multimeter ($85), vacuum pump ($250), diagnostic software, and specialized hand tools. Our technician arrives with $15K+ in professional tools — your diagnostic is free.
Licensed & Insured · 90-Day Warranty · Same-Day Service
Step-by-Step Instructions
Step 1: Confirm Valve Failure
Before replacement, verify the valve is the issue:
- No water at all: First check that supply valves are open. Check inlet screens for clogging. If water pressure is adequate and screens are clear, test solenoid coils with multimeter (expect 500-1500 ohms each). Open circuit = failed coil
- Very slow fill: Usually clogged inlet screens rather than valve failure. Clean screens first
- Leaks when off: Valve diaphragm no longer sealing. Replacement required
- Only hot or only cold fills: One solenoid has failed while the other works
Step 2: Access the Valve
Front-load MHW: The inlet valve is at the rear top of the machine. Remove the top panel (3 rear Phillips screws, slide back and lift). The valve is mounted to the rear panel with its inlet ports facing backward.
Top-load MVW: Access from the rear by removing the rear panel or by flipping up the console and reaching the valve at the top rear.
Step 3: Disconnect Supply Hoses
Turn off both supply valves. Place a bucket beneath the valve area. Use pliers or an adjustable wrench to disconnect the supply hoses from the valve inlet ports. Water will drain from the hoses — let them empty into the bucket.
Remove and inspect the inlet screens at each port (small mesh screens pressed into the valve inlets). If they are clogged with sediment, that alone may explain poor fill performance. Clean or replace them.
Step 4: Disconnect Internal Hoses and Wiring
From inside the machine (with top panel removed or rear access), disconnect:
- The wire harness connector(s) to the solenoid coils (press locking tab)
- The internal fill hoses from the valve outlet ports (release hose clamps with pliers, pull hoses off)
Mark or photograph which hose goes to which outlet if the valve has 3+ ports (hot, cold, and bleach/detergent routing).
Step 5: Remove the Old Valve
Remove the mounting screws (typically 2) securing the valve bracket to the rear panel. The valve assembly pulls free.
Step 6: Install the New Valve
Mount the new valve in the same position. Reconnect internal hoses to the correct outlet ports (matching your photos). Secure hose clamps. Reconnect wire harness connectors until they click.
Reconnect the external supply hoses to the valve inlet ports. Hand-tighten first, then snug with pliers (1/4 turn past hand-tight). Do not overtighten — the valve ports are brass or plastic and can crack.
Step 7: Verify No Leaks
Restore water supply slowly (turn valves on partially). Check every connection for drips. Tighten any that show moisture. Once all connections are dry, open valves fully.
Restore power. Run a fill cycle and verify:
- Water enters from both hot and cold supply
- Fill rate is normal (drum should fill within 5-8 minutes for a normal load)
- No leaks at any connection
- No F8E1 error code
Inlet Valve Types on Maytag Washers
Depending on your model, the inlet valve may have:
- 2 solenoids: Basic hot/cold fill
- 3 solenoids: Hot, cold, and a dedicated bleach/detergent flush solenoid
- 4 solenoids: Hot, cold, warm blend, and dispenser flush (on Optimal Dose models)
Always match the replacement to your exact model number to get the correct solenoid count and port configuration.
Safety First — Know the Risks
Appliances involve high voltage (120-240V), pressurized water, gas lines, and chemical refrigerants. Over 400 DIY repair injuries are reported yearly. Our techs are licensed and insured — let them handle the risk.
Licensed & Insured · 90-Day Warranty · Same-Day Service
When to Call a Professional
- Water continues to flow into the machine even with the valve disconnected (indicates a supply-side issue or a second valve you are not aware of)
- Leaks from inside the tub area rather than the valve connections (may indicate a tub-to-valve internal hose failure)
- If you cannot shut off the supply valves (corroded gate valves that will not turn) — a plumber is needed first
- F8E1 persists after valve replacement (may indicate a pressure switch or flow meter issue)
Same-Day Appliance Repair
Fixed or It's Free
$89 → $0 Service Call & Diagnosis — offer ends May 25
Cost Comparison: DIY vs Professional
| DIY | Professional | |
|---|---|---|
| Parts | $30-$60 | $30-$60 |
| Labor | $0 | $120-$200 |
| Time | 20-30 min | 15-20 min |
| Risk | Low (water only) | Warranty included |
The Real Cost of DIY
Average DIY attempt: $150-400 in tools you may use once, plus the risk of further damage. Our diagnostic visit costs $0 — we find the problem and give you an honest quote.
Licensed & Insured · 90-Day Warranty · Same-Day Service
Need Professional Help?
FAQ
Q: What does F8E1 mean on my Maytag washer? A: F8E1 indicates the washer is not receiving adequate water flow within the expected time. Check supply valves (open?), inlet screens (clogged?), and then the inlet valve solenoids (multimeter test).
Q: Can I clean the inlet valve instead of replacing it? A: You can clean the inlet screens (which often resolves slow-fill issues). However, if a solenoid coil has failed (open circuit on multimeter) or the valve leaks when off (diaphragm failure), cleaning cannot restore function. Replacement is required.
Q: How long do Maytag inlet valves last? A: Typically 8-12 years. Hard water areas with high mineral content may see earlier failure due to sediment accumulation and solenoid stress from restricted flow.
Q: Does the inlet valve affect the Extra Power feature? A: The Extra Power button adds extra wash action and an extra rinse cycle. If one solenoid has failed and only hot or cold water fills, the extra rinse still functions but uses only the working supply temperature.
Need a certified technician? Book same-day repair →