GE Washer Door Latch Failure — Lock Diagnosis for GFW Front-Loaders and GTW Top-Loaders
A failed door or lid lock on your GE washer means the machine cannot start any cycle — the control board requires lock confirmation before engaging the motor, fill valves, or pump. GE uses fundamentally different lock mechanisms on their two main product lines: GFW front-loaders use a wax-motor-actuated door lock assembly (GE part WH44X27819), while GTW top-loaders employ a magnetic reed switch lid lock. Each fails differently and requires distinct repair approaches.
How GE Door/Lid Locks Work
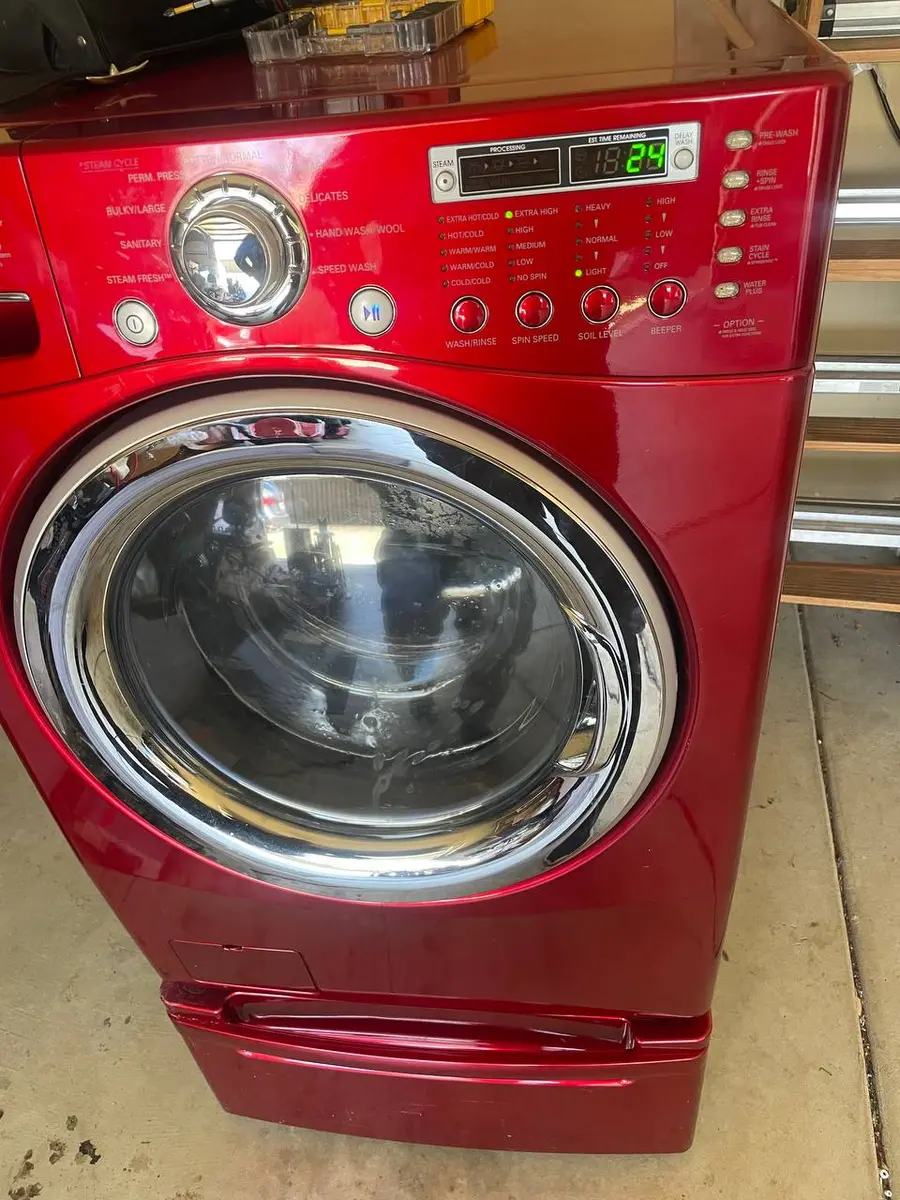
GFW Front-Load Door Lock (WH44X27819): A wax motor inside the lock assembly heats wax that expands and mechanically engages the lock striker. The process takes 2-3 seconds — you hear a click when it engages. Two internal switches confirm: one detects the door is closed, another confirms the lock is fully engaged. Both must signal the control board for the cycle to begin.
GTW Top-Load Lid Lock: A permanent magnet on the lid aligns with a reed switch in the top frame when the lid closes. The reed switch closure tells the board the lid is down. The lock solenoid then fires approximately 10 seconds into the cycle to physically lock the lid. On GTW models, the lid lock failing does not prevent water fill — it prevents agitation and spin (safety reasons).
Do You Have the Right Tools?
Bearing puller set ($120), drum spider wrench ($85), multimeter ($85), and diagnostic software. Our technician arrives with $15K+ in professional tools — your diagnostic is free.
Licensed & Insured · 90-Day Warranty · Same-Day Service
Safety Precautions
- Never attempt to bypass the door lock — GE front-loaders spin at 1300 RPM. An unlocked door opening during spin causes serious injury.
- Unplug before inspection — the lock mechanism has 120V components.
- On GFW models: do not force the door open when locked. If power fails while locked, wait 3-5 minutes for the wax motor to cool and release. If still stuck, use the manual release tab (located inside the lower front panel on most GFW models — a small orange or yellow pull loop).
GE Diagnostic Mode
Your GE washer has a built-in Service Mode that reveals stored fault codes and lets you test individual components:
- Make sure the washer is in standby mode (plugged in but powered off, no cycle running).
- Press and hold Signal and Delay Start simultaneously for 3 seconds.
- The display shows "t01" — you are now in test mode.
- Press Start/Pause to cycle through each test (motor, drain pump, water valve, spin).
- To view stored error codes, press Signal while in Service Mode — codes appear as "E" followed by a number on GFW models, or as flashing LED sequences on older GTW machines without a digital display.
GE SmartHQ App: On WiFi-connected models (2017+), open the SmartHQ app, select your washer, and tap "Diagnostics" to pull error history remotely.
Error code E3 specifically indicates a door lock fault. In Service Mode, test t01 activates the lock mechanism — listen for the click and watch for the lock LED response.
Safety First — Know the Risks
High-voltage components and pressurized water lines create flood and shock risk. A single loose fitting can cause thousands in water damage. Our techs are licensed and insured — let them handle the risk.
Licensed & Insured · 90-Day Warranty · Same-Day Service
Most Common Causes
1. Wax Motor Failure in Lock Assembly (GFW) — 35% of Cases
The wax motor inside WH44X27819 has a finite life — approximately 10,000-15,000 lock/unlock cycles. At 5-7 loads per week, this translates to 5-8 years. When the wax motor fails, you may hear a faint click (the latch engaging mechanically) but the lock confirmation switch does not trigger because the motor cannot fully extend.
GE-Specific Symptom: Door appears to close and latch, LED does not illuminate, machine will not start. No error code until Service Mode is accessed (then E3 appears).
DIY Difficulty: Moderate Parts Cost: $45-85 (GE WH44X27819) Professional Repair Cost: $155-285
Repair Steps:
- Unplug the washer. Open the door fully.
- Remove the top panel (3 Phillips screws at rear of top panel, slide back and lift off).
- The lock assembly is on the front frame, right side (driver side when facing the machine). Locate the wire harness connector and disconnect it.
- From inside the door opening, remove the 2 Phillips screws holding the lock to the front frame.
- Pull the lock assembly out through the door opening.
- Install new WH44X27819 in reverse order. Test with a short cycle before replacing the top panel.
2. Lock Striker Misalignment (GFW) — 20% of Cases
The door striker (the hook on the door that enters the lock mechanism) can shift if the door hinge sags or if the machine is moved. GE GFW machines are heavy (200+ lbs) and floor settling in older Sacramento homes can torque the frame enough to shift striker alignment by millimeters — enough to prevent full engagement.
Test: Close the door and observe the striker entering the lock — it should center in the lock opening without scraping the sides. If it contacts the top or bottom of the opening, the hinge needs adjustment.
DIY Difficulty: Easy to Moderate Parts Cost: $0 (adjustment) or $25-45 (new striker if worn) Professional Repair Cost: $85-155
3. Magnetic Reed Switch Failure (GTW) — 18% of Cases
The reed switch on GTW lid locks is a thin glass tube containing two ferrous contacts. When the lid magnet approaches, the contacts close. These switches are fragile — vibration, slamming the lid, or a magnet losing strength can all cause failure.
GE-Specific Test: Hold a strong refrigerator magnet against the lid lock sensor area (right rear of lid opening). If the machine responds, the built-in lid magnet has demagnetized. You can temporarily tape a stronger magnet to the lid as a workaround while parts ship.
DIY Difficulty: Moderate Parts Cost: $30-65 Professional Repair Cost: $125-225
4. Wire Connector Corrosion — 12% of Cases
On GFW models, the door lock wire harness passes through the gasket area where moisture accumulates. Bay Area humidity and occasional gasket condensation drips can corrode the connector pins — causing intermittent lock failures that seem random.
GE-Specific: The Microban gasket on GFW models resists mold but does not prevent condensation. The lock connector is particularly vulnerable because it sits below the gasket's lower drain channel.
DIY Difficulty: Easy (connector cleaning) to Moderate (wire repair) Parts Cost: $5-15 (connector cleaner) or $20-45 (new pigtail) Professional Repair Cost: $95-175
5. Door Hinge Sag (GFW) — 8% of Cases
GFW front-loader doors weigh 15-20 lbs (heavy glass front). The two hinges supporting the door can loosen or sag over time, especially if the door is used as a handle to push the machine back into position (common in tight Bay Area laundry closets).
DIY Difficulty: Easy Parts Cost: $0 (tighten) or $30-55 (hinge replacement) Professional Repair Cost: $85-145
6. Control Board Lock Relay — 7% of Cases
The lock relay on the main control board sends the activation signal to the lock mechanism. If this relay welds shut (lock stays permanently engaged — door will not open) or fails open (lock never activates), the board needs repair or replacement.
DIY Difficulty: Advanced Parts Cost: $150-325 (board) Professional Repair Cost: $275-525
Same-Day Appliance Repair
Fixed or It's Free
$89 → $0 Service Call & Diagnosis — offer ends May 25
Quick Diagnosis Guide
| Symptom | Most Likely Cause | Model |
|---|---|---|
| No click sound when door closes | Wax motor failed | GFW |
| Click but no LED, won't start | Lock switch contacts worn | GFW |
| Door won't open after cycle | Lock relay welded on board | GFW |
| Fills but won't agitate/spin | Lid lock failed | GTW |
| Intermittent start/no-start | Connector corrosion | GFW |
| Works when door pushed firmly | Striker misalignment | GFW |
The Real Cost of DIY
Average DIY attempt: $150-400 in tools you may use once, plus the risk of further damage. Our diagnostic visit costs $0 — we find the problem and give you an honest quote.
Licensed & Insured · 90-Day Warranty · Same-Day Service
Prevention Tips
- Never slam the door — gentle closing extends lock mechanism life on GFW and preserves reed switch on GTW.
- Keep the lock striker clean — lint and detergent residue on the striker can prevent clean engagement.
- Wipe door boot moisture around the lock area after cycles — prevents connector corrosion.
- Do not use the door as a push handle — it stresses the hinges and shifts striker alignment.
- Check alignment annually if the machine sits on a pedestal — settling can shift the frame.
FAQ
Q: My GE front-loader door is locked and won't open. How do I get it open?
Wait 5 minutes for the wax motor to cool and retract. If still locked, find the manual release: open the lower front panel and look for an orange or yellow pull loop near the lock mechanism. Pull it firmly downward to manually disengage the lock. If you cannot find the manual release, unplug the machine for 30 minutes — the wax fully cools and releases.
Q: Can I bypass the door lock on my GFW to keep using it until parts arrive?
Absolutely not. GE front-loaders spin at up to 1300 RPM — if the door opens during spin, the rotational force can eject items with dangerous velocity. The lock is a critical safety device. Wait for the replacement WH44X27819.
Q: My GE GTW top-loader fills with water but won't agitate. Is it the lid lock?
Yes — this is the classic GTW lid lock failure pattern. Top-loaders allow fill without the lock but block motor operation for safety. Test by holding a strong magnet to the reed switch location while starting a cycle.
Q: How much does a GE door lock replacement cost?
The part (WH44X27819) costs $45-85. Professional installation runs $155-285 total including labor. This is a moderate DIY repair — the most challenging part is accessing the lock through the top panel.
GE washer door lock failed in Sacramento? Our technicians carry WH44X27819 lock assemblies and can replace them same-day. Schedule a repair →