Whirlpool Refrigerator Water Filter Replacement — EveryDrop Filters, Reset & Aftermarket Options
Changing the water filter in a Whirlpool refrigerator is the simplest maintenance task on any appliance — no tools, no disassembly, about 30 seconds of work. Yet it is also the most frequently neglected, leading to reduced water flow, bad-tasting ice, and eventually a "Replace Filter" light that many people simply ignore.
Whirlpool uses the EveryDrop brand for all their OEM water filters. The same filter fits Whirlpool, Maytag, KitchenAid, and Amana refrigerators with the same filter housing.
Identifying Your Filter Type
Whirlpool refrigerators use two filter locations:
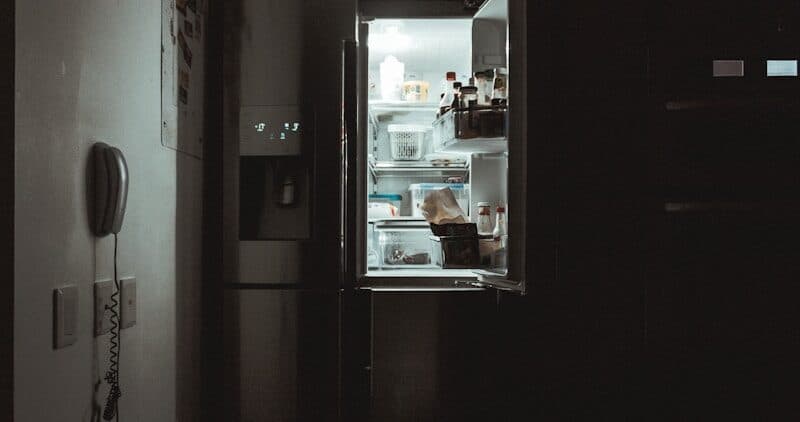
Internal filter (inside the refrigerator): Located in the upper right corner of the fresh food compartment or in the base grille. This is the most common type on current models.
- Filter 1 (W10295370A / EDR1RXD1) — cap on the right end, push button to release
- Filter 2 (W10413645A / EDR2RXD1) — bottom of the fresh food compartment, push button
- Filter 3 (EDR3RXD1) — base grille mount, twist quarter turn to release
Base grille filter: Located behind the base grille at the bottom of the refrigerator. Turn the old filter a quarter turn counterclockwise and pull out. Insert the new filter and turn clockwise to lock.
Do You Have the Right Tools?
Multimeter ($85), vacuum pump ($250), diagnostic software, and specialized hand tools. Our technician arrives with $15K+ in professional tools — your diagnostic is free.
Licensed & Insured · 90-Day Warranty · Same-Day Service
Replacement Procedure
Internal push-button filters (Filter 1 and 2):
- Locate the filter housing inside the refrigerator
- Push the button or tab on the filter cap — the filter drops down slightly
- Pull the filter straight out
- Remove the cap from the old filter and transfer it to the new filter (if your model uses a reusable cap)
- Push the new filter into the housing until it clicks
- Run 4 gallons of water through the dispenser to flush (this clears carbon fines from the new filter — the water may be gray initially)
- Reset the filter indicator light (press and hold the filter reset button for 3 seconds)
Base grille filters (Filter 3):
- Open the base grille — it snaps off or has 2 screws
- Turn the old filter counterclockwise a quarter turn and pull out
- Insert the new filter and turn clockwise until it stops
- Replace the base grille
- Flush 4 gallons and reset the indicator
Cost
| Filter | OEM (EveryDrop) | Aftermarket |
|---|---|---|
| Filter 1 (EDR1RXD1) | $40–$55 | $15–$25 |
| Filter 2 (EDR2RXD1) | $40–$55 | $15–$25 |
| Filter 3 (EDR3RXD1) | $40–$55 | $15–$25 |
Safety First — Know the Risks
Appliances involve high voltage (120-240V), pressurized water, gas lines, and chemical refrigerants. Over 400 DIY repair injuries are reported yearly. Our techs are licensed and insured — let them handle the risk.
Licensed & Insured · 90-Day Warranty · Same-Day Service
OEM vs Aftermarket Filters
Aftermarket water filters cost 50-70% less than EveryDrop OEM filters. The key differences:
- OEM filters are NSF 42 and 53 certified (removes specific contaminants at tested rates). Quality is guaranteed.
- Aftermarket filters vary widely. Some are NSF certified (good), others are not (uncertain filtration quality). The physical fit is usually identical — the filtering media quality is what varies.
- Recommendation: If your water source is municipal (already treated), aftermarket filters are generally fine for taste and odor improvement. If you rely on the filter for contaminant removal (well water, lead concerns), stick with NSF 53 certified filters (OEM or certified aftermarket).
Same-Day Appliance Repair
Fixed or It's Free
$89 → $0 Service Call & Diagnosis — offer ends May 25
Change Schedule
Whirlpool recommends every 6 months or 200 gallons, whichever comes first. Signs you need to change sooner:
- Water flow from the dispenser has slowed noticeably
- Ice has an off-taste or odor
- The Replace Filter indicator light is on (it triggers at 6 months regardless of actual usage)
- Visible sediment in the water
Heavy water usage (family of 4+, frequent ice, cooking with filtered water) may require 3-4 month changes.
The Real Cost of DIY
Average DIY attempt: $150-400 in tools you may use once, plus the risk of further damage. Our diagnostic visit costs $0 — we find the problem and give you an honest quote.
Licensed & Insured · 90-Day Warranty · Same-Day Service
Common Mistakes
- Not flushing the new filter — the first 4 gallons contain activated carbon fines that make the water appear gray or taste gritty
- Not resetting the indicator light — the light runs on a timer, not actual filter status. Without resetting, it stays on permanently
- Using a filter intended for the wrong model — Filter 1, 2, and 3 are not interchangeable. Verify your model's filter type before ordering.
- Ignoring reduced water flow — a clogged filter restricts flow to the ice maker, producing smaller or hollow ice cubes. The ice maker itself may be fine.
FAQ
How do I reset the water filter light on my Whirlpool refrigerator?
Press and hold the filter reset button for 3 seconds. On models without a dedicated button, press and hold the Max Cool and Max Ice buttons simultaneously for 3 seconds. The light should turn off or change from red to green.
Do I need the water filter to use the ice maker?
Yes — the water line runs through the filter before reaching the ice maker. You can install a bypass plug (available for each filter type) to run without a filter, but the water will be unfiltered.
Is it safe to use aftermarket refrigerator filters?
General use is fine. For contaminant removal (lead, cysts), choose aftermarket filters that are specifically NSF 53 certified. The physical fit is identical to OEM — the filtration quality is what varies.
Water filter changes are included in our maintenance service visits. For water quality concerns or dispenser issues, our technicians provide full diagnosis. Book a technician →