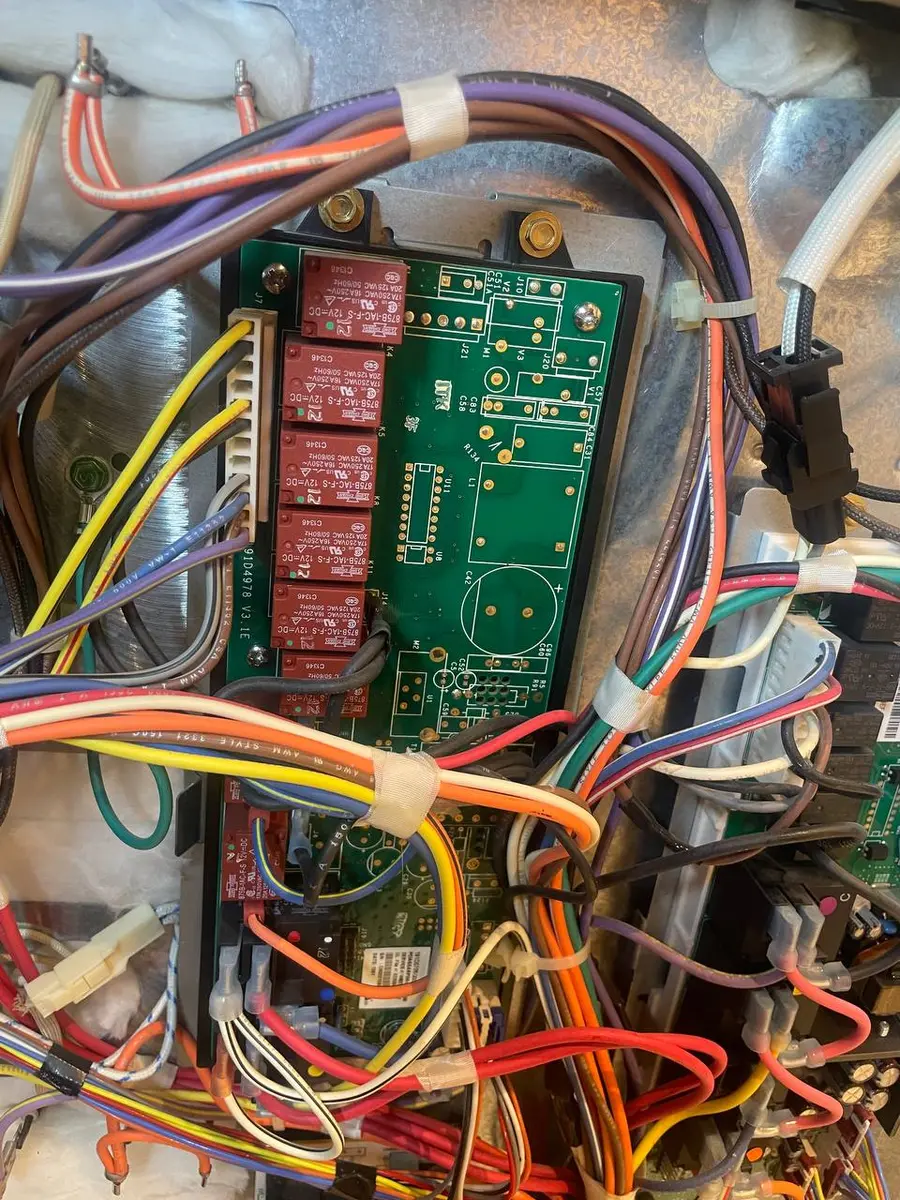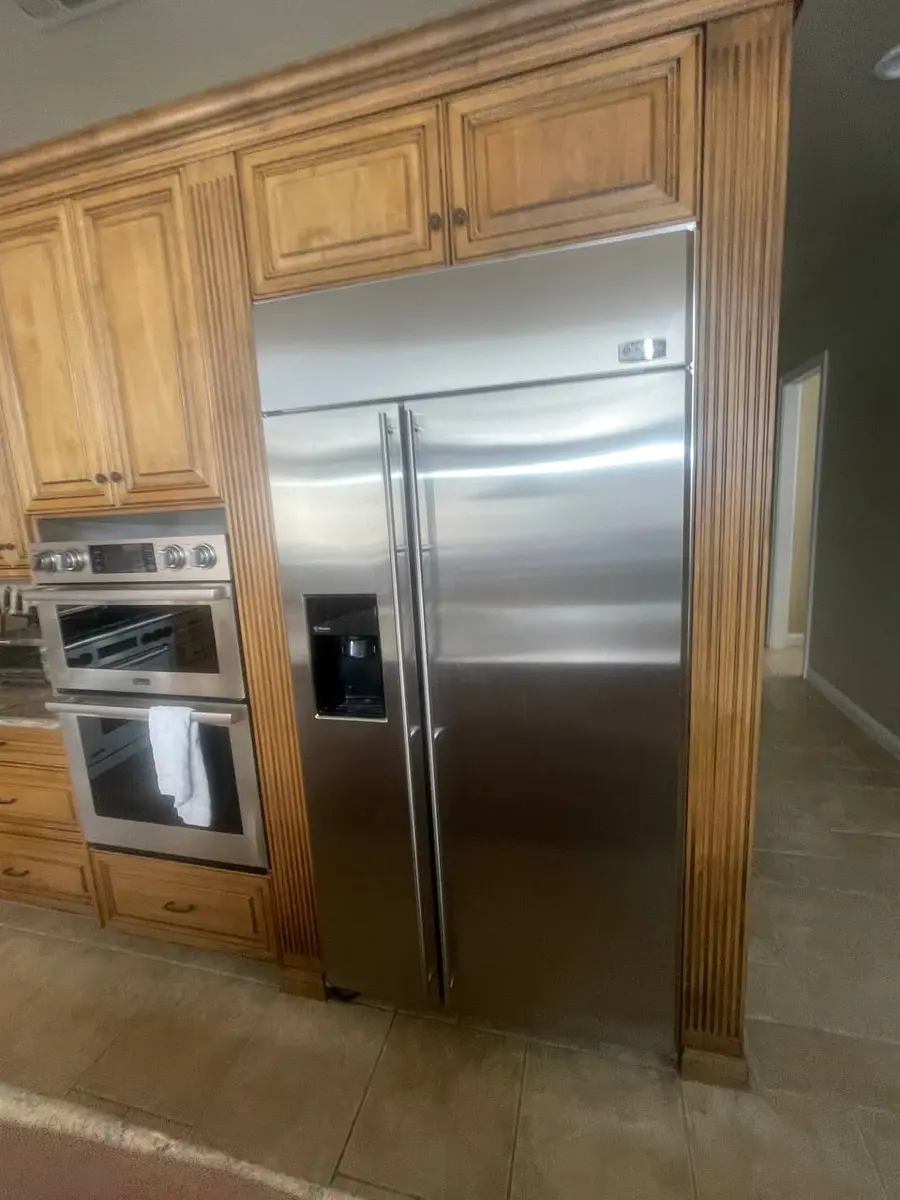
Samsung Refrigerator Sensor Replacement
A drifting or erratic Samsung refrigerator often comes down to the temperature sensor feeding the control bad data. Replacing it is straightforward, and a resistance reading tells you whether the sensor or the board is lying.
When the sensor on a Samsung refrigerator goes, the fix is usually straightforward once you have confirmed the part is really the cause. Below is the full picture — what it does, how it fails, and how to replace it cleanly.
The Job of the Sensor#
This sensor is a temperature-dependent resistor — its ohms rise or fall with heat in a known curve. The control board trusts that curve completely, so a drifted or shorted sensor makes the whole refrigerator behave as if the temperature were something it is not.
Do You Have the Right Tools?
Refrigerant gauges ($200+), vacuum pump ($250), leak detector ($150), and EPA-certified recovery equipment. Our technician arrives with $3,000+ in professional tools — your diagnostic is free.
Licensed & Insured · 90-Day Warranty · Same-Day Service
How a Bad Sensor Shows Itself#
- The refrigerator runs hotter or colder than the setting with no other obvious cause
- Temperature readings or results wander erratically from cycle to cycle
- A fault code tied to the temperature-sensing circuit appears on the display
- The control behaves as if it is getting an impossible reading — maxing heat or refusing to run
- Resistance measured at the sensor falls outside its expected value for the current temperature
- Results are inconsistent even though the heating parts themselves test fine
- The refrigerator cycles at the wrong points, short or long, tracking the bad input
Note any code the refrigerator shows before you clear it — it narrows the fault fast.
How to Be Sure Before You Buy#
A sensor is a resistor, so a meter reads it directly. With power off, measure resistance at the sensor and compare it against its spec for the current ambient temperature — a probe reading far off the expected value, or open or shorted, is the fault. Confirming the sensor also clears the more expensive control board.
Safety First — Know the Risks
Refrigerant (R-134a/R-600a) requires EPA certification to handle. Improper discharge is a federal violation and health hazard. Our techs are licensed and insured — let them handle the risk.
Licensed & Insured · 90-Day Warranty · Same-Day Service
Choosing the Correct Sensor#
Ordering blind is the number-one way this repair goes sideways. Samsung stamps a two-letter division prefix on every part — DG for ranges and ovens, DA for refrigerators, DC for laundry — so the first letters tell you the family at a glance. Match the full OEM number on your rating plate rather than the model number alone, because Samsung revises parts across production runs and the wrong revision seats poorly. If your model links to SmartThings, enable appliance alerts so a declining part flags itself before it strands you mid-cycle.
Prep and Precautions#
Before you buy, meter the existing sensor on your Samsung refrigerator — a quick resistance check often saves you from replacing a good part and chasing a wiring fault instead. If the sensor is confirmed bad, stage the matched replacement, kill the power, and photograph the probe location and lead routing. The single thing that matters most on reassembly is putting the new probe back in the identical spot on the refrigerator.
The Real Cost of DIY
Average DIY attempt: $150-400 in tools you may use once, plus the risk of further damage. Our diagnostic visit costs $0 — we find the problem and give you an honest quote.
Licensed & Insured · 90-Day Warranty · Same-Day Service
The Replacement, Step by Step#
- Pull the plug and give the unit room from the wall before removing any rear or interior panel.
- Find the sensor probe — it sits in the cavity, air stream, or compartment where it can read representative temperature, secured by a screw or clip.
- Trace its lead to the connector and unplug it, photographing the routing first.
- Release the mount and withdraw the probe, keeping its tip clean and undamaged.
- Install the new sensor in the identical position so it reads the same air, route the lead the same way, and reconnect it.
- Plug in, give the system time to pull temperature down, and confirm both compartments recover overnight.
Tools to Have on Hand#
- A nut driver or Phillips screwdriver for the sensor mount and any panel
- A multimeter to read the sensor resistance
- A phone camera to record lead routing and the connector
- A temperature reference so you can compare the reading against spec
Don't Void Your Warranty
Opening your appliance yourself may void the manufacturer warranty. Our repair comes with a 90-day guarantee, and we document everything for warranty compliance.
Licensed & Insured · 90-Day Warranty · Same-Day Service
After the Swap: What Good Looks Like#
With the new sensor mounted in the Samsung refrigerator, restore power and confirm the machine now runs to the right temperature and cycles at sensible points rather than maxing out or refusing to run. Watch a full cycle. If the refrigerator still misbehaves, meter the new sensor in place — a correct resistance reading clears the sensor and sends you to the wiring or the control board, which is exactly the elimination the swap was meant to make.
Fix It or Replace the Refrigerator?#
Because the part is inexpensive and the swap simple, replacing the sensor beats replacing the refrigerator in almost every case. The exception is a machine already failing in multiple systems.
Is It Worth Your Time?
Diagnosing a cooling issue requires testing the compressor, start relay, thermostat, condenser fan, and defrost system — 4-6 hours of DIY research and testing. Our technician diagnoses the issue in about 30 minutes — same-day appointments available.
Licensed & Insured · 90-Day Warranty · Same-Day Service
What to Expect on Price#
The cost splits into the part and the labor, and both move with your model and your area, so a single published figure would be misleading. Look up the sensor for your exact model, and add a typical service visit’s labor if you are not doing it yourself. A real quote beats a generic estimate every time.
How Long a New Sensor Lasts#
A temperature sensor usually lasts many years — it has no moving parts. Early failures trace to moisture intrusion, a pinched or chafed lead, or corrosion at the connector, so a clean, dry, well-routed lead is the best protection.
The Risk of Getting It Wrong
A wrong diagnosis often turns a simple fix into a costly replacement. Without proper diagnostic tools, you might replace the wrong part — or cause additional damage. Our free diagnostic eliminates the guesswork.
Licensed & Insured · 90-Day Warranty · Same-Day Service
Keeping the New Sensor Healthy#
- Keep the sensor connector clean and dry — corrosion there drifts the reading over time
- Avoid pinching or chafing the sensor lead during any service near it on the refrigerator
- Address moisture intrusion in the refrigerator promptly, since water is a sensor's quiet enemy
- Have odd temperature behavior on the refrigerator checked early rather than living with the drift
- Route the lead exactly as the original so the probe keeps reading the air it was calibrated for
Mistakes That Cost People Twice#
- Condemning the control board when a cheap out-of-spec sensor was feeding it bad data
- Mounting the new probe where it reads the wrong air, so calibration is off from day one
- Ignoring a corroded connector that will drift the new sensor just as it did the old
- Reading resistance while warm and comparing it to a room-temperature spec, then misjudging the result
Free Diagnostic Visit — Zero Risk
Our certified technician comes to your home, diagnoses the problem with professional tools, and gives you an honest quote — all at zero cost. No parts markup, no hidden fees. If you decide not to proceed, you pay nothing.
Licensed & Insured · 90-Day Warranty · Same-Day Service
What Happens If You Wait#
A bad sensor rarely breaks anything outright, but it quietly ruins results and can drive the refrigerator to overheat or overcool for long stretches — wasting energy and, in a refrigerator, risking spoiled food. Since the part is cheap, there is little reason to live with the drift.
None of this has to be a solo job. If any step here gives you pause, a technician can confirm the diagnosis and handle the swap so you are not guessing with an expensive part.
Senior Appliance Repair Technician · 15 years experience
EPA-certified technician with 15 years of experience specializing in refrigerator and cooling system repairs.