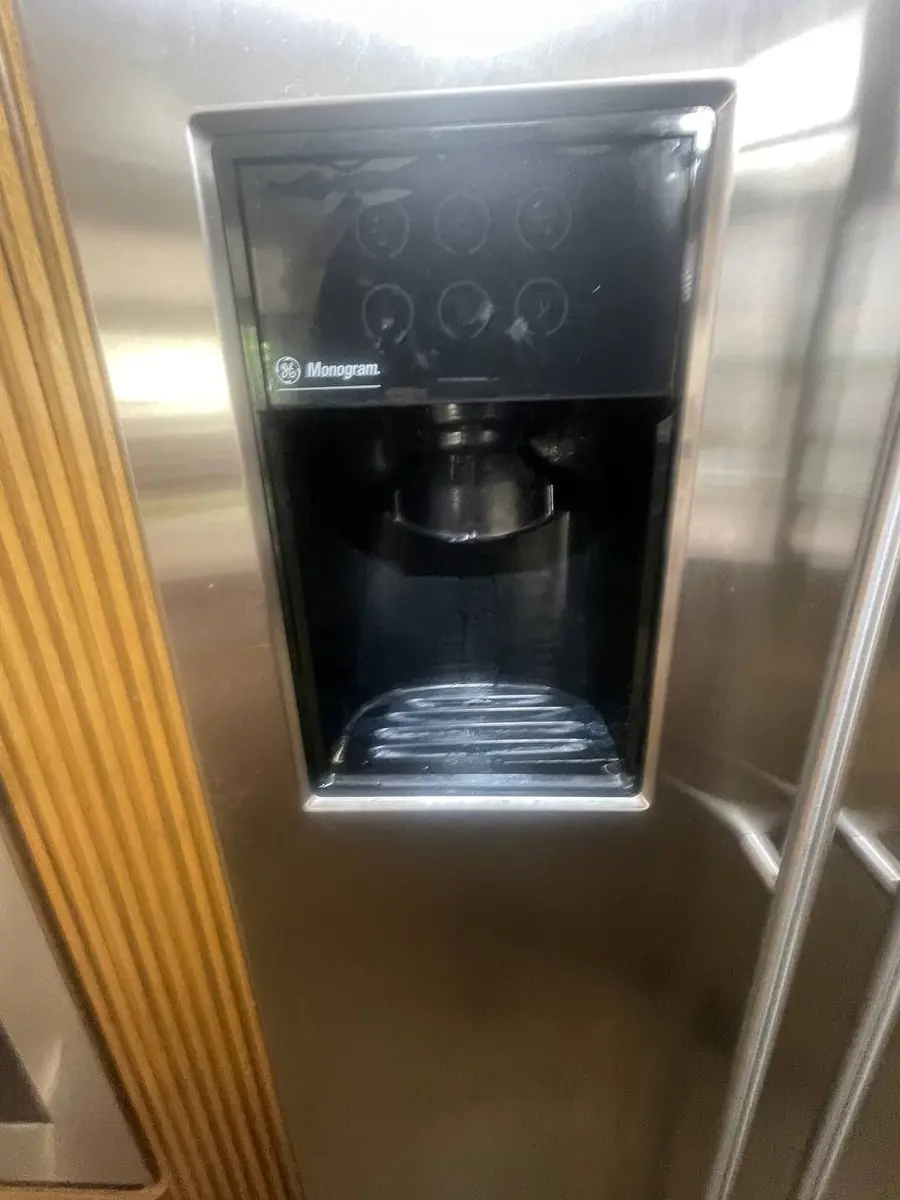
How to Replace a Maytag Fridge Ice Maker Module
Before you swap anything, rule out the cheap causes: an EveryDrop filter past 6 months, a freezer above 0°F, a closed supply valve, or a frozen fill tube. If all check out and there is still no ice, unplug the fridge, shut the water, pull the ice bucket, disconnect the harness and the 1/4" water line, and unbolt the…
Maytag refrigerators (MFI and MFF series) run the same Whirlpool Corporation ice maker platform as all the brand's siblings — the modules are physically identical with direct cross-reference part numbers, which means wide availability and well-documented procedures. Maytag pairs it with EveryDrop water filtration, and a clogged EveryDrop filter is actually the most common cause of weak or stopped ice production before the module itself ever fails.
Tools, Parts, and Safety First#
- Tools needed: Phillips #2 screwdriver, 1/4" nut driver, flathead screwdriver (small), towel for water drips
- Parts needed: Ice maker module assembly (model-specific — verify mounting style and water inlet connector type)
- Time required: 20-35 minutes
- Difficulty: Intermediate
- Safety warning: Turn off the water supply valve to the refrigerator before disconnecting the ice maker water line. Unplug the refrigerator or disconnect power if removing electrical connections. Keep towels ready for residual water in the line.
Do You Have the Right Tools?
Multimeter ($85), vacuum pump ($250), diagnostic software, and specialized hand tools. Our technician arrives with $3,000+ in professional tools — your diagnostic is free.
Licensed & Insured · 90-Day Warranty · Same-Day Service
Step-by-Step Instructions#
Step 1 — Rule out the simpler causes first#
Before committing to a new module, check these no-ice causes in order: (1) is the ice maker ON, with the arm or switch in the down/on position? (2) is the EveryDrop filter fresh — a clogged filter drops water pressure below the ice maker's minimum, so replace it if older than 6 months? (3) is the freezer at 0°F or below, since ice makers need 5°F or colder to operate? (4) is the wall supply valve open and flowing? (5) is the fill tube into the back of the freezer frozen shut, common in humid environments — defrost it with a hair dryer? If all five check out and you still get no ice, the module is the likely failure. Working through this list first is what separates a cheap fix from a wasted part — a fresh filter or a thawed fill tube revives more Maytag ice makers than a new module does.
Step 2 — Remove the ice bucket and reach the module#
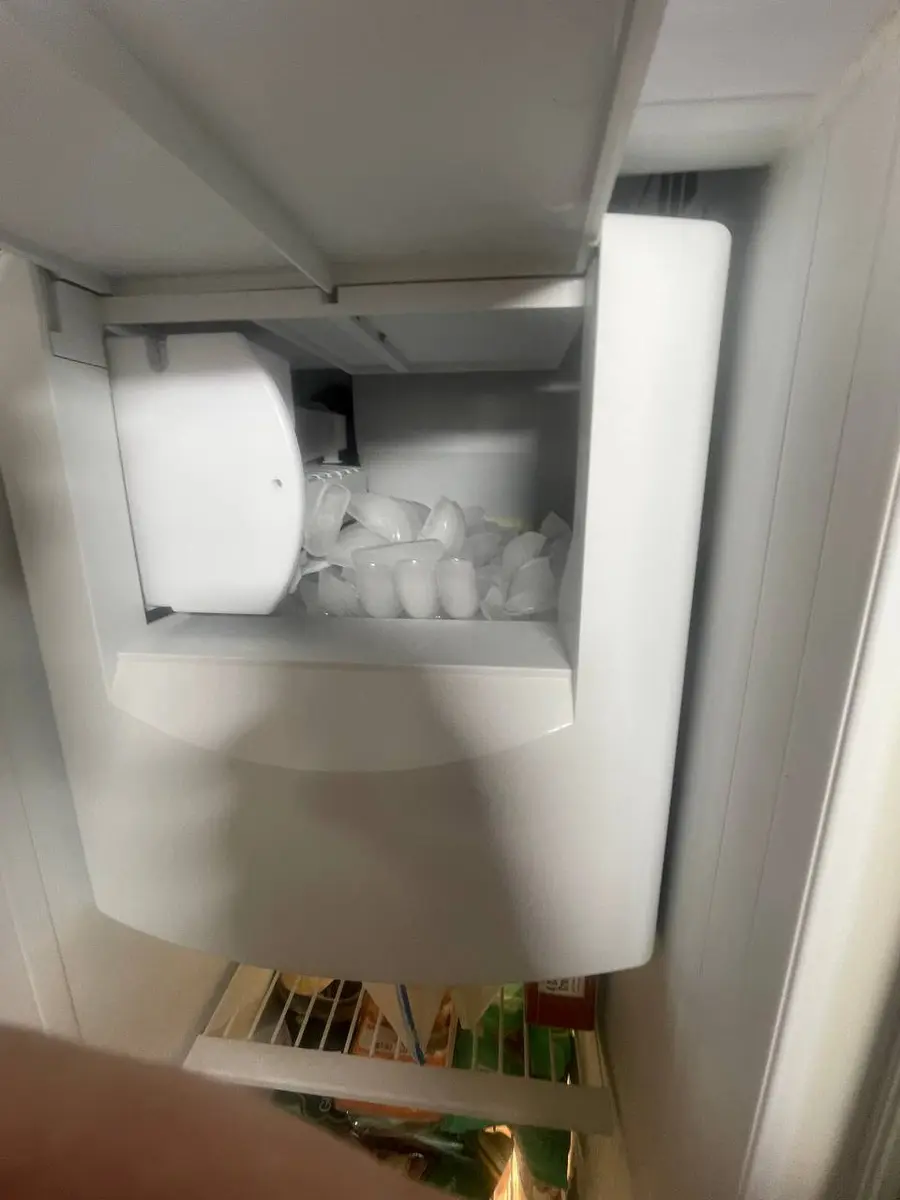
Open the freezer and pull the ice bucket straight out (lift and pull on most Maytag models). That exposes the module mounted to the freezer wall, usually upper-left or upper-rear; on French-door models with in-door ice, it may sit in the door panel itself. Identify the mounting screws (usually 2-3 Phillips) and the wire-harness connector.
Step 3 — Disconnect the harness and water line#
Unplug the harness connector by pressing the locking tab and pulling apart, then disconnect the water inlet tube — on most Maytag ice makers a 1/4" compression fitting or quick-connect. Keep a towel ready for the small amount of residual water that drips from the line. On some models you have to slide the module slightly off its rail before the water fitting is reachable.
Step 4 — Remove the screws and extract the old module#
Take out the 2-3 mounting screws, supporting the module as the last one comes free — it is heavier than it looks, holding a motor, gear assembly, mold tray, and thermostat. Slide it off any rail or bracket tabs and out of the freezer, and note its position and angle: the water inlet has to face the water line, and the harvest arm (or sensor) has to sit where it can read the ice level in the bucket.
Step 5 — Install the new module#
Set the new module on the bracket or rail with the water inlet facing the supply tube and the ice-detection arm or sensor aimed at where the bucket sits, then secure the mounting screws. Reconnect the water inlet — push the quick-connect until it locks, or tighten the compression nut — and reconnect the harness until it clicks. Confirm the ice-level arm (if fitted) swings freely up and down, since that arm shuts off production when the bucket is full.
Step 6 — Restore water and power, then start the first cycle#
Turn the water valve back on and check the connection for drips (let it sit 5 minutes with a dry paper towel underneath), then restore power and set the ice maker to ON. Most Maytag ice makers begin their first fill within 2-5 minutes of power-up — listen for the inlet valve clicking open and a few seconds of water flowing. The first batch of ice usually takes 2-3 hours to finish harvesting.
Step 7 — Verify production over 24 hours#
Give it 24 hours to run several batches and partly fill the bucket. A healthy Maytag ice maker makes about 3-4 pounds of ice per 24 hours. Check cube quality — cubes should be solid and fully formed, not hollow, small, or flat-faced (flat faces mean short water fill). Hollow or small cubes point to low water pressure, so check the EveryDrop filter age and supply pressure (it needs 20+ PSI at the inlet). Maytag's PowerCold feature can help the freezer recover temperature faster after the door was open during the install.
Troubleshooting Common Issues#
- No water fills the mold: check the water inlet valve at the rear bottom of the fridge — it should click open when ice is called for. No click means a failed solenoid or a board not sending the fill signal. Also confirm the EveryDrop filter is not clogged, since one past 6 months in hard water can choke flow below minimum.
- Fills but does not harvest (cubes stuck): the mold heater warms the mold to release cubes during harvest, so if they freeze but never eject, the heater or harvest motor in the new module has likely failed (rare, but possible with aftermarket parts).
- Ice tastes or smells bad: replace the EveryDrop filter and discard the first 2-3 batches after a new module (residual manufacturing oils affect early taste). If it persists with a fresh filter, check the supply line for biofilm.
- Only partial cubes: water pressure is under the 20 PSI minimum. Check the supply line for kinks, confirm the wall valve is fully open, replace an overdue EveryDrop filter, and check the fill tube for partial ice.
- Arm does not shut off production (bucket overflows): the new module's arm may need adjusting — verify it swings fully up when the bucket fills. On emitter/receiver models, confirm the optic sensors are aligned and not frosted over.
Safety First — Know the Risks
Appliances involve high voltage (120-240V), pressurized water, gas lines, and chemical refrigerants. Over 400 DIY repair injuries are reported yearly. Our techs are licensed and insured — let them handle the risk.
Licensed & Insured · 90-Day Warranty · Same-Day Service
When Should You Call a Professional?#
EasyBear technicians serving Sacramento and the Bay Area carry Maytag-specific diagnostic tools and replacement parts on every service call. Call one for water leaking behind or under the fridge you cannot trace to the ice maker connection (a supply line failing in the wall or floor), for an inlet valve replacement in the sealed rear compartment (which means pulling the fridge out), for a control board not sending fill commands (board-level diagnosis), for a no-ice condition tied to the freezer not reaching temperature on a unit within the 10-year compressor warranty (a sealed-system issue that warranty may cover), or for a door-mounted ice maker on a French-door model that needs the freezer door panel disassembled.
Need Professional Help?#
Need help with this repair? Schedule a free diagnostic — our technicians handle Maytag ice maker repairs same-day.
Senior Appliance Repair Technician · 15 years experience
EPA-certified technician with 15 years of experience specializing in refrigerator and cooling system repairs.