Frigidaire Garage-Ready Refrigerator Setup
A garage-ready Frigidaire refrigerator or freezer holds temperature through a garage's summer heat and winter cold using an ambient sensor and a small thermostat heater. Getting the setup right — leveling, clearances, coil cleaning, and a sound outlet — is a beginner job of about 30 minutes plus a light upkeep routine.
A standard fridge or freezer is built for a 55°F to 110°F room and struggles in a garage: it runs nonstop in summer heat, and in deep winter the thermostat decides the box is already cold enough and never starts the compressor, so the freezer thaws. Frigidaire's garage-ready designation adds an ambient sensor and a heater near the thermostat that keeps the system cycling across those extremes. This guide covers the setup, an upkeep schedule, and the garage-specific faults to expect.
Tools and Parts#
| Item | Purpose |
|---|---|
| Level | Set the cabinet flat |
| Coil brush and vacuum | Clean the condenser |
| Thermometer | Verify internal temperature |
| Outlet tester or multimeter | Check the garage circuit |
Do You Have the Right Tools?
Refrigerant gauges ($200+), vacuum pump ($250), leak detector ($150), and EPA-certified recovery equipment. Our technician arrives with $3,000+ in professional tools — your diagnostic is free.
Licensed & Insured · 90-Day Warranty · Same-Day Service
Before You Start#
Safety warning: Ensure the electrical outlet in the garage is a proper grounded 120V GFCI-protected outlet. Garages with older wiring may have ungrounded 2-prong outlets that are insufficient and potentially dangerous for appliance use. Extension cords should NEVER be used for refrigerators/freezers (fire risk from sustained load on undersized conductors).
Step-by-Step#
1. Confirm the garage-ready rating#
Check the model number on the rating plate — garage-ready units say so in their specs. If yours is a standard model living in the garage, expect the classic problems: it can overheat and fail to hold temperature in summer, and it can stop cycling and thaw in winter cold. The garage-ready feature exists precisely to bridge that gap with its ambient sensor and thermostat heater.
2. Position the unit#
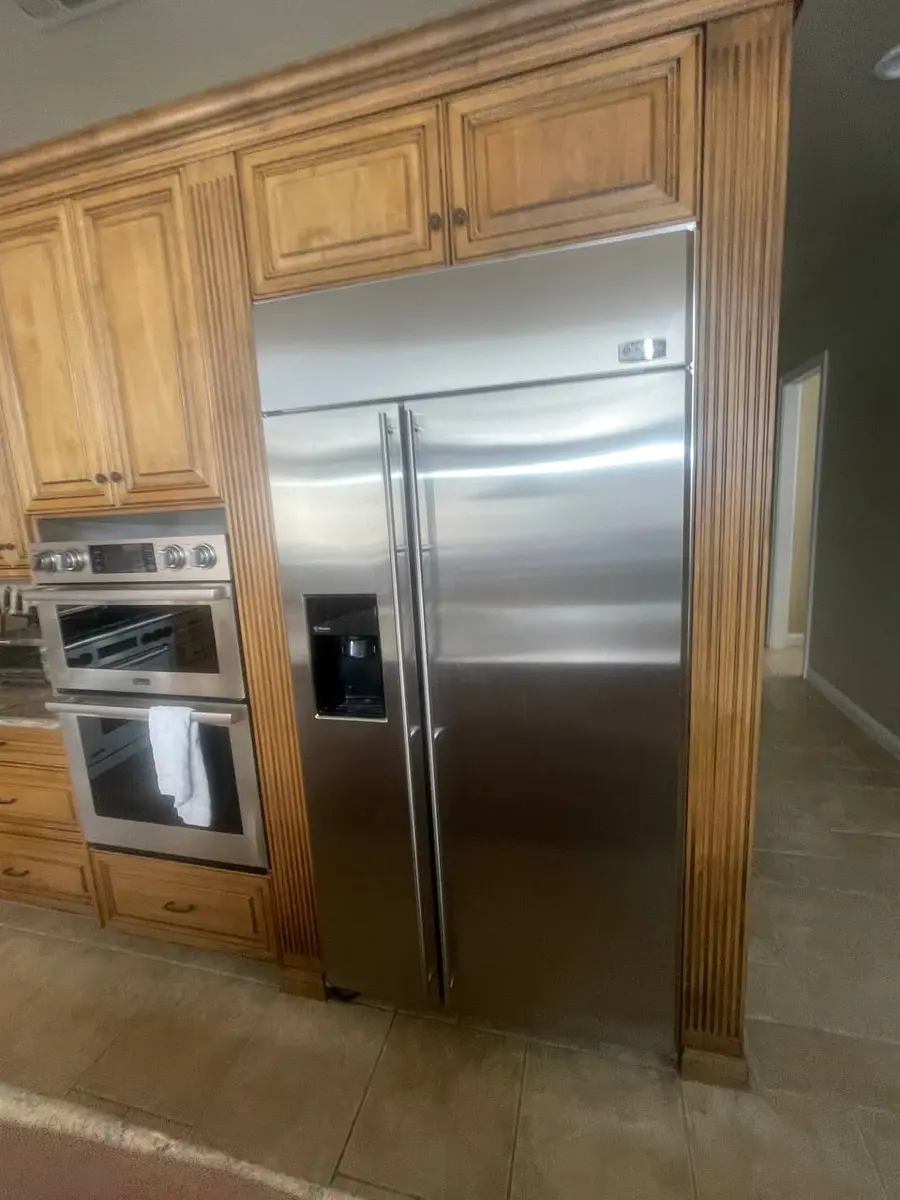
Set the cabinet on its leveling legs on a flat surface, and give the condenser room to breathe: at least 2 inches on each side, 1 inch at the rear, and 3 inches above. Keep it out of direct sun from garage windows and well away from a water heater, furnace, or dryer vent. A concrete slab pulls heat from the base in winter, so a rubber mat or a sheet of plywood underneath helps insulate it.
3. Set the temperature controls#
Start the freezer at 0°F and, on a combo unit, the fresh-food section at 37°F, then drop a thermometer inside and read it after a day. In a hot spell above 90°F, set a notch or two colder to cover the extra load. In a cold snap most garage-ready models compensate on their own, but verify the freezer stays near 0°F and the fresh-food side stays above 33°F, since food freezing in the fridge section is a common winter complaint.
4. Clean the condenser coils#
Garages throw far more dust, pollen, sawdust, and pet hair at the coils than a kitchen does, so a garage unit needs the condenser cleaned every 3 to 4 months. On most Frigidaire uprights, pop the front toe grill (a couple of Phillips screws or snap clips) to reach the bottom coils, brush between the fins, and vacuum the debris. For a rear-mounted coil, ease the unit out and brush and vacuum the exposed coils.
5. Verify the electrical supply#
Test the outlet: confirm it reads 120 volts, that ground is truly connected, and that it has GFCI protection, which garages have required by code since 2008. A Frigidaire unit draws roughly 3 to 5 amps running and 8 to 12 amps at compressor startup, so a circuit shared with power tools can sag enough at start-up to stall the compressor. A dedicated circuit is best.
6. Add a temperature alarm#
A garage appliance is out of sight, so a wireless temperature alarm is cheap insurance. Drop the probe inside the freezer and set the alert near 15°F, which gives you time to react to a power outage or a heat-overwhelmed unit before food spoils.
Safety First — Know the Risks
Refrigerant (R-134a/R-600a) requires EPA certification to handle. Improper discharge is a federal violation and health hazard. Our techs are licensed and insured — let them handle the risk.
Licensed & Insured · 90-Day Warranty · Same-Day Service
Upkeep Schedule#
| Task | Frequency |
|---|---|
| Clean condenser coils | Every 3 to 4 months |
| Check the door gasket seal | Every 6 months |
| Verify internal temperature | Monthly |
| Clean the drain pan | Every 3 months |
| Check for pests | Monthly |
Garage-Specific Faults#
- Freezer thaws in winter: the ambient dropped below the thermostat's trigger on a standard unit, so it never starts. A garage-ready model, a thermostat heater kit, or an external temperature controller each fix it.
- Compressor runs nonstop in summer: the heat exceeds cooling capacity. Improve ventilation, clean the coils, move it from heat sources, and set it a touch warmer.
- Fresh food freezes: on some garage-ready units the freezer over-cools when cold garage air satisfies the fresh-food thermostat — normal behavior, not a fault.
The Real Cost of DIY
Average DIY attempt: $150-400 in tools you may use once, plus the risk of further damage. Our diagnostic visit costs $0 — we find the problem and give you an honest quote.
Licensed & Insured · 90-Day Warranty · Same-Day Service
When to Call a Pro#
Call a technician if the compressor clicks and buzzes but will not start, if you see oily refrigerant residue and it never cools despite clean coils, if the outlet shows burn marks, or if the garage-ready heater circuit has failed and the unit will not run in the cold.
Appliance Repair Technician & Diagnostics Specialist · 10 years experience
Electronics and diagnostics specialist with 10 years of experience in modern smart appliance repair, specializing in LG and Samsung.