How to Clean a GE Refrigerator: Complete Interior and Condenser Guide
Your GE refrigerator is engineered for easy maintenance, but regular cleaning is essential to maintain optimal cooling performance and extend the compressor lifespan. This guide covers the complete cleaning procedure for GE refrigerators including Profile and Cafe models — from the condenser coils underneath to the RPWFE water filter housing and FreshFlow air filter compartment. GE refrigerators (now manufactured under Haier ownership since 2016) retain their American heritage design philosophy of accessible, serviceable components.
This guide applies to GE French door, side-by-side, and top-freezer models manufactured from 2015 onward. Older models follow the same general principles but may have slightly different panel fastener locations. The SmartHQ app (available on 2017+ WiFi-enabled models) can remind you when maintenance is due.
Before You Start
- Tools needed: Phillips #2 screwdriver, 1/4" hex driver, vacuum with brush attachment, condenser coil brush, microfiber cloths, mild dish soap, baking soda
- Parts needed: None (cleaning procedure) — optional: replacement FreshFlow air filter (GE?"?"?" ?"?"?"ODORFIL)
- Time required: 45 minutes
- Difficulty: Beginner
- Safety warning: Unplug the refrigerator and wait 5 minutes before cleaning. Pull unit away from wall for condenser access.
Do You Have the Right Tools?
Refrigerant gauges ($200+), vacuum pump ($250), leak detector ($150), and EPA-certified recovery equipment. Our technician arrives with $15K+ in professional tools — your diagnostic is free.
Licensed & Insured · 90-Day Warranty · Same-Day Service
Step-by-Step Instructions
Step 1: Unplug and Pull Away from Wall
Disconnect the power cord from the wall outlet. GE recommends waiting 5 minutes before beginning any maintenance work. Carefully pull the refrigerator straight out from the wall — most GE models have leveling legs or wheels that allow this. You need approximately 24 inches of clearance behind the unit to access the condenser area. For French door models that weigh 300+ pounds, rock the unit gently side to side while pulling to move it on its leveling feet.
Step 2: Clean the Condenser Coils
Locate the condenser coils on the back or bottom of your GE refrigerator. On most GE models manufactured after 2018, the condenser is underneath — remove the front kick plate (2 Phillips screws or snap clips) to access it. Use a condenser coil brush (the long, flexible type) to sweep dust and pet hair from between the coil fins. Follow up with a vacuum using the brush attachment. Dirty condenser coils force the compressor to run longer and hotter, reducing its lifespan by years. GE recommends cleaning coils every 6-12 months, or every 3 months if you have pets.
Step 3: Clean the Condenser Fan
While the kick plate is removed, locate the condenser fan next to the compressor. On GE models, this fan (part WR60X10074 if replacement is needed) pulls air across the condenser coils. Use compressed air or a soft brush to remove dust accumulation on the fan blades. Spin the fan by hand — it should rotate freely without scraping or resistance. A dirty or seized condenser fan is the number one cause of GE refrigerators running warm in summer months.
Step 4: Replace or Clean the FreshFlow Air Filter
Open the refrigerator section and locate the FreshFlow air filter. On most GE models, this is a small rectangular cartridge in the rear ceiling area of the fresh food section or behind a vent panel on the back wall. The FreshFlow filter absorbs odors and should be replaced every 6 months — it is separate from the water filter and often forgotten. Twist or pull the old filter out, clean any dust from the housing, and install the replacement. The filter status indicator on the control panel (if equipped) can be reset by holding the appropriate button for 3 seconds.
Step 5: Clean the RPWFE Water Filter Housing
Open the water filter compartment (upper right interior on most GE French door models). Even if the filter itself is not due for replacement, clean the filter housing. Remove the filter by twisting counterclockwise a quarter turn. Wipe the filter housing cavity with a damp cloth to remove mineral deposits or mold. Note: GE RPWFE filters contain an RFID chip that communicates with the refrigerator — aftermarket filters without this chip will trigger a "Replace Filter" alert. The older MWF-style filters (found in pre-2015 models) do not have RFID.
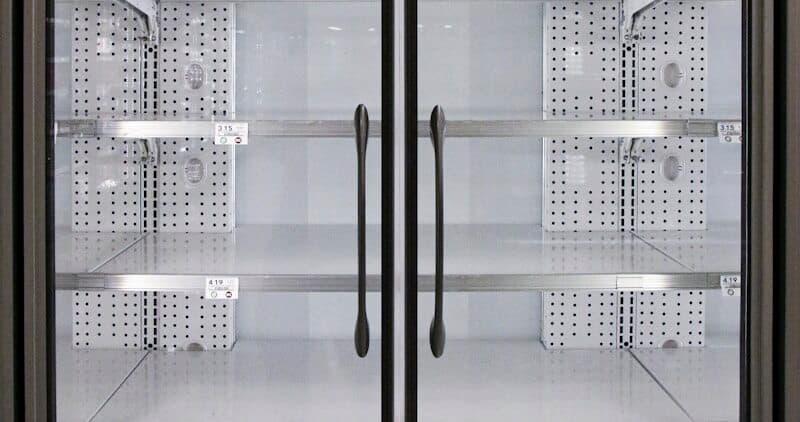
Step 6: Deep Clean Interior Shelves and Drawers
Remove all food, then remove glass shelves, crisper drawers, and door bins. Wash them in warm soapy water — GE glass shelves are tempered and can handle mild temperature changes but avoid extreme hot water on cold shelves (thermal shock risk). Clean interior walls with a solution of 2 tablespoons baking soda per quart of warm water. This neutralizes odors without leaving chemical residues. Pay special attention to the area around the defrost drain opening at the bottom rear of the fresh food section — a common spot for mold growth on GE French door models.
Step 7: Clean the Defrost Drain Area
In the fresh food section, locate the drain opening at the bottom rear (usually behind the lowest shelf or under the crisper drawers). On GE French door models, this drain is notorious for clogging with food particles and forming ice. Use a turkey baster filled with warm water to flush the drain. You should hear water draining into the pan below. If the drain is frozen, use a hair dryer on low heat to thaw it. This prevents the most common GE French door complaint: water pooling under the crisper drawers.
Step 8: Clean Door Gaskets and Exterior
Wipe the door gaskets (seals) with warm soapy water and a microfiber cloth. Inspect for tears, mold, or debris caught in the gasket folds. GE gaskets are magnetic and snap into a retainer groove — they do not require adhesive. Apply a thin layer of petroleum jelly to the gasket surface to maintain flexibility and seal quality. Clean the exterior with stainless steel cleaner (for stainless models) or mild soap and water. GE's fingerprint-resistant finish on newer models needs only a damp microfiber cloth.
Step 9: Reassemble and Restore Power
Reinstall all shelves, drawers, and bins. Push the refrigerator back into position, ensuring the water supply line at the rear is not kinked. Plug in the power cord. Allow 24 hours for temperatures to stabilize before judging cooling performance. The Turbo Cool feature (press and hold the Turbo Cool button for 3 seconds on the control panel) temporarily increases fan speed to bring temperature down faster after the door has been open for extended cleaning.
Troubleshooting Common Issues
If your GE refrigerator does not cool properly after cleaning, check these items:
- Confirm the condenser fan spins freely and starts when the compressor runs. A seized fan motor requires replacement (GE part WR60X10074)
- Verify the evaporator fan inside the freezer is running. Open the freezer door and press the door switch — you should hear the fan. If silent, the evaporator fan motor (WR60X10185) may need replacement
- Check that the temperature controls were not accidentally bumped during cleaning. GE digital panels should read 0°F for freezer and 37°F for fresh food
- For WiFi-enabled models (2017+), use the SmartHQ app to run diagnostics and check for error codes
Safety First — Know the Risks
Refrigerant (R-134a/R-600a) requires EPA certification to handle. Improper discharge is a federal violation and health hazard. Our techs are licensed and insured — let them handle the risk.
Licensed & Insured · 90-Day Warranty · Same-Day Service
When to Call a Professional
Contact a certified technician if:
- The compressor runs continuously after cleaning without reaching temperature — this may indicate a refrigerant leak or sealed system problem (5-year GE warranty covers sealed system)
- You find ice buildup on the evaporator coils behind the freezer rear panel — this indicates a defrost system failure requiring professional diagnosis
- The refrigerator makes loud clicking or buzzing sounds after cleaning — possible compressor start relay failure
- Water leaks persist despite clearing the defrost drain — the drain tube routing or drip pan may need professional attention
- Your model is still under the GE 1-year standard warranty — have GE service handle it to maintain coverage
Same-Day Appliance Repair
Fixed or It's Free
$89 → $0 Service Call & Diagnosis — offer ends May 25
Cost Comparison: DIY vs Professional
| DIY | Professional | |
|---|---|---|
| Parts | $0 | $0 |
| Labor | $0 | $150-$250 |
| Time | 0.75h | 0.5h |
| Risk | Minimal | Warranty included |
The Real Cost of DIY
Average DIY attempt: $150-400 in tools you may use once, plus the risk of further damage. Our diagnostic visit costs $0 — we find the problem and give you an honest quote.
Licensed & Insured · 90-Day Warranty · Same-Day Service
Need Professional Help?
FAQ
Q: How often should I clean my GE refrigerator condenser coils? A: GE recommends every 6-12 months. If you have pets that shed, increase to every 3 months. Dirty coils are the leading cause of premature compressor failure and increased energy bills.
Q: Can I use aftermarket water filters in my GE refrigerator? A: For RPWFE models (2015+), the RFID chip may reject aftermarket filters. Some third-party filters include compatible RFID chips. MWF-style (older) models accept any compatible aftermarket filter without issues.
Q: Why does my GE French door refrigerator have water under the crisper drawers? A: This is almost always a clogged defrost drain. The drain opening at the rear bottom of the fresh food section freezes over on French door models. Flush with warm (not boiling) water using a turkey baster every 6 months.
Q: What is the FreshFlow air filter and do I really need to replace it? A: The FreshFlow filter is a separate air purification filter (not the water filter) that absorbs odors. GE recommends replacement every 6 months. A saturated filter will not affect cooling but can cause persistent odors.
Need a certified technician? Book same-day repair →

