GE Refrigerator Thermostat Replacement — Fixing Temperature Control
The thermostat (cold control) in your GE refrigerator determines when the compressor and fans run. When you adjust the temperature dial or digital setting, you are adjusting the thermostat setpoint. A failed thermostat either runs the compressor non-stop (freezing everything) or never starts it (warm refrigerator).
Mechanical vs Electronic Thermostat
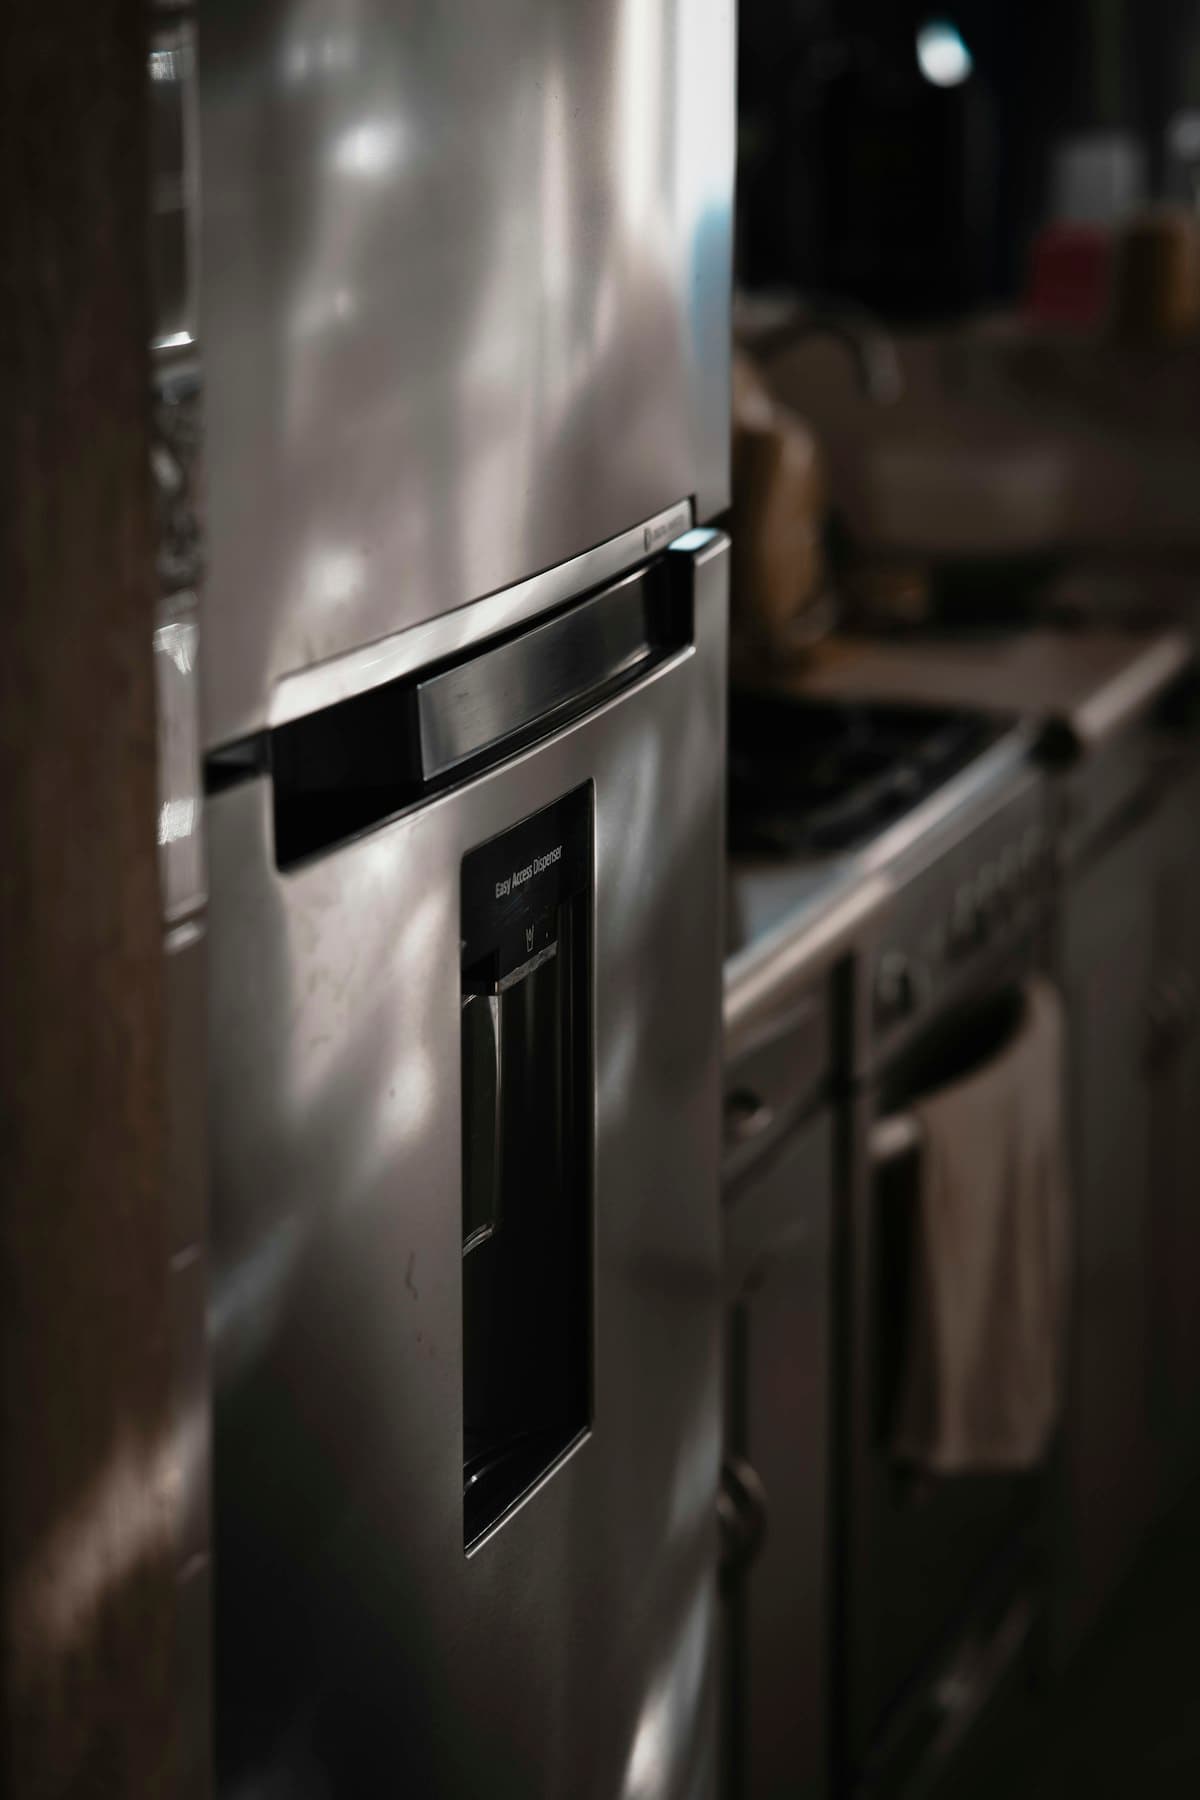
Mechanical thermostat (cold control) — found in GE top-freezer and side-by-side models with a numbered dial (1-9 or Min-Max). This is a physical temperature-sensing switch with a capillary tube that extends into the compartment. When the temperature rises above the setpoint, the switch closes and the compressor starts. When temperature drops below setpoint, the switch opens.
Electronic thermostat — found in Profile, Cafe, and newer GE models with digital temperature displays. The actual temperature sensing is done by thermistors (separate sensors), and the main control board acts as the thermostat. There is no separate thermostat component — temperature control problems on electronic models point to the main board or sensors, not a thermostat.
If your GE refrigerator has a digital display, see the control board or sensor replacement guides instead.
Do You Have the Right Tools?
Multimeter ($85), vacuum pump ($250), diagnostic software, and specialized hand tools. Our technician arrives with $15K+ in professional tools — your diagnostic is free.
Licensed & Insured · 90-Day Warranty · Same-Day Service
Symptoms of Mechanical Thermostat Failure
- Compressor runs non-stop, food freezes — the thermostat contacts are welded shut, keeping the compressor circuit closed permanently
- Compressor never starts, refrigerator warm — the thermostat contacts are permanently open, never closing the compressor circuit
- No click when turning the dial — when you turn the dial from off to a setting, you should hear a faint click as the contacts close. No click means the contacts are stuck or broken.
- Temperature swings wildly — the thermostat contacts are intermittent, causing erratic compressor cycling
Testing the Thermostat
- Unplug the refrigerator
- Remove the thermostat housing cover inside the compartment
- Set the dial to the coldest setting
- Disconnect one wire from the thermostat
- Test for continuity — at the coldest setting with a warm compartment, the thermostat should show continuity (closed circuit)
- Turn the dial to Off — the thermostat should show open circuit
- If neither produces the expected result, the thermostat has failed
Safety First — Know the Risks
Appliances involve high voltage (120-240V), pressurized water, gas lines, and chemical refrigerants. Over 400 DIY repair injuries are reported yearly. Our techs are licensed and insured — let them handle the risk.
Licensed & Insured · 90-Day Warranty · Same-Day Service
Part Numbers and Pricing
| Component | Part Number | Cost |
|---|---|---|
| OEM cold control thermostat | WR50X10068 | $18-$55 |
| OEM thermostat (older) | WR09X10042 | $15-$40 |
| Defrost thermostat | WR50X10071 | $10-$30 |
| Aftermarket thermostat | Varies | $10-$30 |
| Professional installation | — | $80-$160 |
Same-Day Appliance Repair
Fixed or It's Free
$89 → $0 Service Call & Diagnosis — offer ends May 25
Defrost Thermostat
A separate defrost thermostat (bi-metal) is mounted on the evaporator coils. This thermostat closes when coil temperature drops below approximately 20 degrees F, allowing the defrost heater to energize. When coil temperature rises above approximately 50 degrees F, it opens and the defrost cycle ends. A failed defrost thermostat causes either no defrost (ice buildup) or continuous defrost (food thawing).
The Real Cost of DIY
Average DIY attempt: $150-400 in tools you may use once, plus the risk of further damage. Our diagnostic visit costs $0 — we find the problem and give you an honest quote.
Licensed & Insured · 90-Day Warranty · Same-Day Service
Step-by-Step: Cold Control Thermostat Replacement
Accessing the Thermostat
The cold control thermostat is located inside the refrigerator compartment, behind the temperature control housing (the plastic cover where the dial is mounted). Remove 2-3 screws securing the housing cover.
Removing the Old Thermostat
Disconnect the wire terminals from the thermostat. Note wire positions (or photograph). Remove the mounting screws or clips. Carefully pull the thermostat and its attached capillary tube out of the compartment. The capillary tube routes through the interior — follow it to avoid kinking.
Installing the New Thermostat
Route the new capillary tube through the same path as the old one — it must be positioned to sense air temperature in the compartment. Secure the thermostat in the housing, reconnect wires, and replace the cover.
Testing
Plug in the refrigerator and turn the dial to a mid-range setting (4 or 5). The compressor should start within a few minutes. Allow 24 hours for temperature stabilization and adjust the dial as needed.
If your mechanical thermostat is clicking but the compressor does not start, the issue may be the start relay or compressor, not the thermostat. Our technicians test the full circuit. Book a diagnostic