GE Refrigerator Temperature Sensor Replacement — Fixing Temperature Regulation
GE refrigerators use multiple temperature sensors (thermistors) to monitor conditions in the freezer, fresh food compartment, and on the evaporator coils. When a sensor fails, the control board receives incorrect temperature data and makes poor decisions — running the compressor too much, not enough, or failing to defrost properly.
Sensor Locations in GE Refrigerators
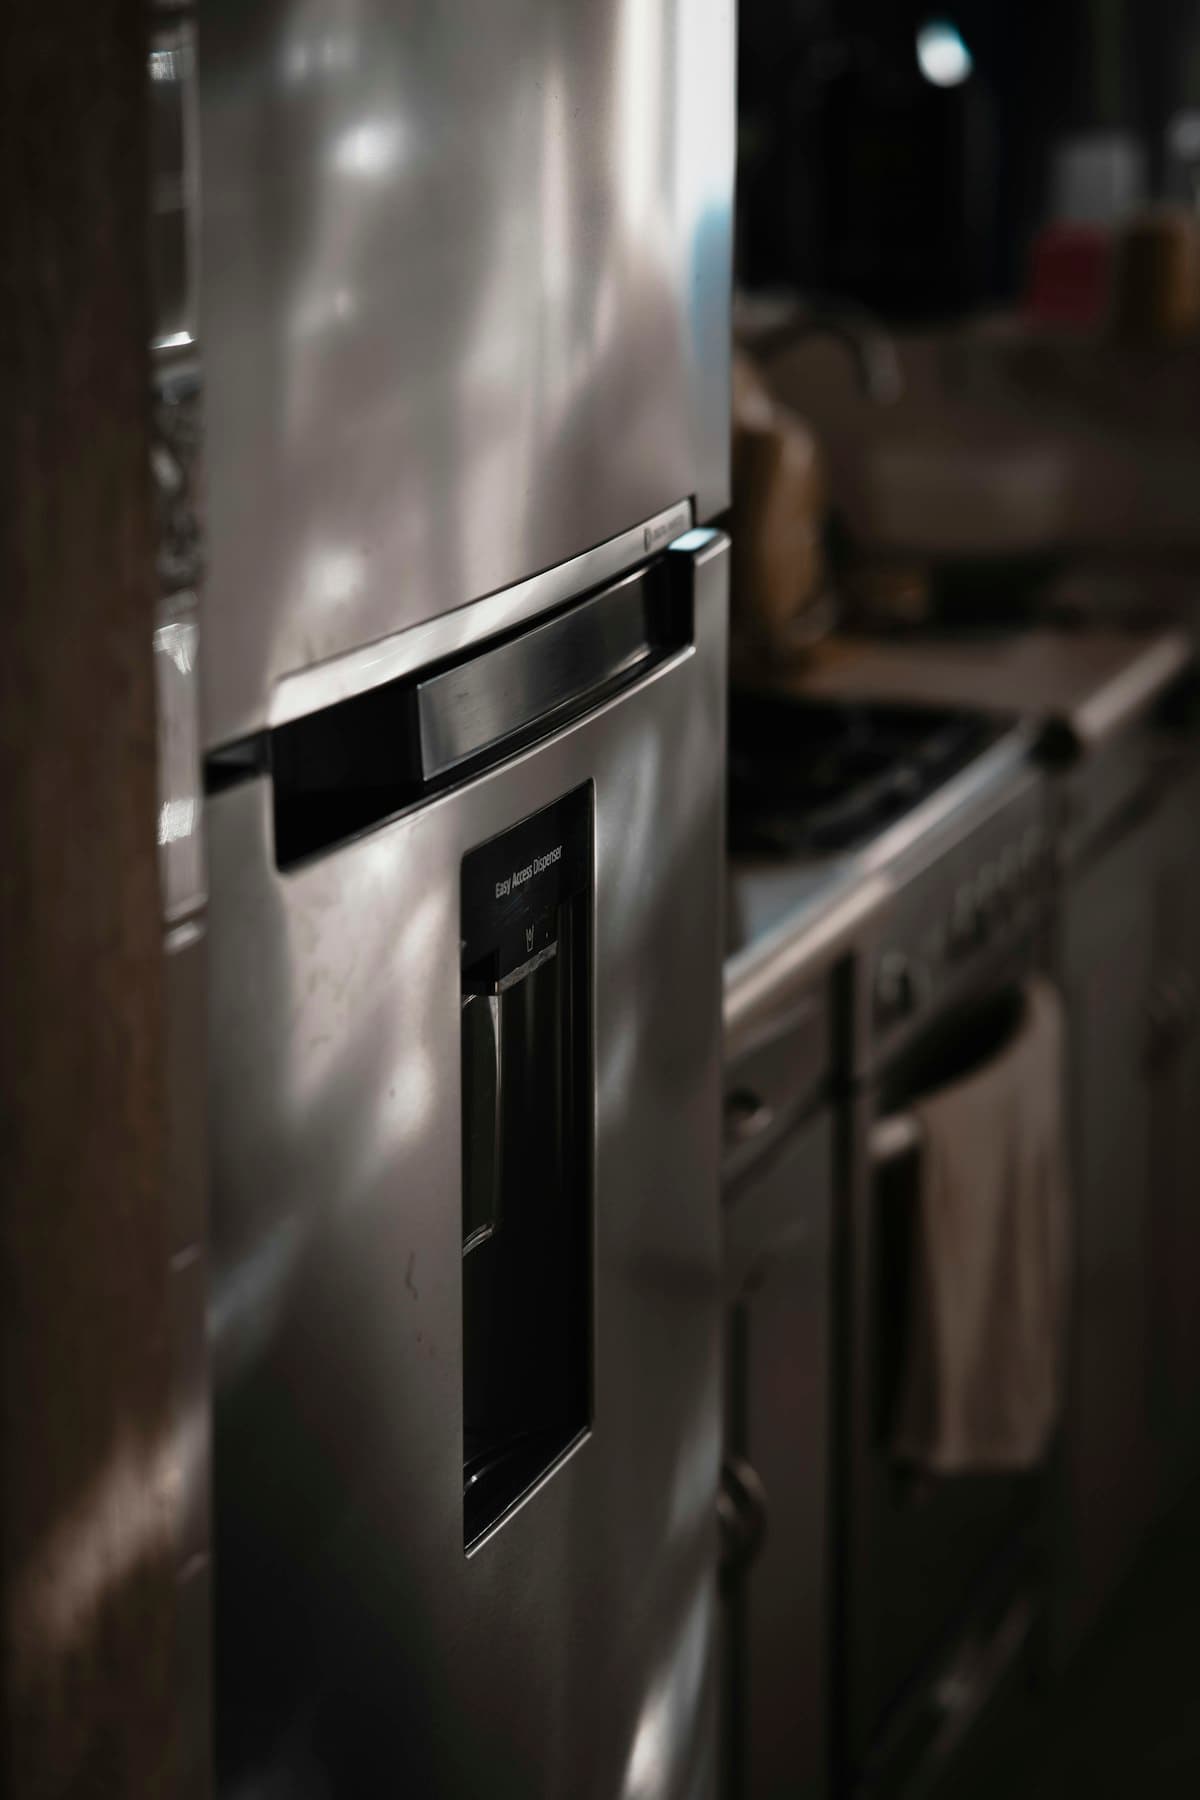
Freezer air sensor — mounted to the ceiling or rear wall of the freezer compartment. Monitors freezer air temperature. A failed sensor causes the freezer to overcool (compressor runs non-stop) or undercool (compressor does not run enough).
Fresh food (fridge) sensor — mounted on the rear wall or ceiling of the refrigerator compartment. Controls the damper that regulates cold air flow from the freezer into the fridge. A failed sensor causes food to freeze in the fridge or the fridge to warm up.
Evaporator sensor — attached to the evaporator coils behind the freezer rear panel. Used by the defrost system to determine when defrost is needed and when it is complete. A failed evaporator sensor causes either continuous frost buildup (defrost does not activate) or excessive defrosting (food partially thaws between defrost cycles).
Do You Have the Right Tools?
Multimeter ($85), vacuum pump ($250), diagnostic software, and specialized hand tools. Our technician arrives with $15K+ in professional tools — your diagnostic is free.
Licensed & Insured · 90-Day Warranty · Same-Day Service
Symptoms by Sensor
| Symptom | Sensor |
|---|---|
| Freezer too cold, compressor runs constantly | Freezer sensor reading too warm |
| Freezer not cold enough | Freezer sensor reading too cold or open circuit |
| Food freezing in the fresh food compartment | Fridge sensor reading too warm (damper stays open) |
| Fresh food compartment too warm | Fridge sensor reading too cold (damper stays closed) |
| Frost buildup on freezer back wall | Evaporator sensor (defrost timing off) |
| Food partially thawing between cycles | Evaporator sensor (excessive defrosting) |
Testing Sensors
GE thermistors are NTC (negative temperature coefficient) — resistance decreases as temperature increases.
| Temperature | Expected Resistance |
|---|---|
| 0 degrees F (-18C) | ~16,000 ohms |
| 32 degrees F (0C) | ~7,500 ohms |
| 40 degrees F (4C) | ~5,800 ohms |
| 70 degrees F (21C) | ~2,800 ohms |
Remove the sensor, let it reach room temperature (~70F), and test with a multimeter set to ohms. A reading of ~2,800 ohms at room temperature confirms a good sensor. Open circuit (OL) or a reading far outside the expected range confirms failure.
Safety First — Know the Risks
Appliances involve high voltage (120-240V), pressurized water, gas lines, and chemical refrigerants. Over 400 DIY repair injuries are reported yearly. Our techs are licensed and insured — let them handle the risk.
Licensed & Insured · 90-Day Warranty · Same-Day Service
Part Numbers and Pricing
| Component | Part Number | Cost |
|---|---|---|
| OEM freezer sensor | WR55X10025 | $15-$50 |
| OEM fridge sensor | WR55X10025 | $15-$50 |
| OEM evaporator sensor | WR55X31032 | $18-$55 |
| Aftermarket sensor | Varies | $8-$25 |
| Professional installation | — | $80-$160 |
Note: many GE models use the same sensor part number for both freezer and fridge — the board determines which sensor is which based on the wiring position.
Same-Day Appliance Repair
Fixed or It's Free
$89 → $0 Service Call & Diagnosis — offer ends May 25
Tools Required
Phillips #2 screwdriver, multimeter, and possibly a 1/4-inch nut driver for access panel screws.
The Real Cost of DIY
Average DIY attempt: $150-400 in tools you may use once, plus the risk of further damage. Our diagnostic visit costs $0 — we find the problem and give you an honest quote.
Licensed & Insured · 90-Day Warranty · Same-Day Service
Replacement Procedure
Freezer or Fridge Sensor
- Unplug the refrigerator
- Locate the sensor — usually a small cylindrical probe clipped to the compartment wall with a wire lead
- Unclip the sensor from its mounting bracket
- Trace the wire to the connector (usually behind a cover panel) and disconnect
- Connect the new sensor wire and clip it into the mounting bracket
- The sensor probe should be positioned in open air, not touching a wall or shelf
Evaporator Sensor
- Remove the freezer shelves and bins
- Remove the rear panel inside the freezer (4-8 screws)
- The evaporator sensor is clipped to the evaporator coils — a small probe attached to one of the coil tubes
- Unclip and disconnect the old sensor
- Clip the new sensor to the same coil location
- Reinstall the panel, shelves, and bins
Post-Installation
Plug in the refrigerator and allow 24 hours for temperature stabilization. The board uses the new sensor readings to calibrate compressor and defrost cycles.
Temperature swings or inconsistent cooling? A $15-$50 sensor may be the fix. Our technicians test all sensors with calibrated equipment. Schedule a diagnostic